A quiet workspace is no longer a luxury; it is a necessity for productivity. When you work from home, the sounds of a running dishwasher, a television in the next room, or family conversations can easily break your concentration. Most of this noise enters your office through the weakest link in your wall: the door. Here is the thing: you do not need to replace your entire door to see a significant improvement. By focusing on simple, sustainable upgrades, you can create a quiet office door that rivals professional studio spaces.
Why Focus on the Door?
In home office soundproofing, the door represents a massive 'air leak.' Sound behaves much like water; if air can pass through a gap, sound will follow it. Most standard interior doors are hollow-core, meaning they are essentially two thin sheets of wood with air or cardboard honeycombs inside. These doors act like drums, vibrating and amplifying noise rather than blocking it. Now, the important part is identifying whether your noise problem comes from gaps around the door or the door material itself. Most people find that sealing the gaps provides the biggest immediate win.
Essential Tools and Materials
To achieve effective noise reduction for your home office, you need specific materials designed to block or absorb sound. From a sustainable perspective, I recommend choosing durable materials that will last for years, reducing the need for replacements. Worth mentioning is that many of these items are also excellent for energy efficiency, as they prevent drafts and keep your office temperature stable.
- Self-adhesive weatherstripping: Look for high-quality silicone or EPDM rubber. These materials remain flexible and provide a better seal than cheap foam tapes.
- Acoustic door seal kit: These often include heavy-duty gaskets that screw into the door frame.
- Automatic door sweep: A mechanical sweep that drops down when the door closes is the gold standard for blocking the bottom gap.
- Acoustic sealant (Caulk): A non-hardening latex-based sealant helps fill cracks between the door frame and the wall.
- Measuring tape and utility knife: For precise fitting of your materials.
- Screwdriver or power drill: Necessary if you are installing a permanent door sweep or gasket kit.
Preparation: Measuring the Gaps
Before buying any materials, you must inspect your door. This is where it gets interesting: even a 1% gap in the door's surface area can let in up to 50% of the noise. Start by turning on the light in the hallway and turning off the light in your office. Close the door and look for light leaking through. Anywhere you see light, sound is getting through.
Measure the width and height of the door frame. Also, measure the gap between the bottom of the door and the floor. If you have high-pile carpet, you will need a different type of sweep than if you have hardwood floors. Something to keep in mind is that a standard door usually has a 1/8-inch gap on the sides and top, and a 1/2-inch to 3/4-inch gap at the bottom.
Step-by-Step Soundproofing Instructions
Follow these steps to transform your door from a noise funnel into a solid barrier. We will start with the easiest fixes and move toward more robust solutions.
Step 1: Install Weatherstripping
The goal here is to create a compression seal. When the door closes, it should press against the weatherstripping to create an airtight bond. Use a damp cloth to clean the door stop (the thin strip of wood the door hits when it closes). This ensures the adhesive sticks properly. Peel the backing and apply the silicone stripping along the top and both sides of the door stop. Make sure the strip is positioned so the door pushes against it firmly when latched. What most people miss is the corner joints; ensure the vertical and horizontal strips meet tightly without leaving a hole.
Step 2: Add an Acoustic Door Sweep
The bottom of the door is usually the largest source of noise. On the other hand, a standard 'brush' sweep does very little for sound. You need a solid rubber or neoprene sweep. For a quick fix, a heavy fabric draft stopper filled with sand or beans works, but it is less convenient. For a permanent solution, screw a heavy-duty door sweep to the bottom of the door. Position it so the rubber fin just touches the floor when the door is closed. If you want the best results, an automatic door sweep is the way to go; it lifts when you open the door to prevent floor wear and drops down to seal tightly when the door closes.
Step 3: Seal the Door Frame Gaps
Check the area where the door trim meets the wall. Often, there are small cracks here that allow sound to bypass the door entirely. Use an acoustic sealant to fill these gaps. Unlike regular caulk, acoustic sealant stays flexible over time. This flexibility allows it to absorb vibrations rather than cracking under the pressure of the door opening and closing. Run a thin bead of sealant along the edge of the trim and smooth it with a wet finger. This small step adds significant mass to the weakest parts of the wall structure.
Step 4: Increase Door Mass (Optional)
If your door is hollow-core, sealing the gaps will help, but sound will still vibrate through the thin wood panels. The good news is that you can add mass without replacing the door. You can attach a sheet of Mass Loaded Vinyl (MLV) to the back of the door. This is a heavy, flexible material that deadens vibrations. Alternatively, you can use decorative acoustic panels. While these primarily reduce echoes inside the room, thicker polyester or wood-slat panels can add just enough mass to help dampen incoming sound.
Tips for Best Results
To get the most out of your efforts, consider these professional tips. First, always focus on the "seal" before the "mass." A heavy door with a gap at the bottom will still be noisy. Second, consider the surrounding wall. If your wall is very thin, sound will simply travel through the drywall next to the door. Adding a heavy bookcase next to the door can act as additional mass and further reduce noise transfer.
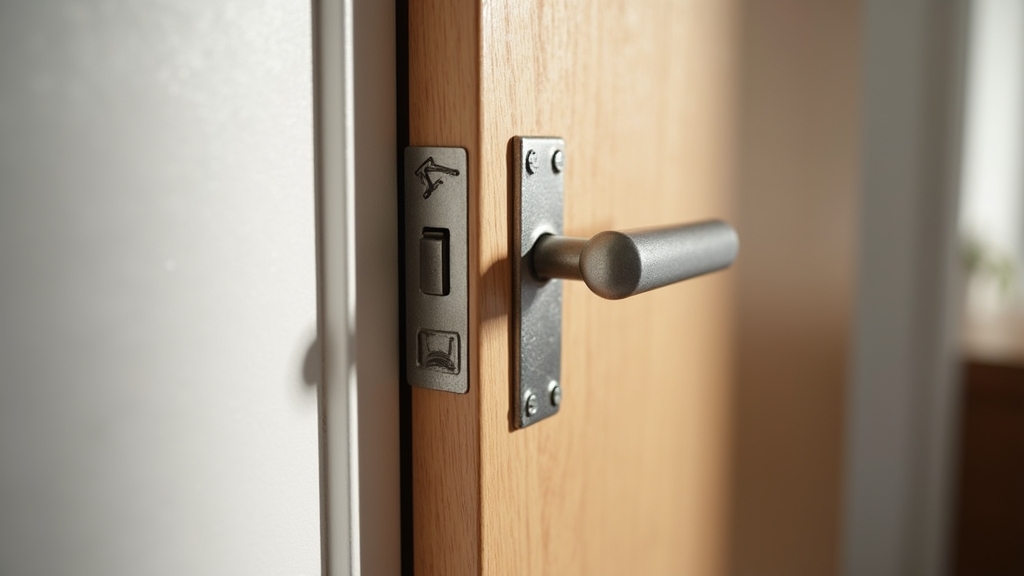
Another tip involves the door hardware. If the door rattles when closed, it means the seal isn't tight enough. You can adjust the strike plate on the door frame to pull the door tighter against your new weatherstripping. This small adjustment can make a world of difference in how much vibration the door allows through.
Troubleshooting Common Issues
Sometimes, despite your best efforts, noise still persists. Here are common problems and how to fix them:
- The door is hard to close: This usually means the weatherstripping is too thick. Check if the door is hitting a specific spot and trim the material or adjust the strike plate.
- Noise is coming through the keyhole: In older homes, large keyholes can be a direct path for sound. A small piece of foam or a sliding cover can fix this.
- The door sweep drags on the carpet: If you have thick carpet, a fixed sweep might make the door difficult to open. Switch to an automatic drop-down sweep that only engages when the door is fully shut.
- The door feels 'bouncy': This happens when the weatherstripping provides too much resistance. Give the materials a few days to compress, or move the weatherstripping slightly further back from the door face.
Summary of Sustainable Choices
When choosing your materials, aim for longevity. High-quality silicone lasts much longer than foam, meaning less waste in the long run. If you are adding panels, look for those made from recycled PET (plastic bottles) or sustainable cork. By choosing durable, effective solutions, you ensure your home office remains a productive sanctuary while minimizing your environmental footprint. A quiet office door is a sustainable investment in your mental well-being and professional performance.