Soundproofing vs. Sound Treatment: Know the Difference
I’ve spent thirty years in the dirt and the dust of home building, and if there is one thing I’ve learned, it is that sound is a stubborn tenant. It doesn't want to leave, and it will find every little crack to sneak through. When folks talk about home office soundproofing, they are usually talking about two different things without realizing it. First, you have sound treatment, which is all about how to reduce echo in room environments. This makes your voice sound rich and professional on a call. Second, you have true soundproofing, which is about stopping your neighbor’s lawnmower or your kid’s TV from entering your workspace.
Here is the thing: you can spend a fortune and still hear the dog barking if you don't understand the physics of the room. Sound travels like water. If there is a gap under your door, the sound flows right in. If you have hard, bare walls, your voice bounces around like a pinball. Throughout my career, I’ve seen homeowners waste thousands on 'acoustic foam' that did nothing but look like an 80s recording studio. We are going to look at what actually works, what it costs, and where you should put your money to get the best return on your peace and quiet.
The Budget-Friendly Approach: Soft Surfaces and Seals
If you are working with a tight budget, you aren't going to be tearing down drywall. This level of soundproofing is about managing the 'reverb' or echo. What most people miss is that the hard surfaces in your office—hardwood floors, glass desks, and bare windows—are the primary culprits for poor audio quality during meetings.
Managing Echo and Air Gaps
The good news is that you can make a massive dent in the noise level for under $500. Start with the floor. A thick area rug with a high-quality felt pad underneath does wonders. Now, the important part that people overlook: the door. Most interior doors in modern homes are 'hollow-core,' meaning they are basically two thin sheets of veneer with cardboard honeycombs inside. They act like a drum, amplifying sound. While you might not be ready to replace the door, adding a heavy rubber sweep to the bottom and weatherstripping around the frame can block the air path where sound travels.
- Pros: Very inexpensive, can be done in a weekend, requires no specialized tools.
- Cons: Does very little to stop low-frequency noises like traffic or bass music; mostly helps with interior echo.
The Mid-Range Upgrade: Acoustic Panels and Solid Doors
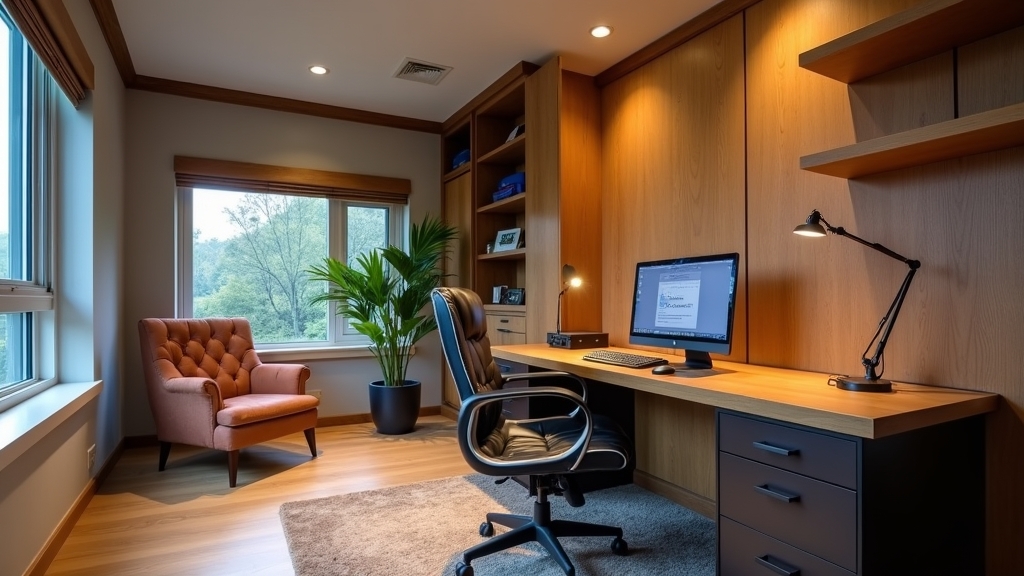
Once you move into the $1,000 to $2,500 range, we can start talking about acoustic panels installation and physical upgrades to the room’s entry points. This is where most professional remote workers should aim. It’s the sweet spot between 'cheap fix' and 'total renovation.'
Upgrading the Entryway
In my experience, the single best investment you can make for a quiet workspace is a solid-core door. These are heavy, dense, and made of solid wood or composite material. When you shut a solid-core door, you can feel the difference in the air pressure. Pair this with specialized acoustic seals that 'drop' when the door closes, and you've effectively isolated the largest hole in your room.
Strategic Panel Placement
This is where it gets interesting. You don't need to cover every square inch of your walls with panels. You only need to cover the 'first reflection points.' These are the spots on the walls where sound bounces directly from your mouth to the wall and then into your microphone. Using high-density mineral wool panels—not the cheap flammable foam you see online—will soak up that energy. You can even find panels that look like art or fabric-wrapped decorative pieces to keep the office looking professional.
- Pros: Significant reduction in both incoming noise and outgoing echo; professional aesthetic.
- Cons: Requires some basic carpentry skills or hiring a handyman; solid doors are heavy and may require beefier hinges.
The Pro Build-Out: Structural Isolation
If you have a home office next to a mechanical room or a noisy street, you might need to go 'full contractor.' This is for the person who needs absolute silence for high-stakes presentations or recording. We are looking at costs starting at $5,000 and going up depending on the room size.
Adding Mass and Decoupling
Sound needs a medium to travel through. In a standard wall, the drywall is screwed directly to the studs. When sound hits one side, the studs vibrate and carry the sound to the other side. To stop this, we use 'decoupling.' This involves installing resilient channels or sound clips that separate the drywall from the framing. Worth mentioning is the use of Mass-Loaded Vinyl (MLV). It’s a heavy, limp material that you staple to the studs before hanging new drywall. It acts like a lead curtain, deadening almost all vibration.
Double Drywall and Green Glue
Another trick I’ve used for decades is 'damping.' We take two layers of 5/8-inch drywall and sandwich a specialized acoustic glue between them. This glue never truly hardens; it stays tacky and converts sound energy into trace amounts of heat. It is incredibly effective at stopping low-frequency rumbles.
- Pros: The highest level of sound isolation possible; can make a room virtually silent.
- Cons: Very expensive; requires a full messy renovation; reduces the square footage of the room slightly.
Cost Comparison Breakdown
Let's get down to the brass tacks. These estimates include average material costs and labor for a standard 10x12 foot room.
| Level of Project | Primary Materials | Estimated Cost (DIY) | Estimated Cost (Pro) |
|---|---|---|---|
| Basic Echo Reduction | Rugs, Curtains, Weatherstripping | $200 - $500 | $600 - $900 |
| Intermediate Isolation | Solid Door, Mineral Wool Panels | $800 - $1,500 | $1,800 - $3,000 |
| Full Soundproofing | MLV, Double Drywall, Resilient Channels | $2,500 - $4,000 | $5,000 - $10,000+ |
Best Use Cases for Each Situation
Choose the Basic level if you live in a quiet neighborhood and just want to sound better on Zoom calls. This is the quiet workspace tips starting point for most people. On the other hand, choose the Intermediate level if you have kids or a spouse in the house during the day and need to block out kitchen noises and hallway chatter.
Go for the Pro level only if you are in a high-noise environment or if your job depends on absolute audio fidelity. Something to keep in mind is that you can't easily 'upgrade' a wall later—if you think you need the heavy stuff, it is cheaper to do it once during a renovation than to do it twice.
Final Recommendation
After 30 years in the business, my advice is usually to start with the 'Middle Ground.' Most people find that a solid-core door, a thick rug, and four or five well-placed mineral wool acoustic panels solve 90% of their problems. It is the best bang for your buck without turning your home into a construction zone. Remember, soundproofing is about consistency. You can have the thickest walls in the world, but if you leave a gap under the door, you've wasted your money.