Reclaiming Your Workspace from Cable Chaos
In most homes, the home office starts as a clean slate. You buy a beautiful desk, a high-end monitor, and a comfortable chair. However, within weeks, the area underneath the desk often transforms into what I call the 'cable octopus'—a tangled nest of black and gray wires that collects dust and makes cleaning nearly impossible. The real issue usually isn't the number of devices you own, but how those connections are routed. Effective cable management isn't just about aesthetics; it is about protecting your hardware, reducing fire hazards, and creating a mental environment where you can actually focus.
Common Mistakes to Avoid
From experience, the biggest mistake people make is using plastic zip ties to secure their cables. While they are cheap and secure, they are incredibly permanent. If you decide to move your lamp or upgrade your mouse, you have to carefully snip the tie, risking damage to the insulation of your wires. What works best is using hook-and-loop fasteners that can be opened and closed hundreds of times.
Another common situation is 'over-tightening.' When cables are pulled too taut or bent at sharp 90-degree angles to hide them, you risk internal wire breakage or port damage. Over the years, I have learned that you must always leave a small amount of slack near the connection points to allow for natural movement, especially if you have a sit-stand desk.
The Trap of Permanent Adhesives
Many people rush to buy adhesive cable clips and stick them directly to the finished wood of an expensive desk. One thing many people overlook is that these adhesives often fail under the heat of a power brick or, conversely, they bond so strongly that they rip the veneer off the desk when removed. I recommend using mechanical fasteners (like small screws) on the underside of solid wood desks or using damage-free strips that are specifically rated for the weight of your cables.
Essential Tools and Materials
To do this right, you do not need expensive kits, but you do need a few specific items. In my experience, these five tools cover 95% of home office needs:
- Hook-and-Loop Fasteners: Rolls of reusable wrap are superior to any single-use tie.
- Under-Desk Trays or J-Channels: These act as a gutter for your wires, keeping them off the floor.
- Cable Sleeves: Perfect for grouping the 'main trunk' of cables running from the desk to a PC or power outlet.
- Weighted Cable Holders: These sit on top of the desk to keep phone chargers from slipping behind the furniture when unplugged.
- Power Strip Mounts: Whether built into a tray or using specialized brackets, getting the power strip off the floor is the key thing to remember.
Preparation: The Clean Slate Method
What I have found is that trying to organize cables while the computer is running is a recipe for frustration. You must start from scratch. First, take a photo of your current setup so you remember where everything goes. Then, shut everything down and unplug every single cord from both the wall and the device.
Use this time to clean. Cables are notorious dust magnets. Wipe down each cord with a microfiber cloth and clean the back of your monitors and the underside of your desk. It is much easier to apply adhesive mounts to a surface that isn't covered in a layer of dust. Label both ends of your cables using a simple masking tape flag; this small step will save you hours of troubleshooting later.
Step-by-Step Instructions for Cord Management
Step 1: Mount the Power Strip
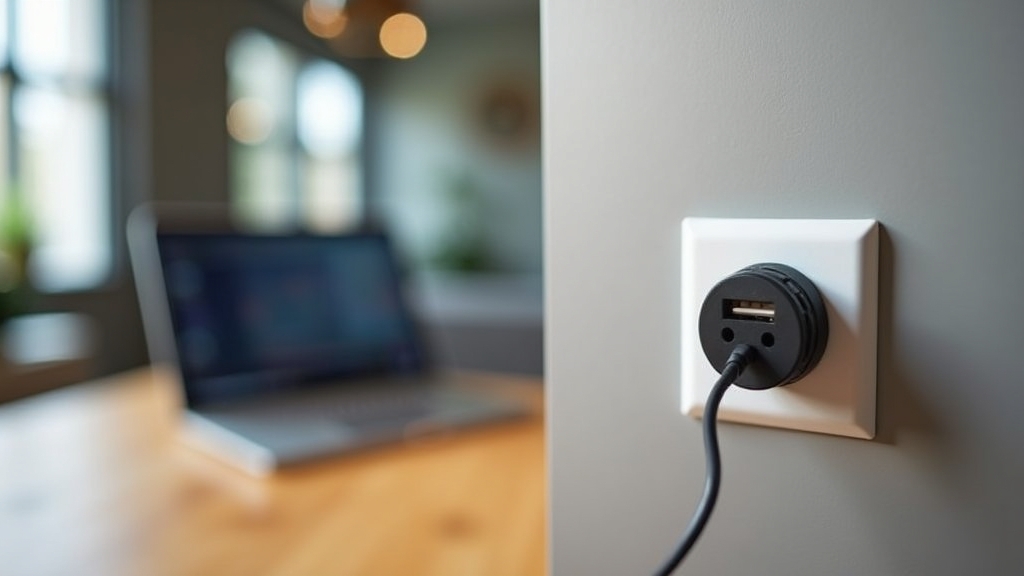
The foundation of a good desk cord hider strategy is the power strip location. Instead of leaving it on the floor, mount it to the underside of the desk or the back modesty panel. This ensures that the only 'slack' you have to manage is the one single cord going to the wall outlet. If you have a standing desk, this is non-negotiable—the power strip must move with the desk.
Step 2: Route the 'Fixed' Cables First
Start with the items that never move: your monitors and speakers. Route these cables along the monitor arms or down the center of the desk using a J-channel. Keep them as close to the furniture's frame as possible. In most homes, the goal is to make the cables follow the natural lines of the desk so they 'disappear' into the silhouette of the furniture.
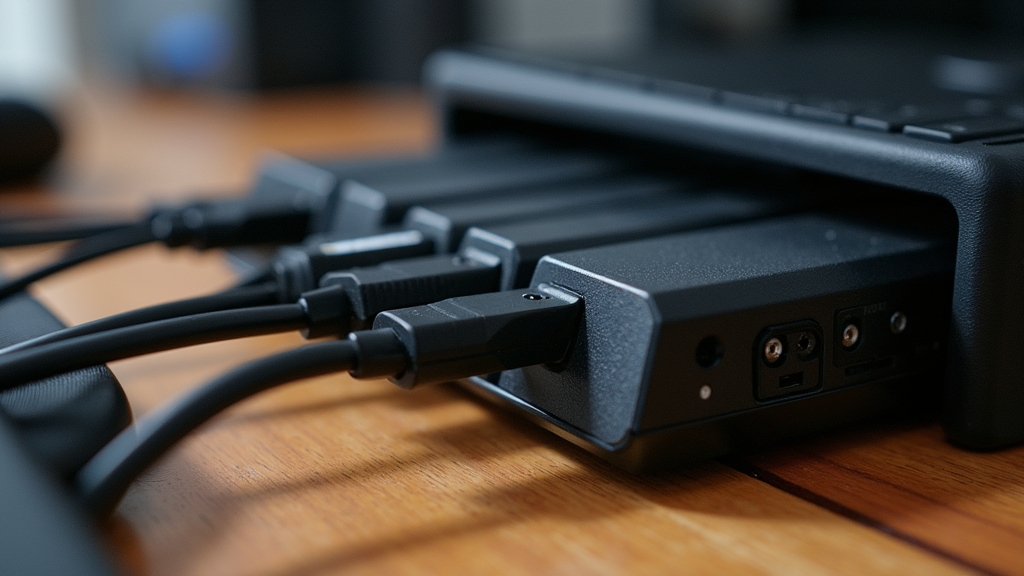
Step 3: Create the Cable Trunk
Once your monitor, keyboard, and power cables meet at a central point under the desk, bundle them together using your hook-and-loop wraps. Do not bundle power cables and data cables (like Ethernet or HDMI) too tightly together if you can avoid it, as this can occasionally cause signal interference, though this is less common with modern shielded cables.
Step 4: Manage the 'Last Mile'
The 'last mile' refers to the cables that end up on the surface of your desk, like your mouse, keyboard, or phone charger. Use a cable clip or a weighted organizer on the desk surface to prevent these from falling back when disconnected. What works best is placing these near the edge of your desk or behind the monitor stand where they remain accessible but out of your primary line of sight.
Tips for Professional Results
One thing many people overlook is the 'drip loop.' If your desk is near a window or in a basement, ensure your cables hang slightly lower than the outlet before plugging them in. This prevents any moisture from running down the cord directly into the electrical socket.
Also, consider the color of your walls and desk. If you have a white desk and white walls, using black cable sleeves will make the clutter stand out more. Matching the color of your wire organizers to your environment is a simple, budget-friendly way to make the management system look built-in rather than added on.
Troubleshooting Common Issues
The 'Short Cable' Problem: If a cable is too short to be routed cleanly, do not stretch it. The tension will eventually ruin the port on your device. In this case, you must either move the power strip closer or buy a longer, high-quality replacement cable. Using a small extension cord for a single device is a better alternative than a strained wire.
Heat Buildup: If you are using a large cable management box to hide power bricks, ensure it has ventilation. Power bricks for laptops and monitors can get surprisingly hot. If they are buried under a pile of other cables in a sealed box, they may overheat and fail prematurely. Always leave a little breathing room around the larger transformers.
Summary of Best Practices
Effective cable management is an ongoing process. As you add new devices, take the five minutes to route the new wire through your existing channels rather than just draping it over the back. By mounting your power source, bundling your main lines, and using flexible, reusable fasteners, you transform your workspace from a cluttered mess into a professional, streamlined environment.