Introduction to Professional Workspace Backdrops
In the modern era of remote work, the visual environment of a home office serves as a digital business card. Whether you are conducting a team meeting, presenting to a client, or interviewing for a new role, the space behind you communicates professionalism and attention to detail. Creating a professional workspace is no longer just about comfort; it is about visual communication. When considering zoom background ideas, homeowners often face a choice: do they curate the space themselves or seek professional assistance? This article examines the practicalities of both approaches to help you decide which path fits your needs and budget.
Understanding the DIY Approach
The DIY approach to creating a video call backdrop involves utilizing existing furniture, personal decor, and manual labor to craft a visually appealing frame. This is often the first step for many remote workers. Here is the thing: a professional-looking backdrop does not necessarily require a massive renovation. It often begins with bookshelf styling and thoughtful placement of office wall decor.
Bookshelf Styling and Organization
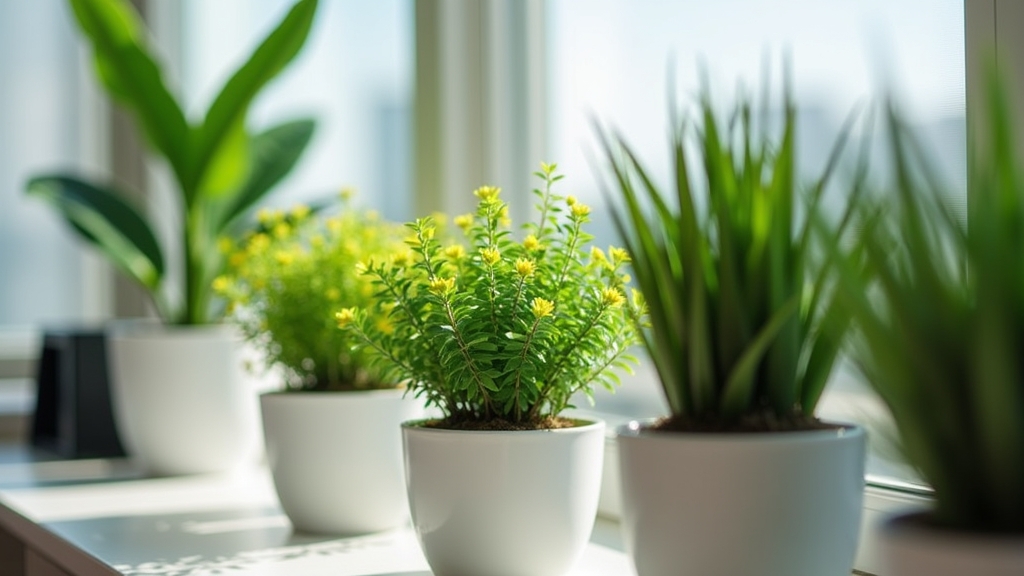
Bookshelves are a staple of the professional background. However, what most people miss is that a shelf full of random items can look cluttered on camera. To achieve a professional look, focus on the 'rule of thirds' and negative space. Arrange books both vertically and horizontally. Mix in a few non-reflective decorative objects or a small plant to add life. The goal is to create a balanced composition that doesn't distract the viewer from your face.
Wall Decor and Paint
If you lack shelving, the wall behind you is your canvas. Neutral paint colors are generally preferred as they don't cause issues with camera white balance. If you choose to hang art, ensure it is matted with non-glare glass. Reflection is a common enemy in video calls. The good news is that simple, minimalist frames can create a sophisticated look without a high price tag.
The Professional Path
On the other hand, the professional path involves hiring interior designers, carpenters, or specialized AV consultants to design and install a backdrop specifically optimized for the camera lens. This approach takes into account variables that the average DIYer might overlook, such as light temperature, acoustic treatment, and depth of field.
Custom Built-ins and Structural Changes
Professional designers can create custom cabinetry or architectural features like wood slat walls that are designed to look perfect at a 16:9 aspect ratio. They ensure that the scale of the furniture matches the field of view of your specific webcam. This is where it gets interesting: a professional will often suggest 'staging' the background so that it appears deeper than it actually is, which provides a more cinematic quality to your video feed.
Integrated Lighting and Acoustics
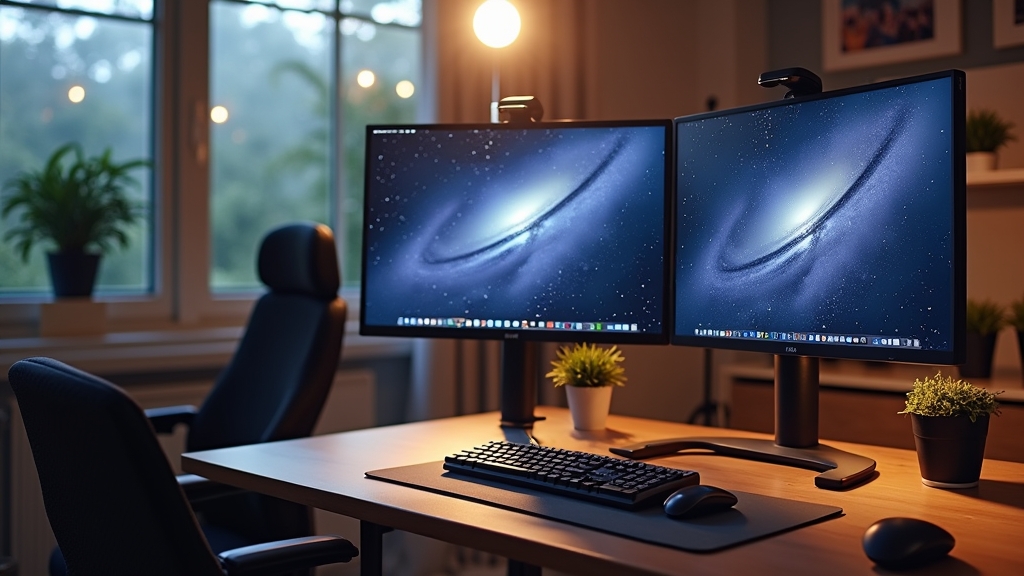
Now, the important part of a professional installation isn't just what you see, but what you don't see. Professionals often integrate high-quality LED panels into the ceiling or behind furniture to provide soft, even light that eliminates shadows on the face. Furthermore, they may incorporate acoustic panels disguised as art to reduce echoes, ensuring you sound as good as you look.
Comparing Pros and Cons
DIY Pros and Cons
- Pros: Extremely cost-effective; allows for personal expression; can be updated easily; no need for external contractors.
- Cons: Time-consuming to get the lighting 'just right'; prone to looking 'homemade' if not executed carefully; limited by existing spatial constraints.
Professional Pros and Cons
- Pros: Guaranteed high-quality results; optimized for specific camera angles; saves the homeowner time; integrates lighting and sound solutions.
- Cons: Higher financial investment; requires scheduling and managing contractors; less flexibility for frequent changes.
Cost Analysis: DIY vs Professional
When analyzing costs, it is vital to look at both direct expenses and the value of your time. Worth mentioning is that a DIY setup can range from $0 (using what you have) to $500 for new decor and a basic ring light. Professional setups generally start at $2,000 and can exceed $10,000 depending on the complexity of the cabinetry and integrated technology. Something to keep in mind is that the professional route is an investment in your home's equity as well as your career image.
Best Use Cases
When to DIY
DIY is the ideal choice for those who are early in their remote careers, individuals who enjoy interior design as a hobby, or those with a limited budget. It is also suitable if your home office is a multi-purpose room where a permanent, professional-grade installation might be intrusive.
When to Hire a Professional
Hiring a professional is recommended for executives, public speakers, or individuals who spend more than 75% of their day on high-stakes video calls. If your workspace is dedicated solely to professional activities and you require a 'set-and-forget' solution that works every time you turn on the camera, the professional route is superior.
Final Recommendations
Choosing between DIY and professional backdrop creation depends on your specific goals. If you choose the DIY route, focus on lighting first, as even the most expensive decor looks poor in bad light. If you opt for a professional, ensure they have experience specifically in 'video-ready' spaces, as traditional interior design doesn't always translate perfectly to the 2D plane of a video call. Regardless of your choice, the aim is to create a space that feels authentic to you while projecting the competence and reliability your professional peers expect.