Solving the Echo Problem in Modern Home Offices
In most homes, the smallest room is often designated as the office. While this makes sense for space efficiency, these rooms are frequently the worst offenders for sound quality. From experience, I have seen homeowners spend thousands on high-end microphones and speakers, only to wonder why they still sound like they are broadcasting from a tiled bathroom. The real issue usually is not the gear; it is the physics of the room itself.
Over the years, I have learned that sound behaves a lot like a rubber ball. When you speak, sound waves travel until they hit a hard surface. If that surface is a flat, painted drywall or a hardwood floor, the sound bounces right back at you. This creates that hollow, ringing sound known as flutter echo. To fix this, we have to change how those waves interact with your walls, ceiling, and floor. In this guide, I will share the hard-earned wisdom of three decades in the trades to help you create a professional-sounding workspace without the rookie mistakes I have seen countless times.
The Tools and Materials Needed
Before you start buying panels or moving furniture, you need the right kit. You do not need industrial-grade equipment, but you do need items that actually impact acoustics rather than just looking good on camera.
- Acoustic Panels: Focus on high-density mineral wool or fiberglass panels. Avoid the cheap, thin egg-carton foam; it does almost nothing for lower frequencies.
- Heavy Fabric/Curtains: Blackout curtains or thick velvet drapes work wonders for windows.
- Rug and Pad: A dense wool rug with a thick felt pad underneath.
- Measuring Tape: To find your primary reflection points.
- Adhesive or Mounting Hardware: Heavy-duty picture hanging strips or Z-clips for permanent installs.
- A Handheld Mirror: This is a trick from the pros for finding reflection points.
Preparation: Mapping the Room
What works best is a strategic approach rather than a shotgun method. One thing many people overlook is the 'mirror trick.' If you have a partner, have them slide a mirror along the side walls while you sit at your desk. Wherever you can see your speakers or your own face in the mirror, that is a primary reflection point. That is exactly where you need to place your acoustic treatment.
Identifying Hard Surfaces
Look around your room. If you see large expanses of glass, bare drywall, or exposed wood, you have a problem. The key thing to remember is that parallel hard surfaces are your enemy. If you have two bare walls facing each other, sound will bounce back and forth indefinitely. Your goal is to break up these paths.
Step-by-Step Instructions to Kill the Echo
1. Tackle the Floor First
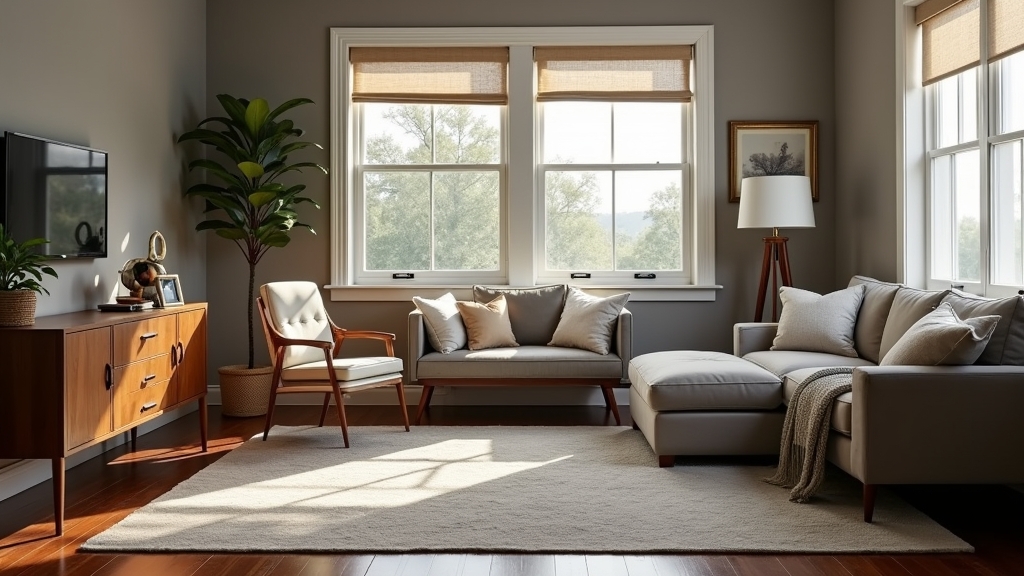
In my experience, the floor is the biggest contributor to room ring. If you have hardwood or laminate, you are standing on a giant reflection plate. A common situation is people putting a small decorative rug under the chair, but that is not enough. You need a rug that covers at least 70% of the floor space. For the best results, use a thick felt rug pad. This adds mass, which absorbs sound energy rather than letting it bounce.
2. Address Primary Reflection Points
Using the mirror trick mentioned earlier, mark the spots on the left and right walls. This is where your acoustic panels DIY projects or store-bought panels belong. Mount them at ear level when you are sitting. You do not need to cover the whole wall; covering about 20-30% of the wall surface area is usually the sweet spot for a home office.
3. Soften the Windows
Glass is incredibly reflective. Even the most expensive double-pane windows will bounce sound like a drum. Forget thin blinds; what you need are heavy, floor-to-ceiling drapes. If you can double the fabric (creating folds), you increase the surface area and the sound-dampening capabilities significantly.
4. Don't Forget the 'Cloud'
What I have found is that the ceiling is the most ignored surface in the room. If you have high ceilings or a tray ceiling, sound will travel up and bounce back down to your microphone. Hanging a 'cloud'—which is just an acoustic panel suspended horizontally—above your desk can instantly improve video call audio quality. It stops the vertical bounce that makes your voice sound distant.
5. Diffuse the Back Wall
Behind you, you don't necessarily want more absorption; you want diffusion. Instead of a flat wall, use a bookshelf filled with books of different sizes and depths. This breaks up the sound waves and scatters them in different directions, which sounds more natural than a 'dead' room where all sound is sucked out.
Common Mistakes to Avoid
One of the biggest mistakes I see is the 'foam trap.' People buy packs of thin polyurethane foam squares and cover their walls with them. These are largely ineffective for anything other than very high-pitched frequencies. They won't stop the 'boomy' sound of a voice. Always prioritize density over surface area.
Another error is over-treating the room. If you cover every inch of drywall with soft material, the room will feel oppressive and unnatural. You want to reduce the echo, not create an anechoic chamber. You still want some life in the room so your voice sounds human, not like you're speaking into a pillow.
Troubleshooting Common Issues
If you have treated the walls and floor but still hear a 'ping' when you clap your hands, look at the corners. Corners are where sound pressure builds up. Adding 'bass traps' or even just a tall, fabric-covered chair in the corner can help dissipate that energy.
If your microphone is still picking up room noise, check your desk surface. A large, hard desk can reflect your voice directly up into the bottom of a microphone. Placing a large desk mat or even a piece of felt under your keyboard can kill that immediate reflection.