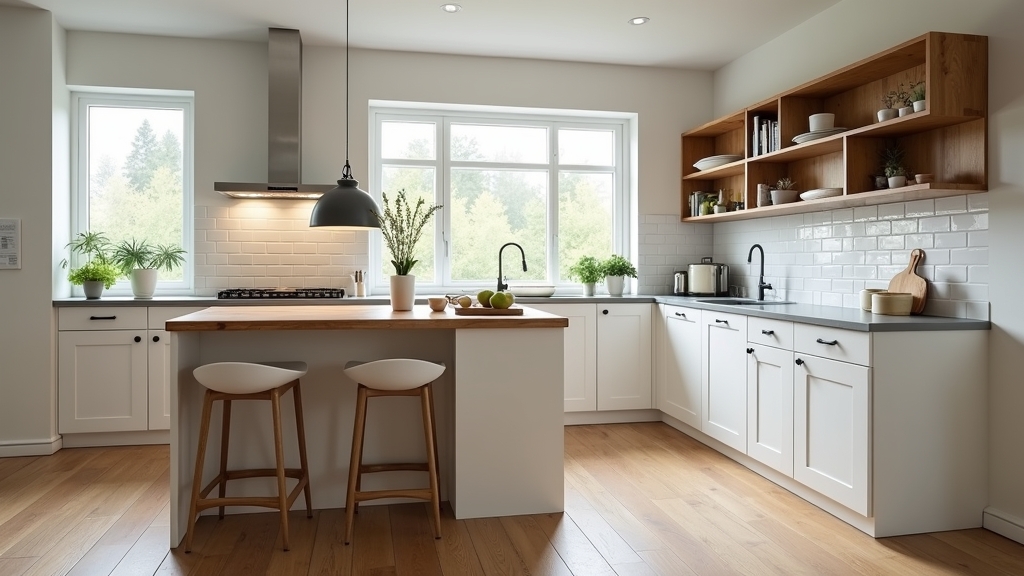
Revitalizing the Backbone of the Kitchen: The Oak Cabinet
In most homes built between the late 1980s and early 2000s, honey oak was the gold standard for cabinetry. While these cabinets are incredibly durable, their orange undertones and heavy grain often make a kitchen feel stuck in the past. In this guide, you will learn how to navigate a full cabinet makeover, from choosing the right season for the job to the technical nuances of grain filling and painting kitchen cabinets for a factory-grade finish.
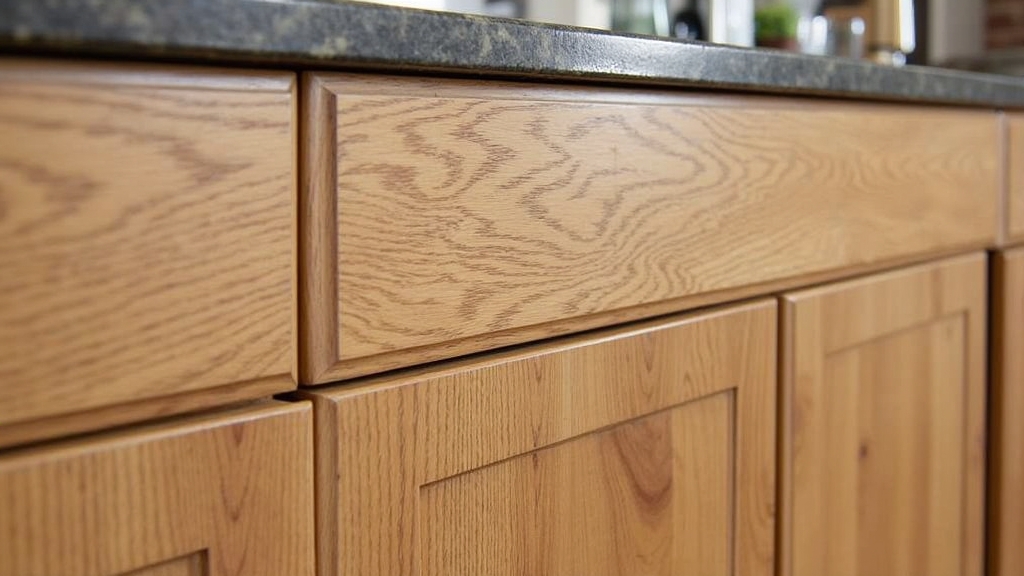
Why Oak Cabinet Trends Matter Today
The real issue usually isn't the quality of the wood; it's the aesthetics. Oak is a porous, open-grain hardwood that is structurally superior to many modern MDF alternatives. However, the prominent grain pattern can peek through paint if not handled correctly, and the yellowing clear coats used decades ago have reached their expiration date. Over the years, I have learned that updating these cabinets provides the highest return on investment for any kitchen renovation, provided you don't take shortcuts that lead to peeling paint six months later.
The Seasonal Timeline: When to Start Your Project
From experience, timing your cabinet update with the weather is the secret to a long-lasting finish. Most homeowners overlook how humidity and temperature affect the drying process of stains and paints.
Spring: The Deep Clean and Hardware Audit
What works best is starting your preparation in the spring. This is the ideal time to remove grease buildup that has accumulated over the winter. A common situation is finding that paint fails near the stove because of invisible oils. Use this time to order new hardware and test sample colors on the back of a cabinet door.
Summer: The Prime Window for Painting and Refinishing
Summer is the best time for the heavy lifting of refinishing oak cabinets. Low humidity is essential for paint to cure properly. If you are painting, you want the windows open for ventilation, but you must avoid days with high pollen or extreme humidity which can cause the paint to remain tacky. One thing many people overlook is that wood expands in heat; painting when the wood is at its most stable ensures your seams won't crack when the temperature drops.
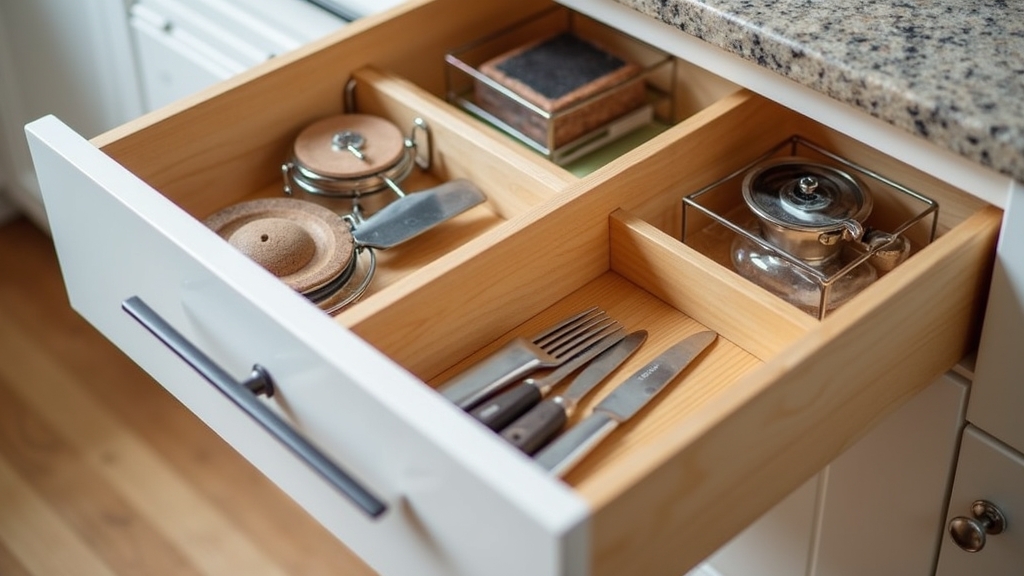
Autumn and Winter: Interior Organization and Final Touches
Once the exterior is cured, use the cooler months to focus on the "guts." I often recommend installing pull-out shelves or soft-close hinges during the winter. Since you'll be spending more time indoors, these functional upgrades make the kitchen more livable while the new finish fully hardens.
The Step-by-Step Solution for a Professional Update
In my experience, the difference between a DIY look and a professional finish comes down to the grain. Oak has deep pores that paint will not fill on its own.
- De-grease and Label: Remove every door and drawer front. Label them with a numbering system under the hinge plate. Use a heavy-duty degreaser like TSP (Trisodium Phosphate).
- The Sanding Phase: You don't need to sand to bare wood, but you must scuff the surface to break the original clear coat. Use 120-grit followed by 220-grit sandpaper.
- Grain Filling (Crucial Step): If you want a smooth, modern look, you must use a grain filler. What I have found is that products like Aqua Coat work wonders. You wipe it on, let it dry, and sand it back. This fills those deep oak "craters."
- Priming: Use a high-quality oil-based or shellac-based primer (like Zinsser BIN). This prevents the tannins in the oak from bleeding through your paint and turning it yellow.
- Painting: Apply two coats of a dedicated cabinet coating. From experience, avoid standard wall latex. Use a waterborne alkyd or a urethane enamel for a hard, durable surface.
Practical Tips from the Property Management Vault
The key thing to remember is that cabinets take more abuse than any other surface in your home. Here are my "pro-only" tips:
- Elevate your doors: Use "painter's pyramids" to keep the doors off the ground. This allows you to paint the edges without sticking to the drop cloth.
- Spray vs. Brush: If you want a factory finish, rent an HVLP (High Volume Low Pressure) sprayer. If you must brush, use a high-quality synthetic brush and a foam roller for the flat panels to minimize brush marks.
- Don't rush the cure: Paint feels dry to the touch in two hours, but it takes 30 days to fully cure. Avoid heavy cleaning or banging the doors during the first month.
Common Mistakes to Avoid
I have seen dozens of failed cabinet jobs in rental properties. Most failures stem from these three errors:
- Skipping the primer: Oak is notorious for "tannin bleed." Without a shellac-based primer, your white cabinets will eventually have brown spots.
- Painting over grease: Even the best paint won't stick to bacon grease. If the surface feels tacky after cleaning, clean it again.
- Forgetting the hardware: Reinstalling 1990s brass hinges on a modern navy cabinet ruins the effect. Budget for new hardware from the start.
Conclusion
Updating oak cabinets is a labor-intensive project, but when done with the right seasonal timing and attention to grain filling, it can save you $10,000 to $20,000 over a full replacement. In most homes, the bones are worth saving; they just need a bit of modern science and some patience.