The Choice: DIY Wireless or Professional Hardwired?
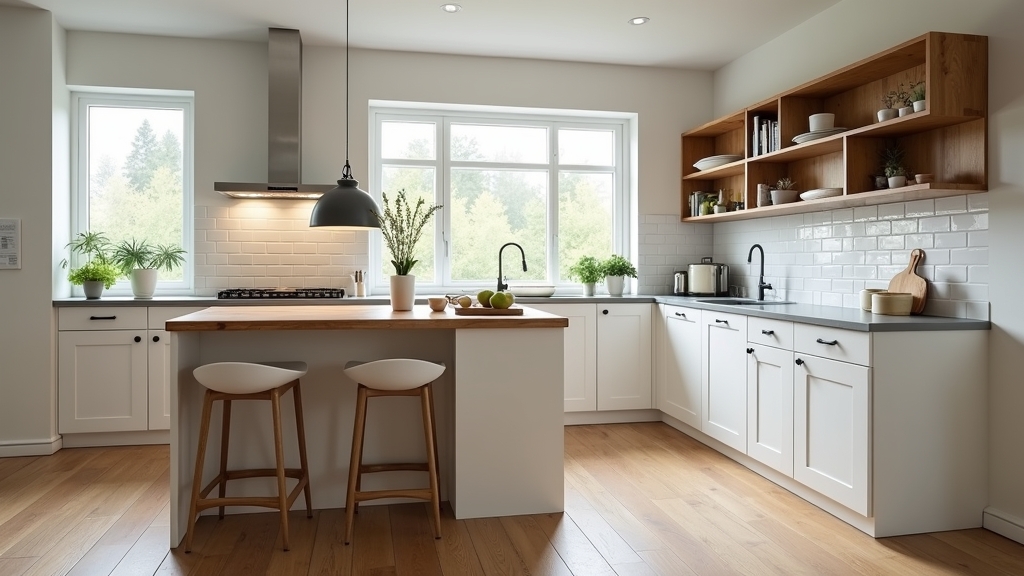
In most homes, the kitchen serves as the hub of activity. Whether you are prepping vegetables or reading a recipe, shadows under your upper cabinets make tasks difficult. Over the years, I have learned that proper kitchen task lighting is one of the most significant upgrades you can make. However, the first hurdle every homeowner faces is deciding between a quick DIY wireless install or hiring a professional for a hardwired system.
From experience, the decision usually comes down to your long-term goals for the home and your current budget. Wireless under cabinet lighting has come a long way in the last decade. Modern LED puck lights and battery operated kitchen lights now offer brightness levels that rival their wired counterparts. But there are trade-offs. While a DIY project can be finished in an hour, a professional installation provides a 'set it and forget it' convenience that wireless units cannot match.
Understanding Wireless Under Cabinet Lighting Options
If you decide to go the DIY route, you have several options. What works best is understanding how you use your kitchen before buying hardware. If you only need light during occasional holiday baking, your needs differ from someone who cooks three meals a day.
LED Puck Lights
LED puck lights are small, circular units that you can space out under your cabinets. They are excellent for creating pools of light. In my experience, these are best for highlighting specific areas, like a coffee station or a decorative backsplash. Most are battery-operated and attach with simple adhesive strips.
Rechargeable LED Light Bars
What I have found is that light bars provide more even coverage than puck lights. These are often thin strips that house multiple LEDs. Many modern versions use internal lithium-ion batteries. You simply pop them off their magnetic mounts to charge them via USB. This eliminates the recurring cost of disposable batteries, which is a common pitfall many people overlook.
The Pros and Cons of DIY Wireless Lighting
Under cabinet lighting DIY projects are popular for a reason. They are accessible to almost everyone, regardless of mechanical skill. However, you should consider both sides of the coin before heading to the hardware store.
Pros of the DIY Approach
- Low Initial Cost: You can outfit an entire kitchen for under $100.
- No Damage: Since most wireless lights use adhesive or magnets, they are perfect for renters.
- Speed: You can go from a dark kitchen to a bright workspace in thirty minutes.
- Flexibility: If you don't like the light placement, you can move a puck light in seconds.
Cons of the DIY Approach
- Maintenance: The real issue usually is the 'battery fatigue.' Eventually, you have to change or charge them.
- Consistency: Battery-operated kitchen lights may dim as the power runs low.
- Aesthetics: Some cheaper units look bulky or have a 'plastic' feel compared to integrated lighting.
When to Hire a Professional Electrician
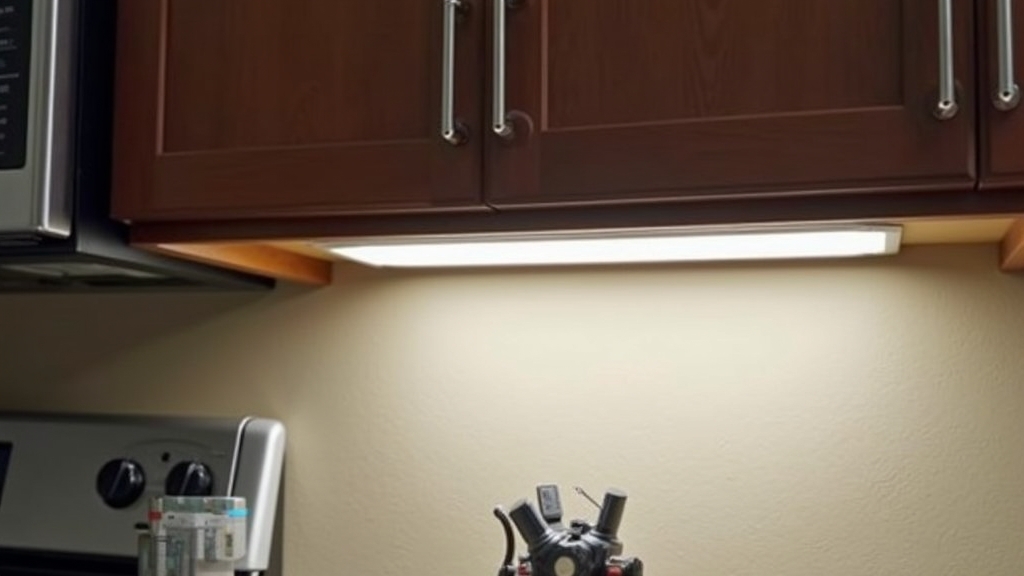
There are times when the DIY route isn't the best path. If you are doing a full kitchen remodel, hiring a pro is almost always the right call. A professional will tap into your home's electrical grid to install hardwired LED strips. These are controlled by a standard wall switch or a dimmer.
The key thing to remember is that hardwired lights increase your home's resale value. Homebuyers look for integrated features. In my experience, a professional install looks cleaner because there are no visible battery packs or charging ports. However, this requires cutting into drywall and running Romex cable through your wall studs, which is not a beginner-friendly task.
Cost Comparison: Materials vs. Labor
A common situation is a homeowner underestimating the price gap between these two options. Let's break down the realistic costs you can expect to see.
- DIY Wireless: A high-quality set of six LED puck lights with a remote usually costs between $30 and $60. If you choose rechargeable bars, expect to pay $20 to $40 per unit. Total project cost: $50 - $150.
- Professional Hardwired: An electrician typically charges $75 to $150 per hour. When you add the cost of the transformer, the light strips, and the wall switch, a standard kitchen install often runs between $800 and $2,000.
Best Use Cases: Finding Your Fit
To help you decide, I have categorized the best use cases for each method based on my 15 years of home projects.
Choose DIY Wireless If:
- You are renting your home or apartment.
- You want to test out light placement before committing to a permanent install.
- You have a small budget but need immediate task lighting.
- You only use the kitchen lights for a few hours a week.
Choose Professional Hardwired If:
- You are currently remodeling your kitchen.
- You want the lights to turn on automatically with the main room lights.
- You prefer high-end finishes and invisible hardware.
- You plan on staying in your home for more than five years.
Step-by-Step: Installing DIY Wireless Lights
If you have decided to tackle this yourself, follow these steps to ensure the lights stay put. One thing many people overlook is surface preparation.
- Clean the Surface: Use rubbing alcohol to wipe the underside of your cabinets. Grease from cooking will cause adhesive to fail within weeks.
- Plan the Layout: Place the lights on the counter and turn them on. See where the shadows fall before sticking them up. What works best is placing the light toward the front of the cabinet, not against the wall. This centers the beam on your workspace.
- Apply the Mounts: Press the adhesive firmly for at least 30 seconds. If the lights are heavy, consider using the small screws that often come in the kit.
- Test the Remote: Many LED puck lights come with a remote. Ensure the sensor on the light isn't blocked by the cabinet lip.
Final Recommendation
For most homeowners looking for a weekend win, I recommend starting with rechargeable LED light bars. They offer the best balance of brightness and ease of use without the waste of disposable batteries. If you find that you love the look but hate the charging process, you can always save up for a professional hardwired installation later. The goal is to make your kitchen more functional, and both paths will get you there.