Designing a kitchen is often a game of inches, but nowhere is that more apparent than when hanging pendant lights over an island. In this guide, you will learn the exact mathematical formulas for spacing, the industry-standard heights for optimal visibility, and how to adjust your lighting strategy to match the shifting natural light of the seasons.
Why Lighting Geometry Matters
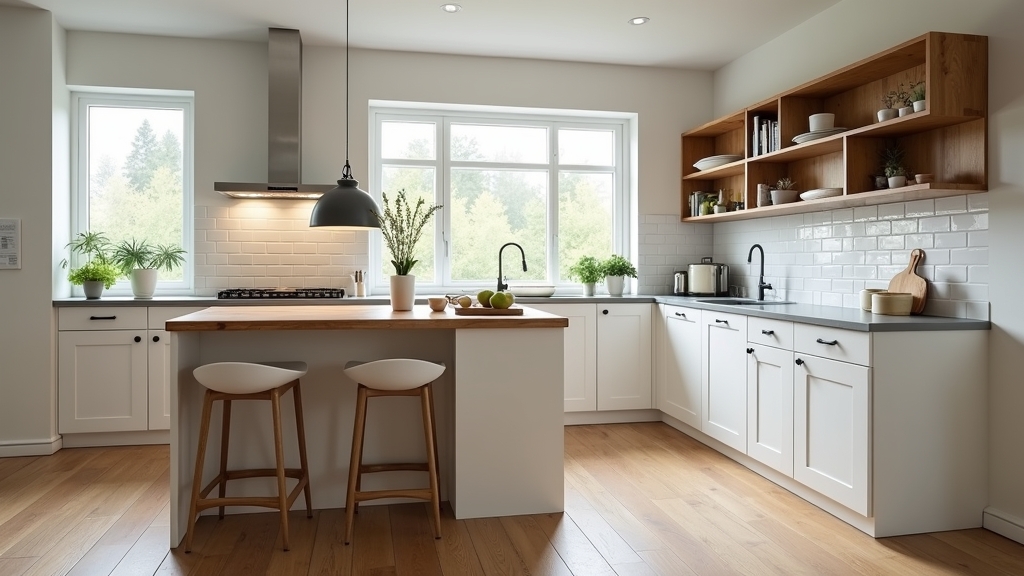
In most homes, the kitchen island is the literal and figurative centerpiece of the house. From experience, I can tell what the biggest mistake is: homeowners choose fixtures they love but install them based on guesswork. When overhead light placement is off by even four inches, it creates a 'visual clutter' that can make a high-end kitchen feel cramped. The real issue usually is not the light fixture itself, but the shadows it casts or the way it obstructs the view of the person sitting across from you. Proper spacing ensures that your island is functional for prep work in the winter and atmospheric for entertaining in the summer.
The Golden Rules of Pendant Spacing
One thing many people overlook is that spacing isn't just about the distance between the lights; it's about the relationship between the light, the island edge, and the human eye. Over the years, I have learned that the 'Rule of Three' is a solid starting point, but it isn’t a law. What works best is a balance between the diameter of the fixture and the length of the counter.
The 30-36 Inch Height Rule
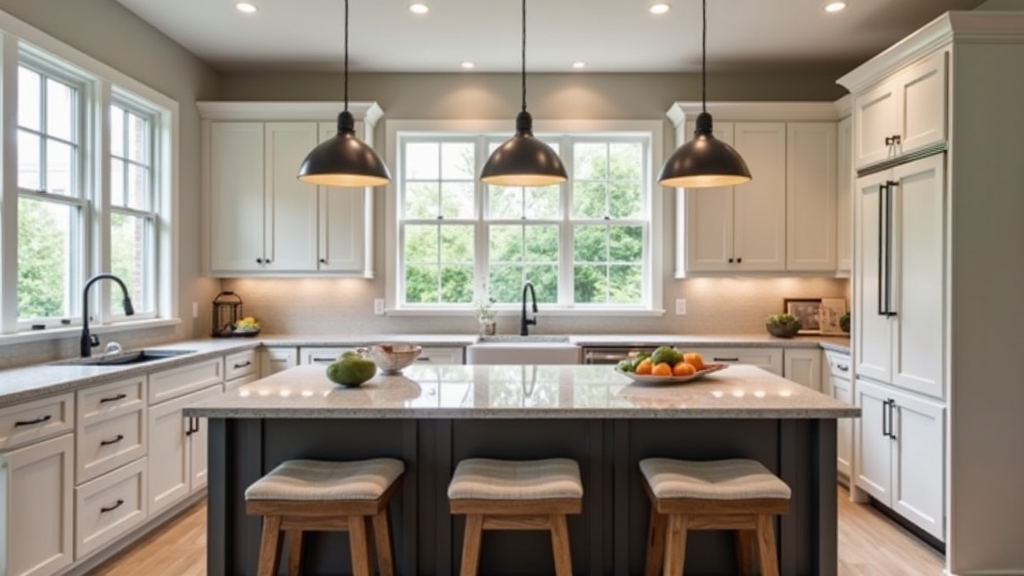
The standard island lighting height is 30 to 36 inches from the top of the counter to the bottom of the pendant. However, this is based on an 8-foot ceiling. If you have 9 or 10-foot ceilings, what I have found is that you should add approximately 3 inches of height for every additional foot of ceiling. If you hang them too low, you’ll be staring at a lightbulb; too high, and the light dissipates before hitting your workspace.
Spacing Between Fixtures
To find the perfect 'hanging pendant lights' placement, use this formula: Measure the length of your island and subtract the total width of all pendants combined. Divide that number by the number of pendants plus one. For example, if you have a 60-inch island and two 12-inch pendants, you have 36 inches of 'air' to distribute. Dividing by three (two lights plus one) gives you 12 inches of space between the lights and 12 inches from each end. In my experience, keeping at least 12-18 inches from the edge of the island prevents the 'airport runway' look and keeps the light centered on the work surface.
Seasonal Lighting Adjustments: A Year-Round Strategy
A common situation is that a kitchen feels bright and airy in July but cavernous and gloomy in December. Your pendant placement should account for these shifts.
Winter: Maximizing Lumens
During the winter solstice, natural light disappears by 4:00 PM. This is when your kitchen lighting rules are put to the test. In most homes, the pendants become the primary source of task lighting. I recommend using bulbs with a Color Rendering Index (CRI) of 90 or higher during these months to ensure your food looks appetizing and your workspace is safe. What works best is a 'layered' approach—using your pendants in conjunction with under-cabinet LEDs to eliminate the deep shadows that winter light creates.
Spring and Summer: Competing with Glare
In the brighter months, the key thing to remember is that natural sunlight can make your pendants look 'off' if the bulb temperature is too warm. From experience, 3000K (Warm White) is the sweet spot that balances the blue-tinted natural summer light without making the kitchen feel like a surgical suite. During these seasons, your pendants act more as decorative accents than primary light sources.
Autumn: The Transition to Warmth
As the days shorten, the real issue usually is the lack of dimming capabilities. What I have learned over the years is that every kitchen pendant must be on a dimmer switch. As autumn sets in, you want the ability to dial back the intensity to create a cozy, harvest-focused atmosphere for evening meals.
Practical Tips from the Field
- Test with Balloons: Before the electrician arrives, blow up balloons to the size of your chosen pendants and hang them with string. This allows you to walk around the island and check sightlines.
- Consider the 'Visual Weight': A clear glass pendant has less 'visual weight' than a solid copper one. If your fixtures are heavy or dark, you can afford to hang them slightly higher to open up the room.
- The Eye Level Check: Ensure the bottom of the pendant does not sit directly at eye level for the tallest person in the house. You want to look under or over the fixture, never directly into the rim.
Common Mistakes to Avoid
The most frequent error I see is 'Under-scaling.' Homeowners often buy pendants that are too small for the island, making the kitchen look disjointed. If your island is over 8 feet long, you likely need large-scale pendants (at least 15-18 inches in diameter) or a set of three medium fixtures. Another mistake is ignoring the 'sway factor.' In high-traffic kitchens or those with significant airflow, choose pendants with downrods rather than chains or cords to keep them from swinging.
Conclusion
Proper kitchen lighting is a blend of mathematical precision and seasonal intuition. By following the 30-36 inch height rule and calculating your spacing based on island proportions, you create a space that is as functional as it is beautiful. Remember, lighting isn't just about seeing your countertop; it's about setting the stage for your home life throughout the year.