Why Your Peel and Stick Backsplash Fails
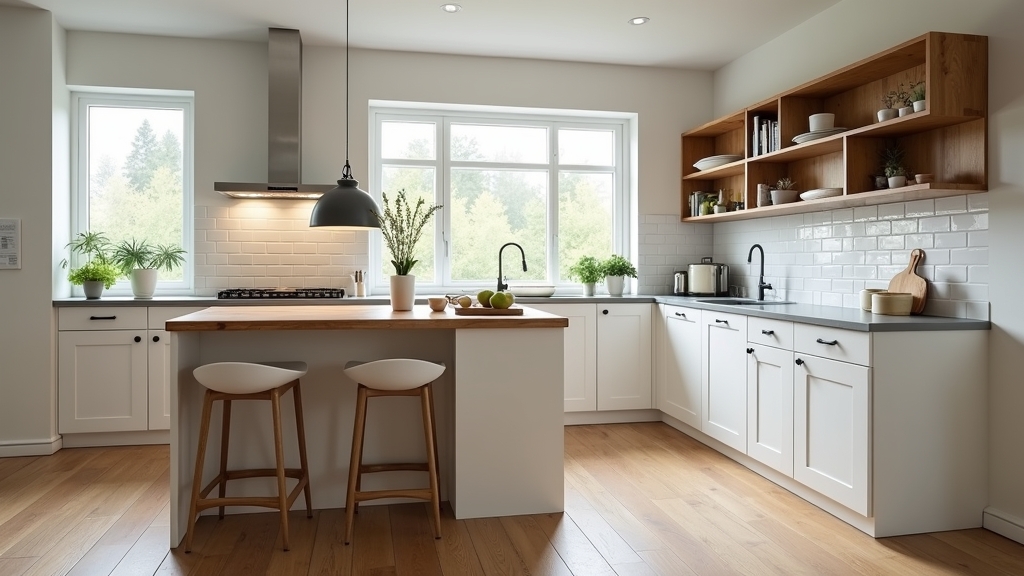
As a gardener, I have learned that a plant is only as healthy as the soil it grows in. The same principle applies to your kitchen. You spend hours picking the perfect DIY backsplash tile, only to find the corners curling away from the wall three weeks later. It is a common frustration for renters and homeowners alike. Most people assume the adhesive is just 'cheap,' but the reality is usually more complex. A successful kitchen wall update depends entirely on understanding the environment of your kitchen.
The Problem with Grease and Residual Dirt
Here is the thing: your kitchen walls are likely covered in a microscopic layer of aerosolized cooking oil. Even if the wall looks clean, that invisible film prevents stick on wall tiles from creating a permanent bond. When you apply a renter friendly backsplash over grease, the adhesive sticks to the oil instead of the wall. Eventually, gravity wins, and the tile sags.
Texture and Surface Tension
Now, the important part to consider is the texture of your wall. Most peel and stick products require a smooth, flat surface. If your apartment has 'orange peel' or 'knockdown' textures, the tile only touches the high points of the wall. This leaves air gaps behind the tile. This is where it gets interesting—those air gaps trap moisture from your boiling pasta pots, which slowly dissolves the adhesive from the inside out.
Temperature Fluctuations
What most people miss is the impact of heat. If you install tiles directly behind a high-heat stove without a buffer, the constant expansion and contraction will fatigue the glue. Most vinyl tiles are not rated for extreme heat. If the wall gets hot to the touch, the adhesive will liquefy and slide.
Immediate Steps for a Successful Installation
The good news is that you can achieve a professional look if you follow a specific sequence. Do not just pull the backing off and start sticking. You need to treat this like a surgical procedure for your walls.
Step 1: Deep Clean the Substrate
You must use a degreaser. A simple wipe with water is not enough. I recommend a mixture of TSP (Trisodium Phosphate) or a heavy-duty dish soap. Scrub the area until the water no longer beads on the surface. Worth mentioning: you must let the wall dry for at least 24 hours. Any moisture trapped behind the tile will cause mold growth or adhesive failure.
Step 2: Sanding the Surface
On the other hand, if your walls are very glossy, the adhesive has nothing to 'grab.' Use a fine-grit sandpaper (around 220 grit) to lightly scuff the paint. You are not trying to remove the paint, just taking the shine off. This creates a 'mechanical bond' that is much stronger than sticking to a slick surface.
Step 3: Precise Measuring and Leveling
Do not trust your countertops to be level. In older apartments, the counters often slope. Use a laser level or a traditional spirit level to draw a straight horizontal line across the wall. Start your first row of tiles on this line. If your first row is crooked, every subsequent row will emphasize the error, leading to gaps that you cannot hide.
Long-Term Prevention Strategies
Prevention starts with choosing the right material for your specific kitchen environment. Something to keep in mind is that not all 'peel and stick' is created equal. There are thin vinyl stickers and thicker epoxy or composite tiles. The thicker tiles are more forgiving of wall imperfections but heavier, requiring a better initial bond.
Seal the Edges
The most common failure point is the edge where the tile meets the countertop. Water from the sink splashes up and seeps behind the tile. To prevent this, apply a thin bead of clear silicone caulk along the bottom edge and in the corners. This creates a watertight seal that keeps the adhesive dry and prevents the tiles from lifting.
Acclimate the Tiles
Just like hardwood flooring, these tiles need to adjust to your home's humidity. Leave the box of tiles open in your kitchen for 48 hours before installation. This prevents the tiles from shrinking or expanding after they are already on the wall.
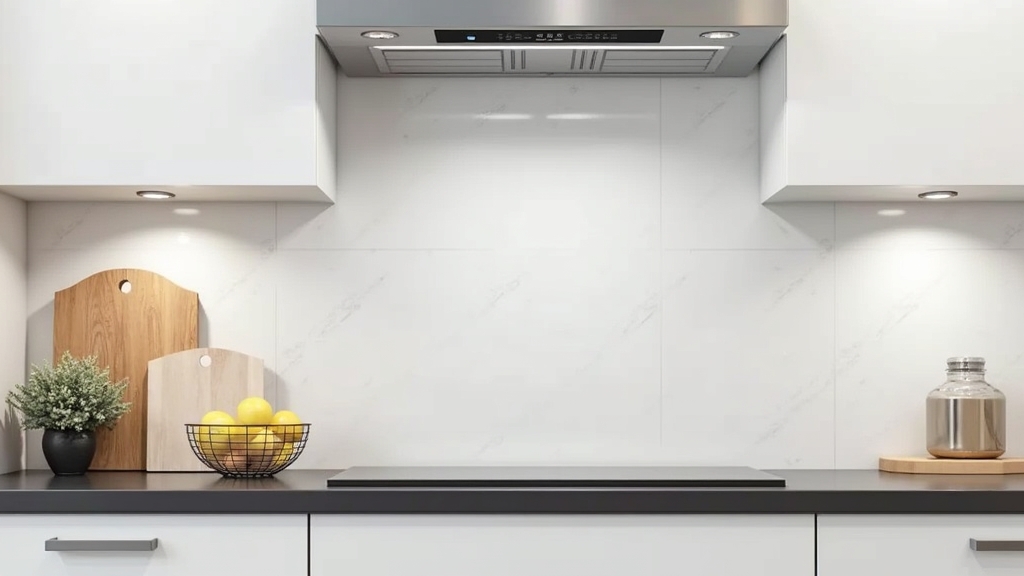
Avoid Direct Heat Contact
If you have a gas range with no back guard, avoid placing vinyl stick on wall tiles within 6 inches of the burners. For these high-heat areas, consider a tempered glass shield or a metal peel and stick option designed for heat resistance.
When to Call a Professional
While a DIY backsplash tile project is usually safe for beginners, there are times when you should step back. If you notice soft spots in the drywall, this indicates existing water damage or mold. Putting a plastic tile over mold will only accelerate the rot. Additionally, if you need to move electrical outlets to accommodate your new layout, always call a licensed electrician. Never bury an outlet or a junction box behind your new backsplash.