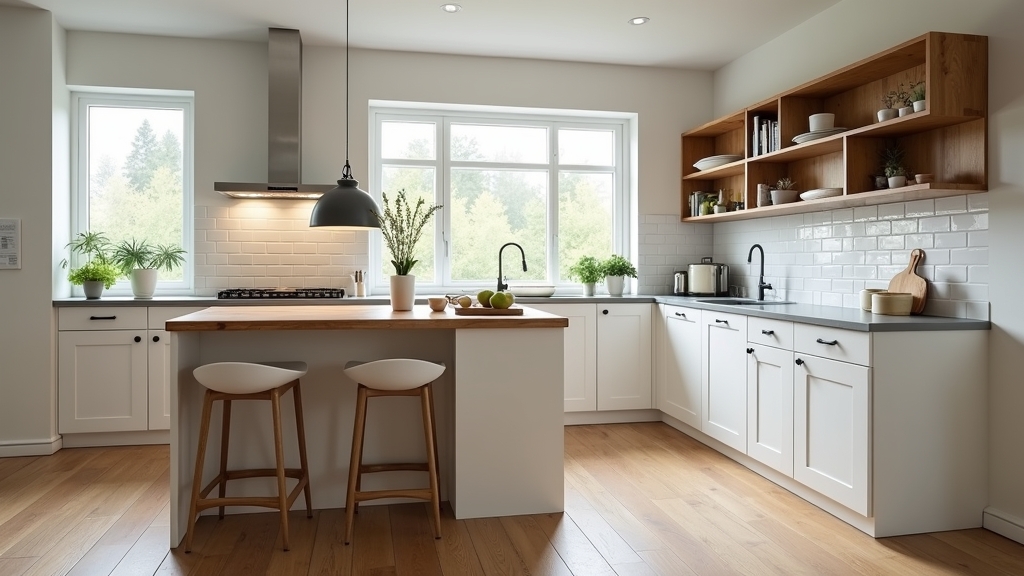
I’ve managed over fifty rental properties in my career, and if there is one upgrade that consistently makes a kitchen feel high-end without a gut renovation, it is the hidden garbage bin. Nobody wants to look at a plastic bucket overflowing in the corner of a beautiful kitchen. But here is the thing: not all pull-out trash bin installations are created equal. I have seen cheap units buckle under the weight of a heavy bag of glass bottles within six months, and I have seen professional-grade systems last twenty years.
Whether you are looking for a trash can cabinet kit to save time or trying to maximize under sink organization, choosing the right method is critical. In this guide, I’m going to break down the three most common ways to install a pull-out system, comparing them on durability, ease of install, and cost. By the end, you’ll know exactly which one will survive your household’s daily wear and tear.
The Options at a Glance
When you decide to go with a pull out bin installation, you generally have three paths to take. Each has its own set of hardware requirements and installation quirks.
Option 1: Bottom-Mount Slide-Out Kits
This is the workhorse of the property management world. These units feature a heavy-duty steel frame that screws directly into the floor (the floor board) of your cabinet. You open the cabinet door, grab the handle on the wire frame, and pull it out.
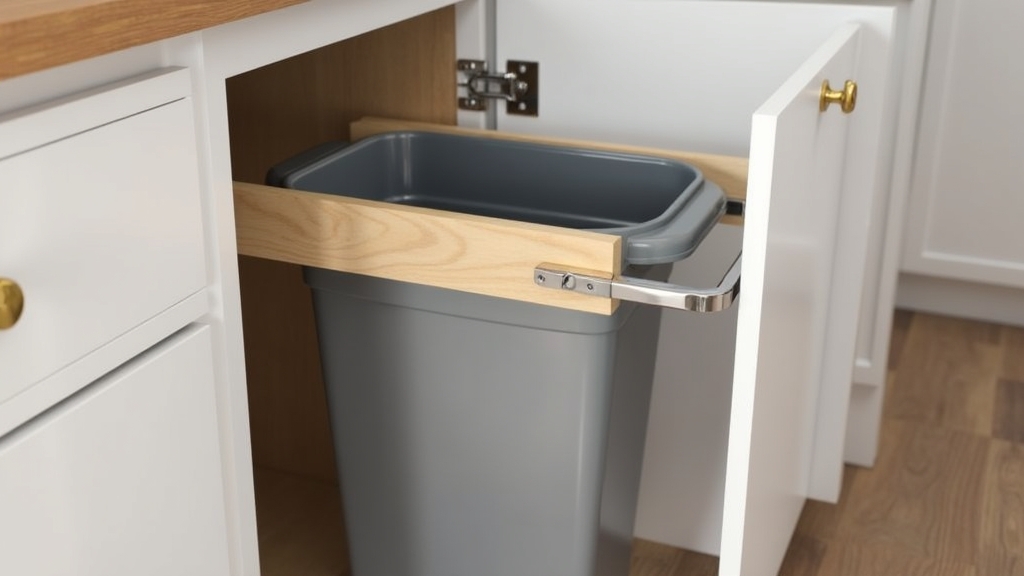
Option 2: Door-Mounted Integrated Systems
This is the "seamless" look. Instead of opening a door and then pulling out a bin, the cabinet door itself is attached to the slide mechanism. When you pull the cabinet handle, the door and the trash cans come out in one motion.
Option 3: Under-Sink Pivot or Side-Mounts
Under-sink organization is tricky because of the plumbing. These bins are often smaller and either pivot out when the door opens or mount to the side wall of the cabinet to clear the P-trap under the sink.
Detailed Comparison: Pros and Cons
Bottom-Mount Kits: The Durable Choice
In my experience, if you want something that won't break when a guest or a teenager gets a little too aggressive with the trash, this is it.
- Pros: Extremely easy to install (usually just four screws); handles high weight capacities; can be installed in minutes.
- Cons: Requires two motions to access (open door, then pull bin); the floor of the cabinet must be level.
This is where it gets interesting: Most people think they need a custom cabinet for this, but these kits come in standard widths (12", 15", 18") that fit almost any existing base cabinet.
Door-Mounted Kits: The Convenience King
Now, the important part about door-mounted systems is the hardware. Since the door is taking all the leverage every time you pull, the brackets have to be rock solid.
- Pros: One-handed operation; looks professional and custom-built; hides the trash entirely.
- Cons: Difficult to align perfectly; can put stress on cabinet hinges if not installed with a heavy-duty kit; more expensive.
Worth mentioning: if your cabinet door has a thin center panel (like a Shaker style), you have to be very careful where you drive your mounting screws to avoid piercing the front face.
Under-Sink Bins: The Space Saver
What most people miss when planning under sink organization is the clearance for the sink basin itself. You often only have about 15-20 inches of vertical height to work with.
- Pros: Uses "dead" space; keeps the main cabinets free for pots and pans.
- Cons: Small capacity (often only 5-7 gallons); prone to getting stuck on pipes or disposal units.
Cost Comparison
Let’s talk numbers. As a property manager, I have to balance the "upfront cost" with the "replacement cost."
- Bottom-Mount Wire Kit: $50 - $120. These are affordable and last forever.
- Door-Mounted Wood/High-End System: $150 - $350. You are paying for the soft-close glides and the heavy-duty door brackets.
- Under-Sink Side Mount: $40 - $80. Usually cheaper because they are smaller and hold less weight.
The good news is that for around $100, you can get a commercial-grade trash can cabinet kit that will easily outlast your dishwasher.
Installation Tips from the Field
I’ve seen plenty of botched pull out bin installations. Here is the secret to a fix that lasts:
- Clear the Obstructions: Check for plumbing, gas lines, or electrical outlets at the back of the cabinet. A 20-inch deep slide needs 21 inches of actual clearance.
- The "Shim" Trick: If your cabinet has a face frame (the wood lip around the opening), the floor of the cabinet is often lower than the lip. You will need to install a piece of 1/2-inch plywood as a spacer so the slides can clear the frame.
- Check the Swing: If you are using a bottom-mount kit, make sure the cabinet door can open 90 degrees or more. If the door hits the fridge or a wall and only opens 80 degrees, the bin will scrape the door every time it slides out.
Best Use Cases for Each
- The Busy Family Kitchen: Go with a double-bin door-mounted kit. You’ll want one bin for trash and one for recycling. The one-motion pull is a lifesaver when your hands are full of food scraps.
- The Rental Property: Go with a bottom-mount wire kit. It’s nearly impossible for a tenant to break, and if they do, it's a 10-minute swap.
- Small Apartments/Condos: The under-sink hidden garbage bin is your best friend. It preserves your limited floor-level cabinet space for heavier items.
Final Recommendation
If you are looking for the best balance of longevity and aesthetics, I recommend a heavy-duty bottom-mount kit with an optional door-mount bracket. This gives you the stability of the floor-mounted glides but the convenience of the one-pull door. On the other hand, if you are on a budget, a simple wire-frame bottom-mount is a 5-star upgrade that you can do on a Saturday morning with just a drill.
Something to keep in mind: Always check your trash bag sizes before buying the bin. It sounds silly, but finding a 35-quart bin that fits standard 13-gallon kitchen bags is much easier than hunting down specialty bags for a 30-quart custom European model.