Restoring Your Stainless Steel Finish
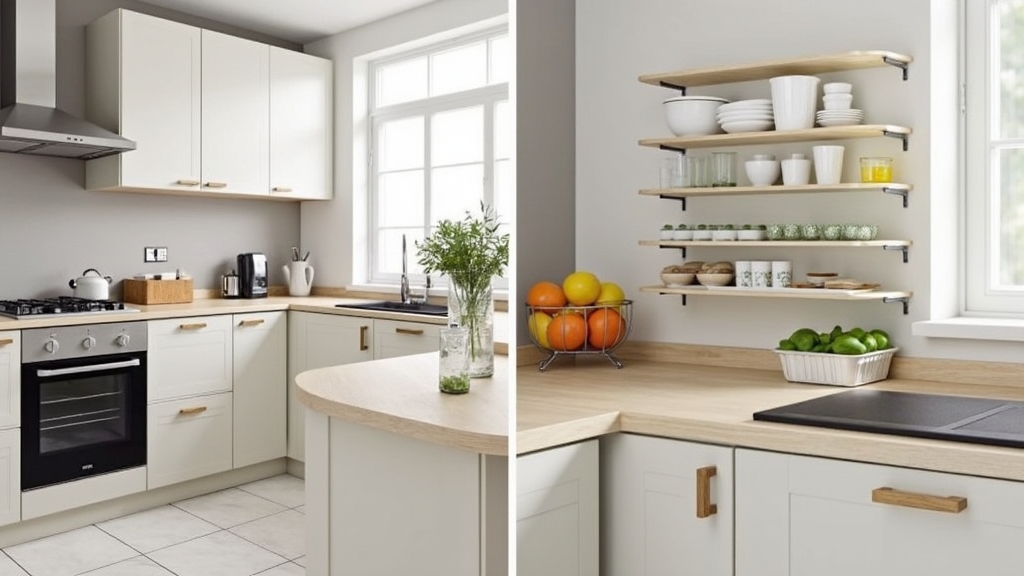
In most homes, stainless steel appliances are the centerpiece of the kitchen. They offer a sleek, modern look that suggests cleanliness and durability. However, after years of helping homeowners optimize their kitchens, I have found that the biggest frustration isn't the energy consumption of these units, but how easily they show wear and tear. A single scratch on a refrigerator door or dishwasher panel can catch the light and become an eyesore. From experience, many people assume these marks are permanent or that they require a professional restoration service. The truth is that most surface-level imperfections can be handled with patience and the right technique.
What works best is a methodical approach that respects the unique properties of the metal. Stainless steel isn't just a solid block of material; it has a specific texture, or 'grain,' created during the manufacturing process. Understanding this grain is the key to a successful repair. In this guide, we will cover the tools you need and the precise steps to buffing out appliance scratches while avoiding the common mistakes that often make a small problem much worse.
The Biggest Mistakes to Avoid
Before we pick up any tools, we must address the errors I see most frequently. The real issue usually isn't the scratch itself, but the damage caused by panic-driven cleaning. One thing many people overlook is that stainless steel is surprisingly sensitive to abrasive materials that aren't specifically designed for it.
Using Steel Wool or Harsh Scrubbers
It sounds counterintuitive, but never use steel wool on stainless steel. Over the years, I have learned that carbon steel fibers from the wool can actually embed themselves into the stainless surface, leading to rust spots later on. Furthermore, generic green scouring pads are often too aggressive and will create a 'cloudy' patch that is harder to fix than the original scratch.
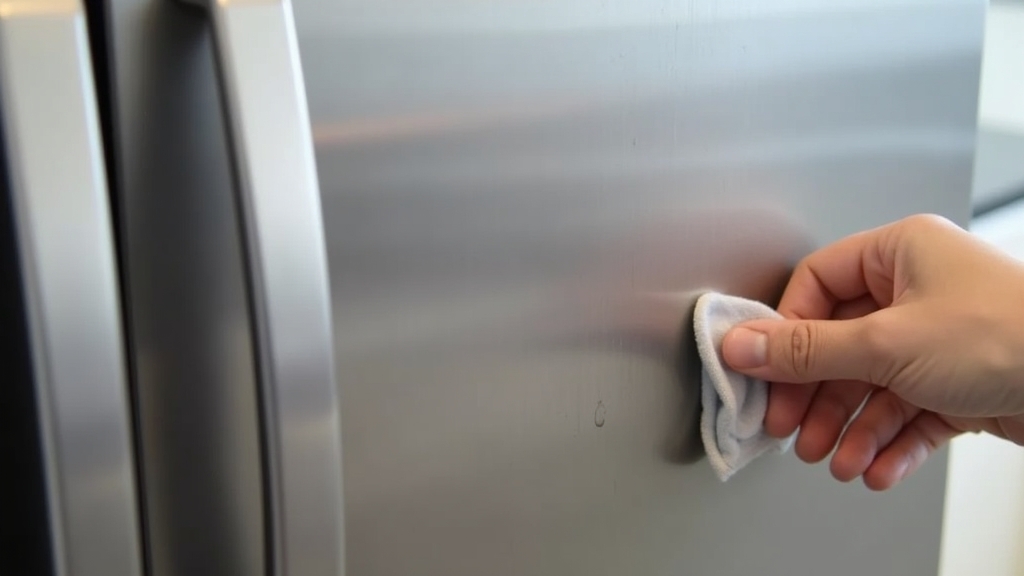
Working Against the Grain
If you look closely at your fridge or stove, you will see fine lines running either horizontally or vertically. This is the grain. A common situation is someone scrubbing in circles or against this grain. Doing so crosses the factory lines, creating cross-hatch marks that permanently dull the finish. What I have found is that you must always, without exception, move your hand in the direction of those lines.
Essential Tools and Materials
To perform a successful repair, you don't need expensive machinery. A basic stainless steel repair kit or a few hardware store staples will suffice. Here is what you should have on hand:
- Microfiber Cloths: At least three or four clean, lint-free cloths.
- Non-Abrasive Cleaning Agent: A mild dish soap or a dedicated stainless steel cleaner.
- Buffing Compound: A fine-grit polishing paste. If you are using a commercial stainless steel repair kit, it will likely include a specific compound.
- Wet/Dry Sandpaper: For deeper scratches, you may need 1000 to 3000 grit paper. Ensure it is specifically rated for metal.
- Vegetable or Mineral Oil: For a final polish and protective layer.
- Distilled Water: This prevents mineral spotting during the final cleanup.
Preparation Steps
Preparation is where many homeowners rush, but it is the most critical phase. You cannot repair a surface that is covered in grease or dust. From experience, attempting to buff a scratch on a dirty surface just grinds the dirt into the metal, creating more micro-scratches.
- Identify the Grain: Look at the appliance under a bright light. Determine if the lines run left-to-right or up-and-down.
- Clean the Surface: Use mild soap and warm water to remove all fingerprints, oils, and food residue. Dry the area completely with a microfiber cloth.
- Assess the Depth: Run your fingernail across the scratch. If your nail catches deeply, it may require professional help or more intensive sanding. If it feels smooth, a simple buffing compound will work.
Step-by-Step Instructions for Buffing Out Scratches
Step 1: Apply the Polishing Compound
Start with the least aggressive method. Apply a small, pea-sized amount of polishing paste or compound to a clean microfiber cloth. Do not apply it directly to the appliance, as this makes it harder to control the amount of material used.
Step 2: Buff with the Grain
Using firm, even pressure, rub the compound into the scratch. Remember to move your hand exclusively in the direction of the grain. I recommend using long, fluid strokes rather than short, jerky motions. Continue this for two to three minutes, then wipe away the excess to check your progress.
Step 3: Sanding Deeper Scratches (If Necessary)
If the compound didn't remove the mark, you may need to use wet/dry sandpaper. Soak the sandpaper in water for 10 minutes first. Using the 1000-grit paper, lightly stroke the scratch in the direction of the grain. Keep the area wet at all times. Once the scratch begins to fade, switch to the 2000 or 3000-grit paper to blend the area with the surrounding metal.
Step 4: The Final Cleaning
Once the scratch is gone, you will likely have a residue from the compound or sanding. Use a fresh, damp microfiber cloth to wipe the entire panel. This ensures that the texture looks uniform across the whole door or surface.
Step 5: Sealing and Polishing
The final step is to restore the luster. Stainless steel has a protective chromium oxide layer that we have slightly disturbed. Apply a tiny amount of mineral oil or a dedicated stainless steel polish to a cloth and wipe it over the entire surface. This hides any remaining micro-abrasions and provides a barrier against future fingerprints and water spots.
Tips for Best Results
The key thing to remember is that patience is your best tool. What works best is checking your progress every 30 seconds. It is much easier to add more pressure than it is to fix an area that has been over-sanded. One thing many people overlook is lighting; I always suggest using a portable work light or a flashlight held at an angle to reveal the true state of the metal.
Troubleshooting Common Issues
If you finish the process and notice a 'haze' around the area you worked on, it usually means you didn't buff long enough with the finer grit or the final polish. Re-apply the finest polishing compound and work it into the hazy area using long strokes that extend several inches past the repair site to blend it in. If the color of the repaired area looks slightly lighter than the rest of the fridge, don't worry—stainless steel naturally oxidizes over time, and the color will likely match again within a few weeks of exposure to the air.