Why Cabinet Hardware is the Ultimate Quick Fix
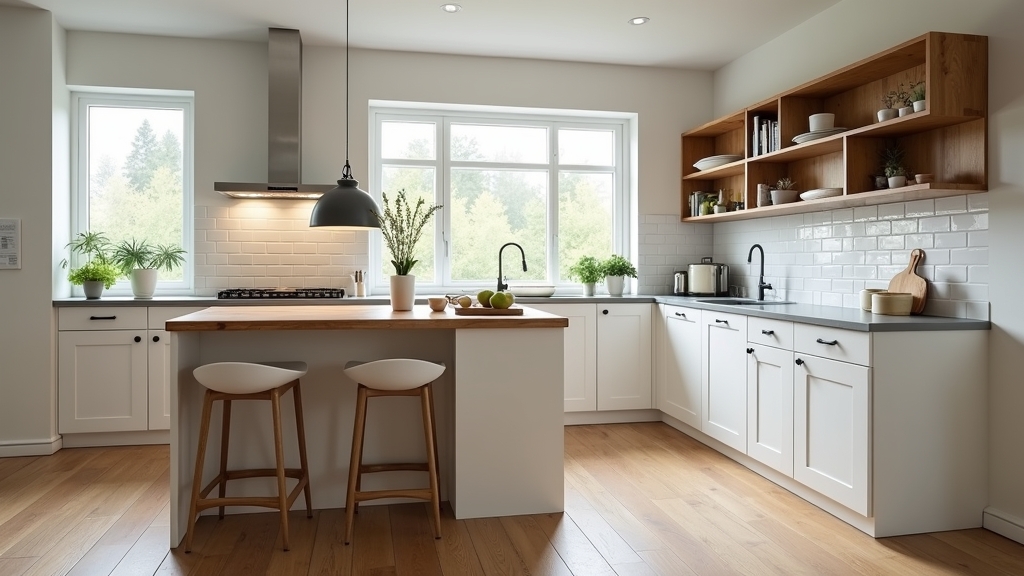
In most homes, the kitchen is the heart of the property, but it’s also the first room to show its age. Over the years, I have learned that you don't always need a $20,000 remodel to breathe new life into a space. Sometimes, the most impactful change comes from something as small as the handles you touch every single day. Cabinet pull replacement is the ultimate property manager’s secret: it’s inexpensive, requires minimal tools, and can be completed in a single afternoon.
From experience, I’ve seen how swapping out 1990s polished brass for modern matte black can increase a rental's appeal or a home's resale value instantly. However, while it seems simple, there are nuances to doing it right so the fix lasts for years rather than becoming a loose, rattling annoyance. In this guide, I’ll show you how to measure, select, and install hardware like a pro.
The Impact of Modern Hardware
What I have found is that hardware acts as the 'jewelry' of the kitchen. If your cabinets are in good structural shape but look 'tired,' the real issue usually is the dated profile of the handles. By focusing on kitchen hardware trends, you can align your kitchen with modern aesthetics without touching a paintbrush or replacing a countertop.
Measuring Cabinet Hardware: The Golden Rule
The most common mistake I see homeowners make—and I’ve seen it dozens of times—is ordering beautiful new pulls only to realize they don't fit the existing holes. The key thing to remember is that you aren't measuring the total length of the handle; you are measuring the 'center-to-center' distance.
How to Measure for Pulls
- Remove one existing pull: Don't try to measure while it's still attached.
- Measure the distance: Use a metric and imperial ruler to find the exact distance between the centers of the two holes.
- Standard sizes: Common sizes include 3 inches (76mm), 96mm, and 128mm. If your kitchen was built in the last 20 years, it’s likely one of these.
One thing many people overlook is that if you have single-knobs, you have much more flexibility. You can replace a knob with another knob easily, or even 'upgrade' to a pull if you are willing to drill a second hole and patch the old one—though for a quick fix, I usually recommend sticking to the existing footprint.
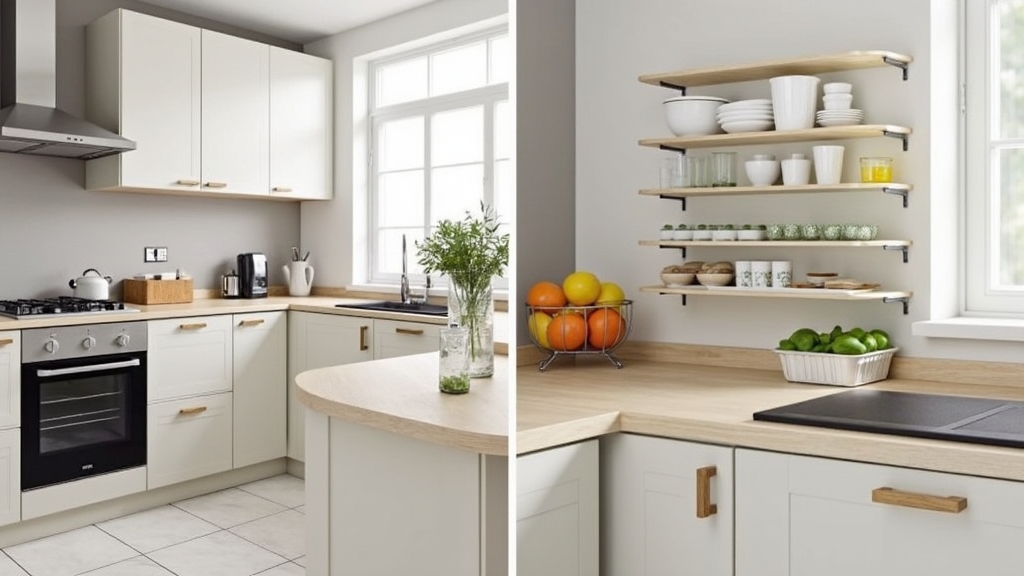
Current Kitchen Hardware Trends
When selecting your new hardware, you want something that looks current but won't be an eyesore in five years. In my experience, certain finishes stand the test of time better than others.
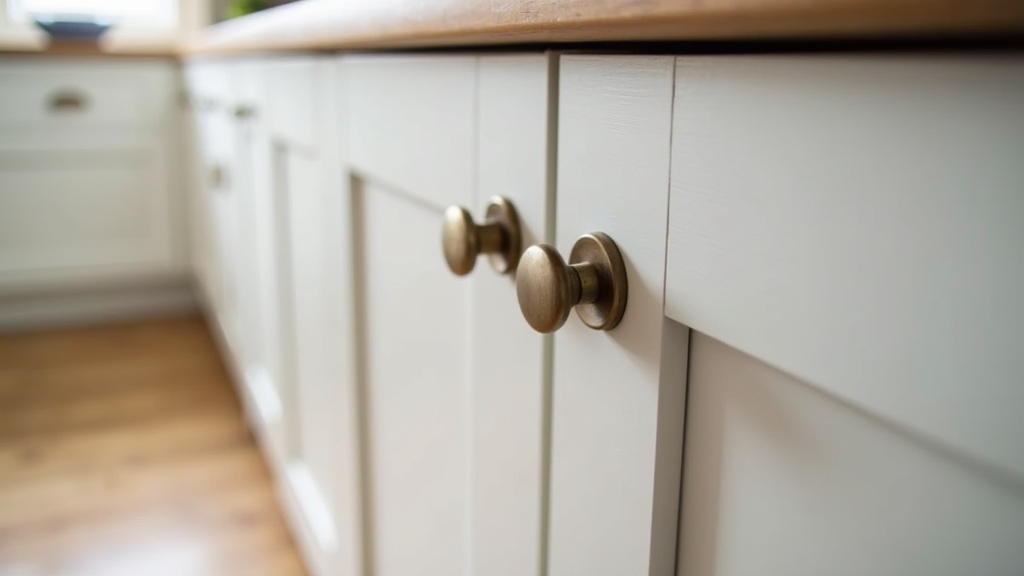
- Matte Black: Excellent for contrast, especially on white or light wood cabinets. It hides fingerprints well, which is a major plus in high-traffic kitchens.
- Brushed Gold/Brass: This isn't the shiny brass of the 80s. Modern honey-toned brass adds warmth and a luxury feel.
- Slim Square Bar Pulls: These are a staple in modern design. They offer a clean, linear look that stretches the visual height of your cabinets.
- Champagne Bronze: A personal favorite of mine for high-end rentals. It’s softer than gold and hides water spots better than polished chrome.
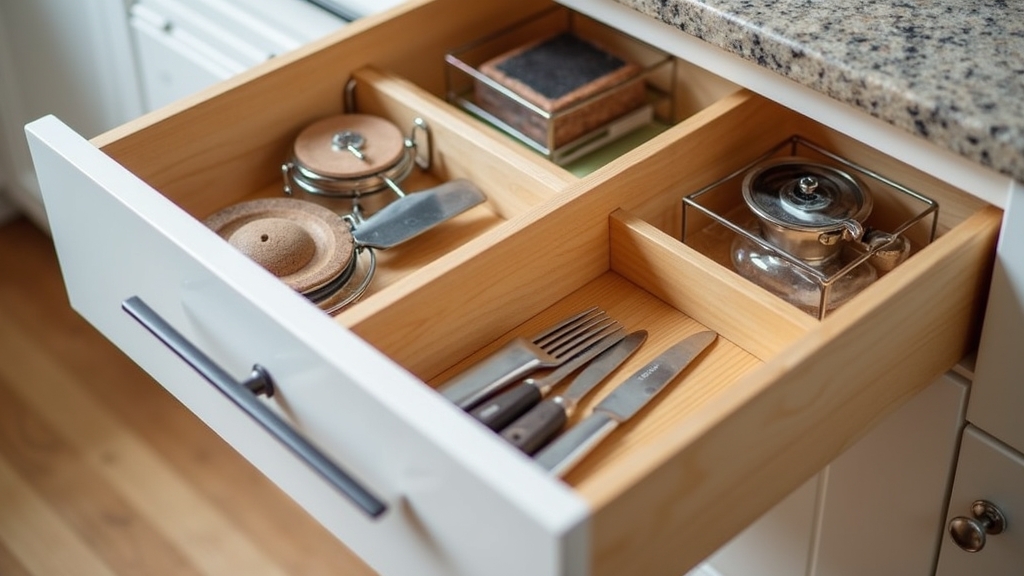
Tools and Materials Needed
To do this right, you don't need a full workshop, but having the right specialized tools will save you hours of frustration. What works best is having everything staged on your kitchen island before you turn the first screw.
- New Knobs or Pulls: Ensure you have 10% more than you think you need (defects happen).
- Screwdriver: A multi-bit manual screwdriver is better than a power drill for the final tightening to avoid stripping the wood.
- Cabinet Hardware Jig: If you are drilling new holes, this is non-negotiable.
- Blue Painter's Tape: For marking and preventing wood splintering.
- Degreaser/Cleaner: To clean the area hidden under the old hardware.
- Small Level: To ensure long pulls are perfectly vertical or horizontal.
Step-by-Step Guide to Installing Cabinet Knobs and Pulls
Step 1: The Audit and Prep
A common situation is finding that the area behind the old handle is discolored or sticky. Before installing the new hardware, clean every door and drawer face with a mild degreaser. From experience, if you skip this, the grime will act as a shim, causing the new handle to sit crookedly or eventually work itself loose.
Step 2: Remove the Old Hardware
Open the cabinet door and support the handle with one hand while unscrewing from the back. This prevents the handle from falling and scratching the cabinet face. If the screw is stuck, don't force it; a drop of penetrating oil can help.
Step 3: Test Fit the New Hardware
Before you unbox all twenty handles, test one. Ensure the screws provided are the right length. Most hardware comes with 1-inch screws for doors and 1.5-inch to 1.75-inch 'breakaway' screws for drawers (which are thicker because of the drawer box).
Step 4: Using a Template (If Drilling New Holes)
If you are switching from knobs to pulls, use a plastic template. In my experience, 'eyeballing it' is the fastest way to ruin a cabinet door. Tape the template to the door, mark your holes with a pencil, and double-check with a level.
Step 5: Installation
Thread the screw through the back of the door. Hold the handle on the front and turn the screw into the handle. I always recommend starting by hand to avoid cross-threading. Finish with a manual screwdriver. Over the years, I have learned that power drivers often over-torque the screws, either snapping the head off or stripping the soft zinc inside the handle.
Professional Tips for Lasting Results
What works best for longevity is adding a tiny drop of blue thread-locker (like Loctite) to the screw threads before installation. This prevents the handles from loosening over time due to the constant vibration of the doors closing.
Another pro tip: if your new handles are slightly smaller than the 'shadow' left by the old ones, you may need to use a 'backplate.' Backplates are thin metal decorative pieces that sit between the handle and the door, covering up old holes or finish damage beautifully.
Troubleshooting Common Issues
The Screw is Too Long
If the screw bottoms out before the handle is tight, you have two choices: use a washer as a spacer on the inside of the cabinet, or use a pair of linesman pliers to snap a 'breakaway' screw at the appropriate notch.
The Holes Don't Line Up
If the holes are off by just a millimeter, you can sometimes 'wobble' the drill bit through the existing hole to widen it slightly. If they are significantly off, the real issue usually is that you bought the wrong size (e.g., 96mm vs 3.75 inches). Don't force it; return them for the correct size.
Stripped Screw Holes
In most homes with older wood cabinets, the wood can become soft. If a knob is spinning because the hole is too wide, I find that inserting a tooth-pick with a dab of wood glue into the hole, letting it dry, and then re-drilling provides a fresh 'bite' for the screw.