The Shift from Flame to Field: Why Induction Matters
In my decade of residential service, I've seen the kitchen evolve from the 'gas is king' mentality to a precision-focused environment. Switching from gas to induction isn't just a trend; it's a fundamental upgrade in thermal efficiency and indoor air quality. While gas stoves waste nearly 60% of their heat into the ambient air, induction transfers 85-90% of energy directly to your cookware. This guide provides the technical roadmap for a seamless transition, focusing on the electrical infrastructure and physical modifications required to get it right the first time.
Induction Cooktop Pros and Cons
Before pulling your existing range, weigh the trade-offs. Pros: Unmatched boiling speed (a quart of water in under 3 minutes), precise temperature control at low levels (melting chocolate without a double boiler), and a cooler kitchen. Cons: Requires magnetic-ready cookware (cast iron or clad stainless), higher upfront cost, and a significant electrical upgrade if your kitchen isn't pre-wired for 240V.
Tools and Materials Needed
To perform this swap correctly, you will need a mix of plumbing and electrical tools:
- Electrical: Non-contact voltage tester, wire strippers, 6/3 NM-B Romex cable (typically), and a 40 or 50-amp double-pole breaker.
- Plumbing: Pipe wrenches (two), gas leak detector solution or soapy water, and a 1/2-inch or 3/4-inch black iron cap (depending on your line size).
- General: Cordless drill, jigsaw (if countertop modification is needed), and a helper for lifting.
Preparation: The Infrastructure Check
This is where most homeowners get stuck. Take your time with this phase; rushing the electrical assessment can lead to a 'dead on arrival' installation. Most gas ranges plug into a standard 120V outlet for the clock and igniters. An induction cooktop requires a dedicated 240V circuit, usually 40 or 50 amps. Open your breaker panel. If you don't see a large double-pole breaker labeled 'Range,' you'll need to pull a new circuit from the panel to the kitchen. Trust your instincts on this one—if the panel is full or looks outdated (like an old Federal Pacific or Zinsco), call a licensed sparky before proceeding.
Detailed Step-by-Step Instructions
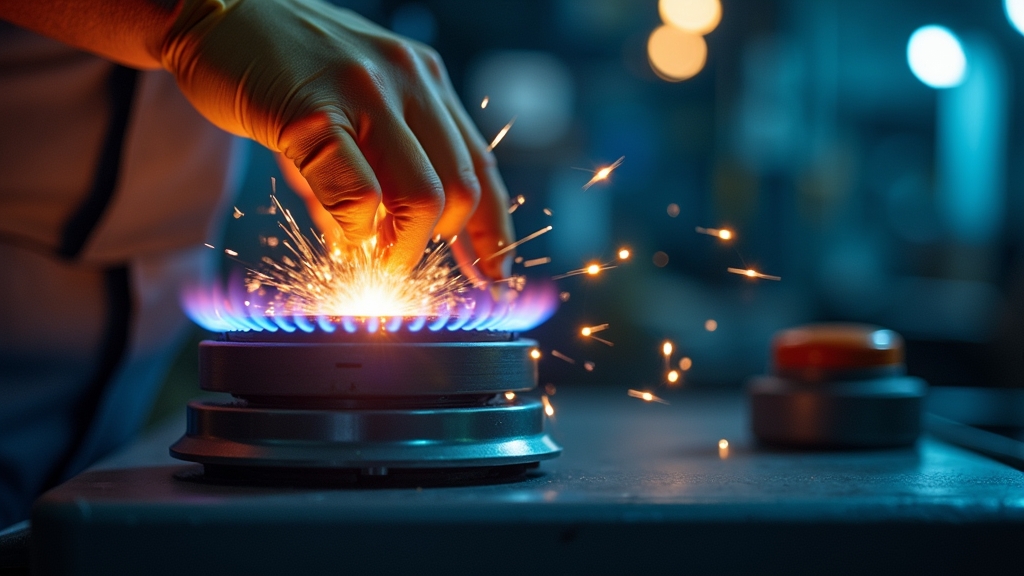
Step 1: Safely Disconnecting the Gas Line
Safety is non-negotiable here. Locate the shut-off valve behind the range. Turn it to the 'off' position (perpendicular to the pipe). Unplug the power cord. Use your two wrenches—one to hold the stationary pipe and one to turn the flare nut on the flexible connector. Once disconnected, immediately cap the gas line using a black iron cap and pipe dope. Do not rely solely on the shut-off valve; valves can fail over time, and a capped line is the only way to ensure a permanent seal.
Step 2: Electrical Rough-In
If you are lucky, there is already a 4-wire outlet (NEMA 14-50R) behind the stove. If not, you must run 6/3 wire from the panel. Induction units are sensitive to voltage drops. I recommend using a 4-wire configuration (two hots, a neutral, and a ground) even if the manufacturer says 3-wire is acceptable. It future-proofs the installation. Mount the junction box or outlet low enough so it doesn't interfere with the depth of the new induction unit.
Step 3: Countertop and Cabinet Fitment
Electric vs induction dimensions often differ slightly from gas units. Measure the 'cutout' dimensions, not the 'overall' dimensions. If you are moving from a drop-in gas cooktop to an induction cooktop, you may need to widen the hole in your granite or quartz. This requires a diamond blade and a steady hand with a vacuum attachment to manage the dust. It is worth doing right the first time; a tight fit can cause the glass cooktop to crack as it expands during use.
Step 4: Securing the Unit
Lower the induction unit into the opening. Most units come with spring clips or brackets. Ensure the foam gasket provided by the manufacturer is seated correctly around the perimeter. This prevents spills from leaking into the cabinetry below. Small details matter here—if the unit isn't level, your pans will drift, leading to uneven heating.
Tips for Best Results
- Check your cookware: If a magnet doesn't stick firmly to the bottom of your pot, it won't work. Check for flat bottoms; warped pans won't engage the magnetic field efficiently.
- Ventilation: While induction produces less waste heat, it still produces steam and grease. Don't neglect your range hood just because the flame is gone.
- Airflow: Induction units have internal fans to cool the electronics. Ensure the cabinet below has the clearance specified in the manual (usually 2-6 inches).
Troubleshooting Common Issues
The unit won't turn on: Check if you flipped both poles of the breaker. Also, check for a 'Child Lock' feature, which is often enabled by default from the factory.
Clicking or humming sounds: This is normal. It's the induction coils cycling or the layers of your cookware vibrating. Heavier, high-quality pans usually stay silent.
Error code 'F' or 'E': This usually indicates the wrong pot size or material. Ensure the pan matches the ring size on the glass.