Understanding the Front Load Washer Smell
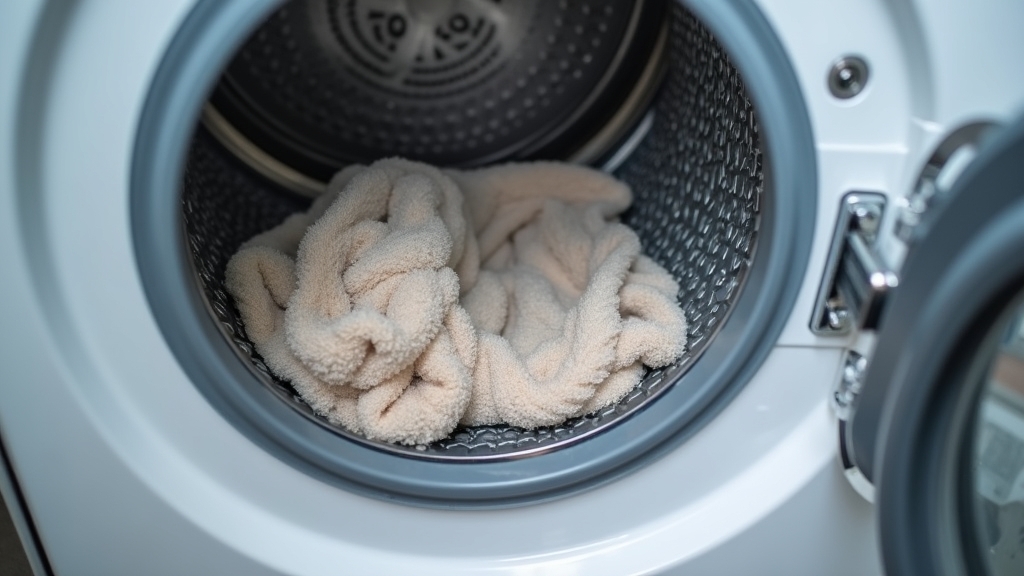
Front-load washing machines are prized for their efficiency and water-saving capabilities, but they possess a common design vulnerability: the rubber door gasket, or bellows. Because these machines use a horizontal drum, water, hair, and detergent residue often pool in the folds of the seal. Over time, the airtight nature of the door creates a dark, humid environment—the perfect breeding ground for mold and mildew. If you have noticed a persistent front load washer smell, the gasket is almost certainly the culprit.
Addressing a moldy washing machine seal is not just about aesthetics; it is about the longevity of your appliance and the hygiene of your clothing. Taking the time to address this issue correctly the first time prevents the need for expensive repairs or premature replacement of the machine. In this guide, we will break down the most effective methods to clean a washer gasket, ranging from routine household maintenance to full component replacement, with a realistic look at the costs involved.
The Cleaning Options: An Overview
When dealing with a moldy gasket, homeowners generally have three paths forward. The right choice depends on the severity of the mold infestation and your comfort level with appliance maintenance.
Option 1: Household Maintenance Cleaning
This approach utilizes common pantry items to neutralize odors and lift surface mold. It is the gentlest method and serves as both a corrective and preventative measure. It involves manual scrubbing of the folds and a high-heat cycle to flush out the internal drum components.
Option 2: Deep Chemical Remediation
For gaskets with visible black spotting that does not wipe away easily, stronger cleaning agents are required. This method often involves soaking the gasket in a specialized solution to penetrate the porous rubber. It requires more safety precautions but is highly effective at killing dormant spores.
Option 3: Full Gasket Replacement
In cases where mold has permeated the rubber so deeply that it has caused the material to degrade or become permanently stained, replacement is the only functional solution. This is a more involved mechanical task that can be done as a DIY project or by a professional technician.
Detailed Pros and Cons
Household Maintenance Cleaning
- Pros: Extremely low cost; non-toxic; safe for homes with sensitive individuals; no risk of damaging the rubber seal with harsh chemicals.
- Cons: Ineffective for deep, structural mold; requires significant physical effort; may take multiple attempts to fully remove odors.
- Trust your instincts: If the smell returns within 48 hours of cleaning, the mold has likely migrated behind the drum, and a more aggressive approach is needed.
Deep Chemical Remediation
- Pros: High success rate for removing visible stains; kills spores quickly; less manual scrubbing required compared to household methods.
- Cons: Potential for chemical odors to linger; requires careful handling to avoid skin or eye irritation; overuse can eventually dry out and crack the rubber.
- Small details matter: When using chemicals, ensuring the room is well-ventilated is a small but critical step for home safety.
Full Gasket Replacement
- Pros: Guaranteed removal of all mold and odors; restores the airtight seal; extends the life of the machine by another 5-10 years.
- Cons: Highest cost; labor-intensive; requires disassembling the front panel of the machine; risk of leaks if not installed perfectly.
Realistic Cost Comparison
To help you make a functional decision for your home, here is a breakdown of what you can expect to spend on each method. Note that these are estimates based on standard market prices for supplies and labor.
| Method | Estimated Supply Cost | Estimated Labor Cost | Total Estimated Cost |
|---|---|---|---|
| Household Maintenance | $5 – $15 | $0 (DIY) | $5 – $15 |
| Chemical Remediation | $20 – $40 | $0 (DIY) | $20 – $40 |
| DIY Replacement | $60 – $150 (Part) | $0 (DIY) | $60 – $150 |
| Professional Replacement | $80 – $180 (Part) | $150 – $250 | $230 – $430 |
It is worth doing right the first time. While a $10 cleaning solution might seem like the obvious choice, if your gasket is over 7 years old and showing signs of wear, investing in a replacement may be more cost-effective than repeatedly buying cleaners that fail to solve the underlying problem.
How to Clean a Washer Gasket Effectively
If you have decided to attempt a cleaning, do not rush the process. Follow these steps for the best results:
- Inspection: Use a flashlight to inspect the deep folds of the gasket. Look for trapped debris like socks, coins, or hair, which often trap moisture.
- Debris Removal: Manually remove any physical obstructions. Use a soft brush to sweep out any dry sediment.
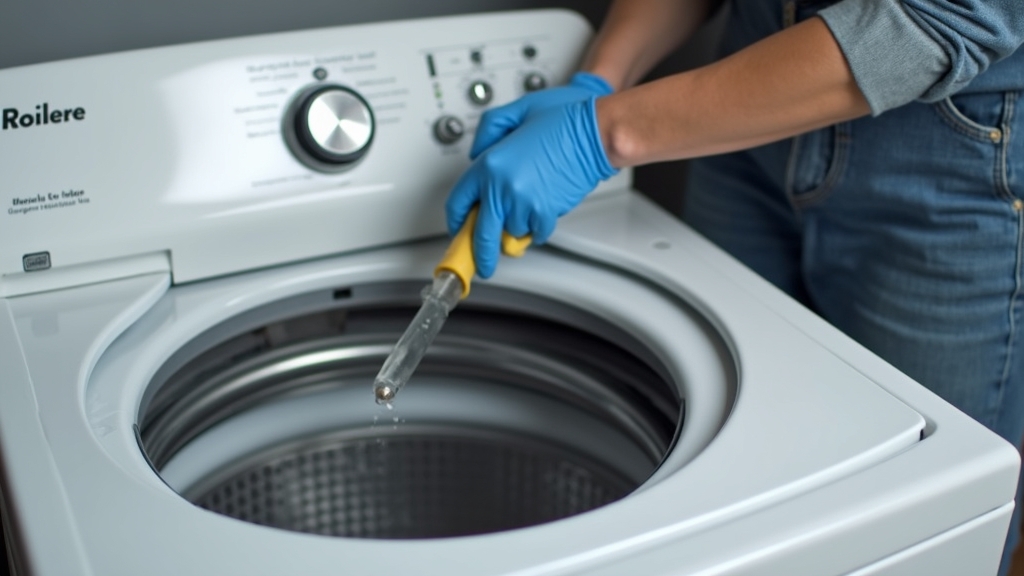
- The Soak: If using a liquid cleaner, soak a series of microfiber cloths in your chosen solution and tuck them into the folds of the gasket. Let them sit for at least 2 to 4 hours. This allows the cleaner to penetrate the biofilm.
- The Scrub: Use a non-abrasive sponge or an old toothbrush to scrub the surface. Avoid using steel wool or sharp tools, as a single puncture in the gasket will cause the machine to leak.
- High-Heat Rinse: Run a "Clean Washer" cycle or a long, hot water cycle with no clothes. This flushes the loosened mold out of the drain system.
- Drying: This is the most important step. Use a dry towel to wipe every inch of the gasket, especially the bottom channel.
Long-Term Prevention: Removing Laundry Odors for Good
Prevention is the most budget-friendly strategy available. Once your gasket is clean, implementing these habits will ensure the mold does not return:
- Leave the door ajar: After every load, leave the washer door open at least two inches to allow the drum to air out.
- Wipe the seal: Keep a dedicated microfiber cloth near the machine and spend 30 seconds wiping the gasket dry after the final load of the day.
- Use the right detergent: Excessive suds from non-HE (High Efficiency) detergent create a film that feeds mold. Use only the recommended amount of HE detergent.
- Run monthly maintenance cycles: Even if the machine looks clean, run a hot cycle with a dedicated cleaner or white vinegar once a month to prevent biofilm buildup in hidden areas.
Final Recommendation Based on Your Situation
Scenario A: You noticed a faint musty smell but the gasket looks relatively clean.
Recommendation: Stick to Household Maintenance. A thorough scrubbing with basic supplies and improved ventilation will likely solve the issue for under $15.
Scenario B: There are visible black spots on the rubber that don't rub off, and your clothes are starting to smell.
Recommendation: Move to Chemical Remediation. Spend the $30 on a high-quality treatment to kill the spores before they spread to the outer tub.
Scenario C: The gasket is stiff, cracked, or completely covered in black mold that has sat for months.
Recommendation: Perform a Gasket Replacement. At this stage, cleaning is often a temporary fix for a permanent structural issue. Replacing the part ensures your laundry remains truly clean.