Streamline Your Chores with a Laundry Folding Station
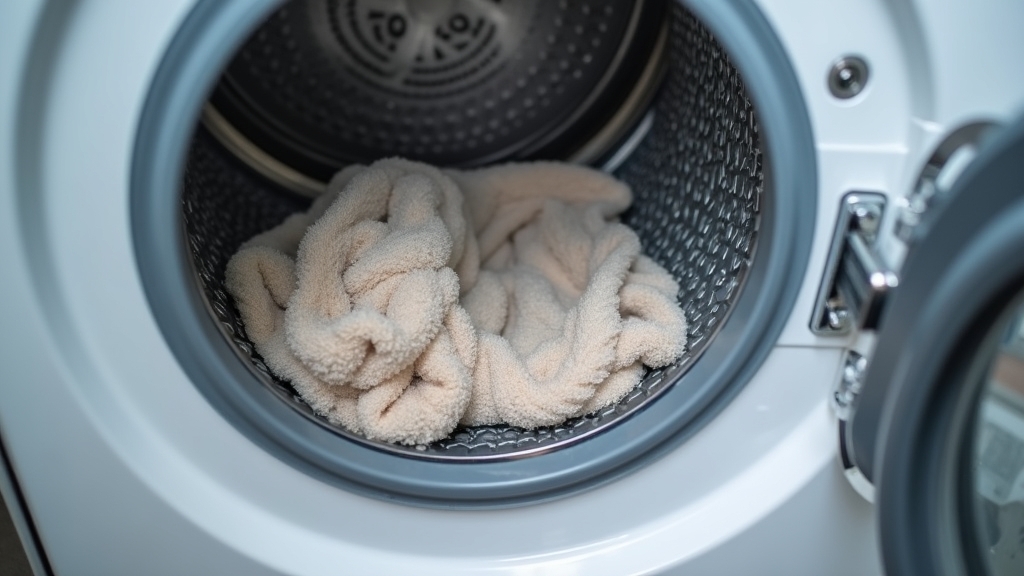
As an energy efficiency advisor, I often talk to homeowners about big upgrades like heat pumps or insulation. However, many people overlook how the layout of a utility room affects their daily energy consumption. Here is the thing: a disorganized laundry room leads to wrinkled clothes. When clothes sit in a pile, you end up running the dryer for another 'freshen up' cycle or spending an hour using a high-wattage iron.
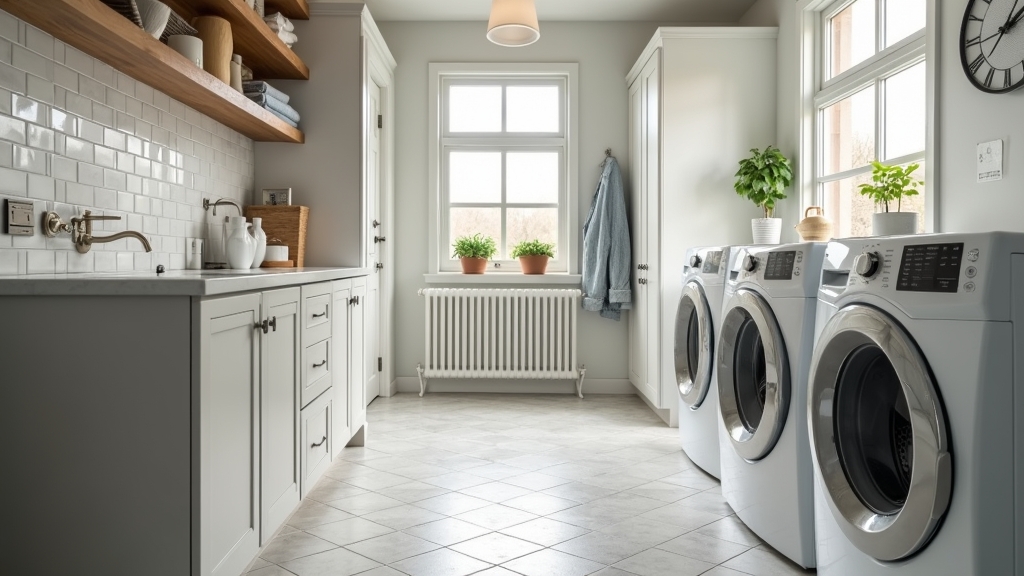
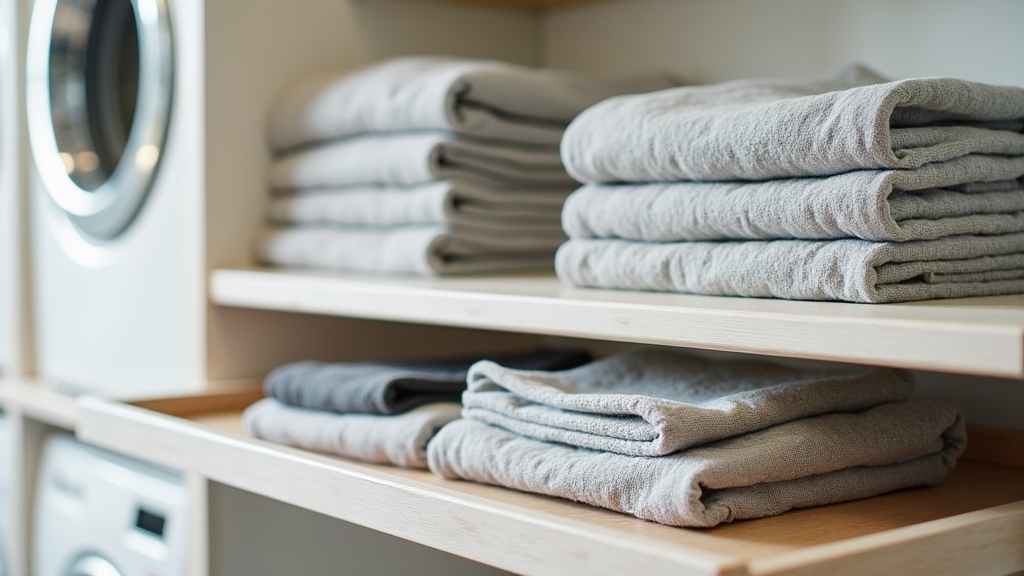
Installing a dedicated laundry folding station provides an immediate, practical solution. By creating a flat workspace directly above your machines or on an adjacent wall, you can fold items the moment they come out of the dryer. This keeps the heat in the fabric, helps set the shape, and eliminates the need for extra appliance use. In this guide, we will focus on the most popular 'quick fix': a countertop installed over front-loading machines.
The Benefits of a Dedicated Workspace
What most people miss is that a folding station isn't just about aesthetics; it is about ergonomics and workflow. A laundry room workspace allows you to sort, treat stains, and fold without leaning over a bed or a low coffee table. The good news is that you do not need a full renovation to achieve this. A simple DIY laundry counter can be installed in a single afternoon with basic tools.
Tools and Materials Needed
Before you start, gather your supplies. For a standard 5-foot span over a side-by-side washer and dryer, you will need the following:
Required Tools
- Power drill and driver bits
- Stud finder
- Level (at least 2 feet long)
- Tape measure
- Circular saw (if you need to trim the wood)
- Sandpaper (120 and 220 grit)
Materials List
- Countertop material: A pre-cut butcher block, a laminate countertop, or a 3/4-inch sanded plywood sheet.
- Wall cleats: 1x2 or 2x2 lumber (usually two 8-foot boards).
- 3-inch wood screws (to secure cleats to studs).
- 1.25-inch wood screws (to secure the counter to the cleats).
- Wood finish or paint (if using raw wood).
- Silicone bumpers or adhesive foam tape.
Preparation Steps
Now, the important part: measurement. This is where it gets interesting because no two laundry rooms are perfectly square. You must measure the width of your machines and add at least 2 inches of clearance on each side for vibration. Front-loading machines move during the spin cycle; if your counter is too tight, it will rattle or migrate.
Step 1: Check Your Clearances
Measure the height of your washer and dryer. Most standard units are 38 to 39 inches tall. You want your folding station to sit roughly 1 inch above the highest point of the machines. This gap prevents the vibration of the washer from shaking the countertop off the wall.
Step 2: Locate the Studs
Use your stud finder to mark the wall studs behind and to the sides of your machines. Mark these with a pencil about 40 inches from the floor. Worth mentioning: do not rely on drywall anchors for this project. A countertop is heavy, and the weight of wet laundry or a detergent bottle adds significant stress. You must secure your support cleats directly into the wooden studs.
Step-by-Step Installation Instructions
Follow these steps to install a wall-supported laundry folding table over your appliances.
1. Cut and Prep the Support Cleats
Cut your 2x2 or 1x2 lumber into three pieces: one long piece for the back wall and two shorter pieces for the side walls. If you only have one side wall, you may need to install a floor-support leg on the open side. Sand the edges to prevent splinters.
2. Level and Attach the Back Cleat
Hold the back cleat against the wall at your calculated height. Place your level on top. Once it is perfectly level, drive your 3-inch screws through the cleat and into the studs. This cleat acts as the primary shelf for your laundry folding table.
3. Install Side Cleats
Repeat the process for the side walls. Ensure these are level with the back cleat. This creates a U-shaped 'ledger' that the countertop will sit on. Something to keep in mind: if your walls are not perfectly square (which is common), you might need to use small wood shims to keep everything aligned.
4. Prepare the Countertop
If you are using a DIY laundry counter made of plywood, sand the surface thoroughly. Apply a water-resistant finish. Laundry rooms are humid environments, and detergent spills are common. A polyurethane coating or a high-quality mineral oil for butcher blocks will protect your investment. Let it dry completely before moving to the next step.
5. Position and Secure the Surface
Slide the countertop onto the cleats. This is where it gets interesting—you don't necessarily want to screw it down permanently if you need access to the water shut-off valves behind the machines. On the other hand, if you want a permanent fixture, drive 1.25-inch screws upward through the cleats into the underside of the counter. Make sure your screws are short enough that they do not poke through the top surface.
Tips for Best Results
- Add a Backsplash: A small 4-inch trim piece at the back of the counter prevents socks from falling behind the machines.
- Vibration Dampening: Place small adhesive foam pads on top of the cleats before setting the counter down. This absorbs the noise when the washer enters a high-speed spin.
- Access is Key: Ensure you can still reach your water shut-off valves and dryer vent. If the counter blocks them, consider making the top 'floating' so it can be lifted off easily for maintenance.
- Height Matters: If you are particularly tall or short, adjust the height. The 'standard' height is for average users, but your laundry room workspace should work for your body.
Troubleshooting Common Issues
If you find that your machines are too tall for a standard counter, you can build a 'waterfall' style table that stands on its own legs rather than being attached to the wall. This allows you to pull the entire station out if the machines need repair.
Another common issue is a 'bowing' counter. If your span is longer than 5 feet, the wood might sag in the middle over time. To fix this, you can install a center support bracket or use a thicker 1.5-inch butcher block instead of 3/4-inch plywood. This provides the structural integrity needed for heavy laundry baskets.
Energy Efficiency and Maintenance
By using your new folding station immediately after the dryer stops, you utilize the residual heat in the fabric to 'press' the clothes. This simple habit can reduce your iron usage by up to 50%. Maintenance is simple: wipe the surface weekly with a damp cloth to remove lint and detergent residue. If you used a butcher block, re-oil it every six months to keep the wood from drying out in the low-humidity environment created by the dryer.