Why Your Washing Machine Won't Stop Shaking
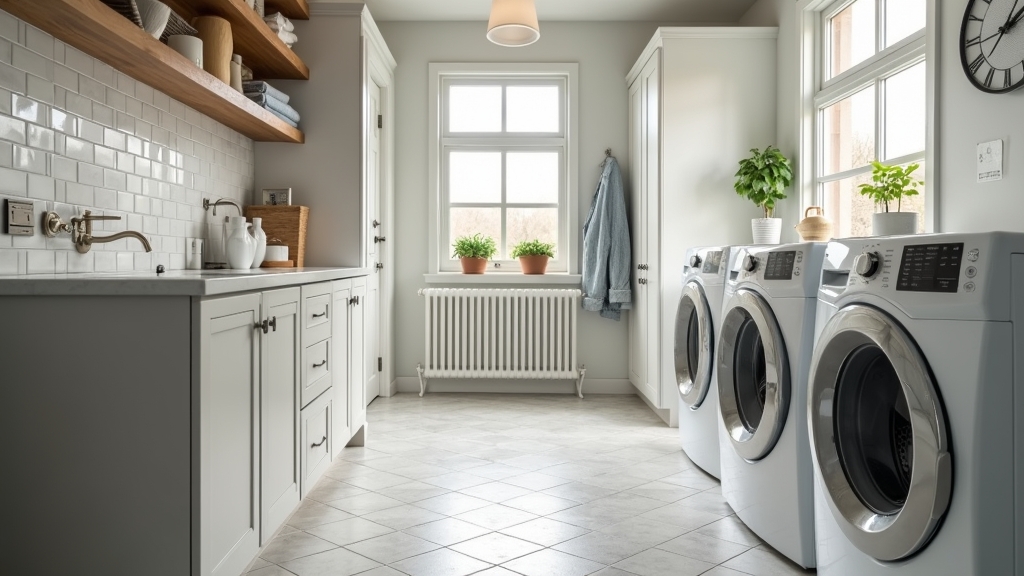
In most homes, the laundry room is designed for efficiency, but a shaking washing machine can quickly turn a productive chore into a structural headache. Beyond the disruptive noise, excessive vibration can damage your flooring, strain plumbing connections, and lead to premature mechanical failure of the appliance itself. What I have found is that most homeowners assume the machine is broken, when the real issue usually is a simple matter of physics and leveling.
From experience, a 'walking' washer is rarely a sign you need a new unit; rather, it is a cry for a few minutes of maintenance. This guide focuses on practical, low-cost interventions to stabilize your machine and restore peace to your home.
Essential Tools and Materials
Before you begin, gather these items to ensure the process goes smoothly. You likely have most of these in your utility drawer already.
- Spirit Level (Bubble Level): A 2-foot level is ideal for checking both the width and depth of the machine.
- Adjustable Wrench or Pliers: Necessary for turning the leveling feet and tightening lock nuts.
- Flashlight: To see clearly underneath and behind the unit.
- Anti-Vibration Pads: High-density rubber pads can absorb residual kinetic energy.
- Damp Cloth: To clean the floor and the base of the leveling feet for better grip.
Step 1: Eliminate the Obvious Variables
The Unbalanced Laundry Load
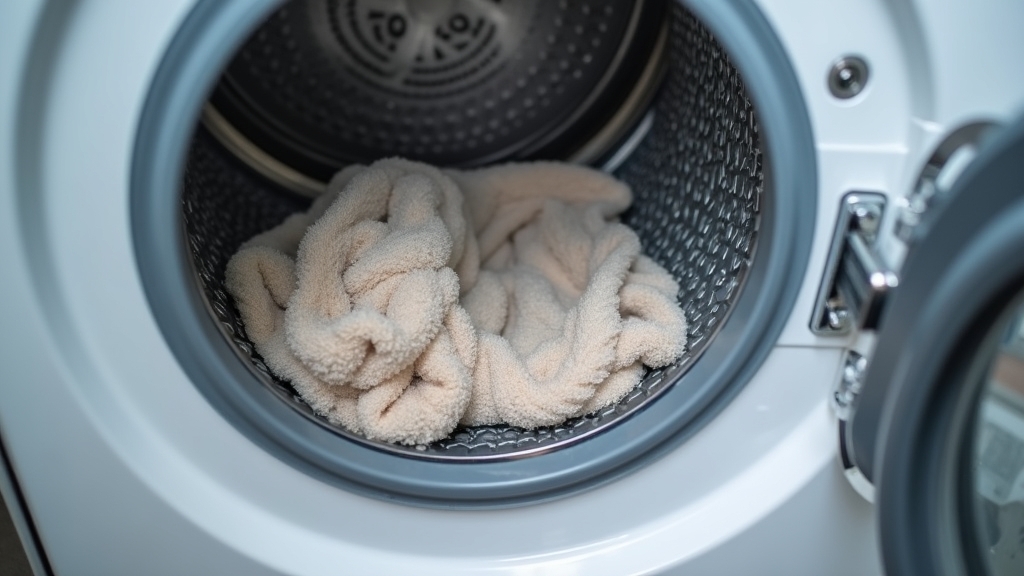
A common situation is that the machine only vibrates during specific cycles. This usually indicates an unbalanced laundry load. When heavy items like towels, comforters, or rugs clump on one side of the drum, the centrifugal force during the spin cycle creates an uneven weight distribution. One thing many people overlook is that 'under-loading' can be just as problematic as 'over-loading.' A single heavy wet towel hitting the side of the drum is enough to make the machine jump. The key thing to remember is to distribute items evenly and avoid washing single heavy items in isolation.
Shipping Bolts
If your washing machine is brand new and vibrating violently from the first use, the real issue usually is the shipping bolts. Manufacturers install heavy-duty bolts at the back of the machine to keep the drum stationary during transit. In my experience, homeowners often forget to remove these. If they are still in place, the suspension system cannot function, and the entire machine will shake. Check the rear panel for three to four large bolts and remove them immediately.
Step 2: How to Level a Washer Correctly
What works best is a systematic approach to leveling. A machine that is even slightly tilted will eventually begin to 'walk' as the vibrations find the path of least resistance.
Checking the Current Level
Place your spirit level across the top of the machine from left to right, then from front to back. Even a quarter-inch slope can cause significant noise. Don't assume your floor is level; many laundry room floors are slightly sloped toward a floor drain by design.
Adjusting the Front Feet
Most modern washers have two adjustable front feet with lock nuts. Tip the machine back slightly (you may need a partner for this) and rotate the feet clockwise to lower the corner or counter-clockwise to raise it. Once the bubble in your level is perfectly centered, tighten the lock nut against the frame of the machine. Over the years, I have learned that if that lock nut isn't tight, the vibration will eventually cause the foot to unscrew itself again.
Self-Adjusting Rear Feet
Many machines feature 'self-adjusting' rear feet. To set these, tilt the machine forward onto its front feet so the back feet are a few inches off the ground, then set it back down. The internal spring mechanism should level itself. If yours has manual rear feet, repeat the adjustment process used for the front.
Step 3: Installing Washer Vibration Pads
In some cases, even a perfectly leveled machine will vibrate, particularly if it is located on a second-story floor with wooden joists rather than a concrete slab. What I have found is that high-density rubber washer vibration pads are the single best budget-friendly upgrade you can make.
These pads serve two purposes: they increase the surface area of the foot's contact with the floor, and they act as shock absorbers for the kinetic energy. Before installing, wipe the floor with a damp cloth to remove any laundry detergent residue or dust. Friction is your best friend here. Slide the pads under each foot and ensure the feet are centered on the pad's indentation.
Tips for Best Results
- Clean the Feet: Dust and soap scum on the rubber bottom of the leveling feet act like a lubricant. A quick wipe with rubbing alcohol can increase 'stiction' significantly.
- Check the Flooring: If your floor is vinyl or laminate, it may be too slick. A small piece of non-slip rug underlay or specialized adhesive tape can provide the grip needed to keep the machine in place.
- Load Size: Aim for the drum to be roughly 75% full. This allows enough room for mechanical action while providing enough mass to dampen the drum's natural oscillation.
Troubleshooting Persistent Issues
If you have leveled the machine and added pads but the shaking persists, you may be dealing with internal mechanical wear. From experience, the most common culprits are:
Worn Suspension Rods
Top-load washers use suspension rods to hold the tub in place. Over time, the springs in these rods lose their tension. If you push down on the tub and it bounces more than once, your rods likely need replacement. This is a common DIY fix that costs under $50 in parts.
Damaged Shock Absorbers
Front-load washers use shock absorbers at the base of the drum. If these leak fluid or lose resistance, the drum will hit the outer cabinet during the spin cycle. Look for oil streaks on the floor under the machine as a sign of failure.
The Floor Joist Issue
Sometimes the machine isn't the problem—the floor is. If your laundry room is on a wooden subfloor, the spin cycle can hit the 'resonant frequency' of the floor joists. In this specific situation, placing a 3/4-inch piece of marine-grade plywood under both the washer and dryer can help distribute the weight across more joists and stiffen the surface.