The Reality of Washing Machine Odor
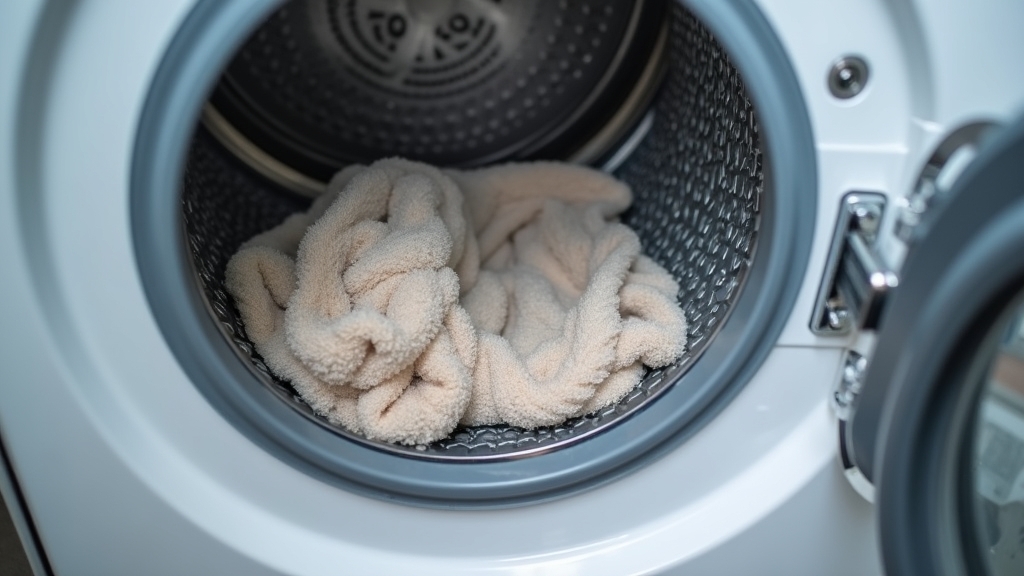
In most homes, the washing machine is the workhorse of the household, yet it is often the most neglected appliance until it starts to smell. From experience, homeowners often describe the scent as anything from 'wet dog' to 'sewer gas.' The real issue usually is the buildup of biofilm—a slimy layer of bacteria, undissolved detergent, and fabric softener that traps organic matter and allows mold to flourish.
What I have found is that modern high-efficiency (HE) machines, particularly front-loaders, are the most susceptible to this problem. They use significantly less water, which means they don’t always flush out every bit of grime. Over the years, I have learned that fixing a smelly washing machine doesn't always require a brand-new appliance, but it does require a strategic approach based on how far the odor has progressed.
Overview of Cleaning Options
When you are looking to remove washer odor, you generally have three levels of intervention. Each comes with its own cost profile and effort level. Understanding which one you need depends on whether the smell is just starting or if it has become a permanent resident in your laundry room.
Level 1: The Maintenance Flush
This is your first line of defense. It involves using heat and acidity or oxygen-based cleaners to break down the surface-level biofilm inside the drum and the internal plumbing. This is a preventative measure that should be done monthly.
Level 2: Manual Deep Component Cleaning
A common situation is that the drum looks clean, but the machine still reeks. This usually means the gunk is hiding in the hidden components: the door gasket (the rubber seal), the detergent drawer, and the drain filter. This level requires manual labor and basic household supplies.
Level 3: Part Replacement or Professional Service
In my experience, if a moldy washing machine seal has been ignored for years, the mold can actually permeate the porous rubber. At this point, no amount of scrubbing will fix it. You are looking at replacing parts or hiring a professional to disassemble the outer tub to reach the 'spider' assembly where heavy buildup often hides.
Pros and Cons of Each Approach
DIY Maintenance Cleaning
- Pros: Extremely low cost, can be done in an afternoon, preserves the lifespan of the pump.
- Cons: Won't fix deep-seated mold in the gasket or odors coming from a clogged drain filter.
Manual Deep Cleaning
- Pros: Addresses the specific source of 90% of odors (the gasket and filter), costs almost nothing but time.
- Cons: Physically demanding, involves handling unpleasant sludge, risk of damaging the gasket if using sharp tools.
Professional Repair/Part Replacement
- Pros: Guaranteed to remove the odor, restores the machine to a like-new state.
- Cons: High cost, requires waiting for a technician or parts, may not be cost-effective for older machines.
Detailed Cost Breakdown
One thing many people overlook is that the cost of ignoring the smell is often higher than fixing it. Moldy clothes require re-washing, which wastes water and electricity. Here is what you can expect to spend to clean a front load washer or top loader properly:
| Method | Estimated Cost (DIY) | Estimated Cost (Pro) |
|---|---|---|
| Maintenance Cycle (Vinegar/Soda) | $2 - $5 | N/A |
| Specialty Cleaning Tablets | $10 - $25 (multi-pack) | N/A |
| Filter & Gasket Manual Scrub | $5 (Supplies) | $100 - $150 |
| Gasket Replacement Part | $60 - $150 | $250 - $400 (Part + Labor) |
| Deep Internal Disassembly | Not Recommended | $300 - $500 |
Best Use Cases for Each Situation
What works best is matching the solution to the severity of the problem. If you just finished a load of particularly dirty gym clothes and notice a faint musty scent, a Level 1 Maintenance Flush using the hottest water setting is usually sufficient.
However, if you see black spots on the rubber ring around the door, you have a moldy washing machine seal. You must move to Level 2. You will need to pull back the folds of the rubber and use a solution of water and oxygen bleach (or a mild bleach solution if the manufacturer allows) to kill the spores.
If you have cleaned the gasket and the drum, but the smell persists and seems to be coming from the bottom of the machine, the drain filter is the likely culprit. Most front-loaders have a small door at the bottom. Opening this will release stagnant water and trapped debris like hair, coins, and lint that have been rotting for months.
Step-by-Step Deep Clean Guide
To truly remove washer odor, follow this sequence that I have recommended to hundreds of homeowners:
- Empty the Drain Filter: Place a towel down, open the access panel, and unscrew the filter. Be prepared for a gallon of smelly water. Clean the filter in the sink.
- Scrub the Detergent Drawer: Remove the entire drawer. You will often find thick, black mold on the underside of the drawer and inside the housing. Use an old toothbrush to reach the top of the drawer cavity.
- Address the Gasket: Wipe down the entire rubber seal. If the mold is stubborn, soak paper towels in a cleaning solution and tuck them into the folds of the gasket for an hour before scrubbing.
- The High-Heat Cycle: Run the machine on its 'Clean Washer' or 'Sanitize' cycle with the highest possible temperature. Do not add clothes. Use a dedicated washing machine cleaner or two cups of white vinegar added directly to the drum.
Final Recommendation
The key thing to remember is that preventative maintenance is almost free, while reactive repairs are expensive. If your machine is less than five years old and smells, invest the $20 and two hours of labor into a manual deep clean. It will likely solve the problem entirely.
If your machine is over ten years old and the smell is coming from the internal bearings or the outer tub (a heavy, metallic/rotten smell), the cost of a professional teardown ($400+) often approaches the price of a mid-range new unit. In that specific case, I usually recommend a replacement rather than a repair.