The Importance of Dryer Vent Maintenance
In most homes, the laundry room is a hub of constant activity, yet one of its most critical safety components is often tucked away out of sight. As a specialist who has spent over a decade maintaining home exteriors and outdoor spaces, I have frequently encountered exterior vent covers that are completely obstructed by lint, debris, or even bird nests. The real issue usually is that homeowners don't realize their dryer vent is restricted until the machine begins to underperform.
Maintaining a clear dryer duct is not just about appliance longevity; it is a vital safety measure. According to fire safety data, a clogged dryer duct is a leading cause of residential fires. When lint builds up, it restricts airflow, causing the heating element to work harder and potentially ignite the highly flammable lint. From experience, keeping this pathway clear is one of the most cost-effective ways to protect a home and ensure that a dryer taking too long to dry becomes a problem of the past.
Option 1: DIY Dryer Vent Cleaning
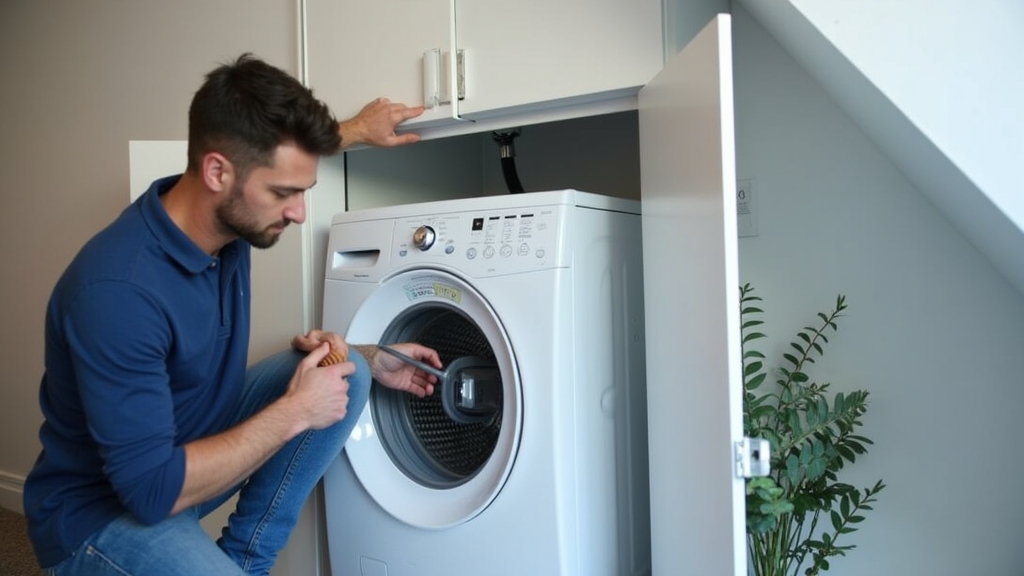
For many homeowners, the DIY route is the first consideration. This typically involves purchasing a specialized cleaning kit, which includes a series of flexible rods and a bristled brush head that attaches to a power drill. The process involves disconnecting the dryer, vacuuming the immediate area, and then feeding the brush through the ductwork from either the inside or the outside.
What I have found is that this method works best for short, straight duct runs that are easily accessible. If your laundry room is positioned against an exterior wall, the distance the brush needs to travel is minimal, making it a straightforward afternoon task. However, one thing many people overlook is the complexity of the duct path. If the duct turns multiple times or runs through a crawlspace or attic, the DIY approach becomes significantly more difficult.
Pros and Cons of DIY Cleaning
Pros:
- Immediate savings on labor costs.
- The ability to clean the vent on your own schedule.
- Ownership of the tools for future maintenance.
Cons:
- Risk of puncturing or disconnecting flexible foil ducting.
- Limited reach for long vertical or horizontal runs.
- Potential for the brush to become stuck in a tight elbow.
Option 2: Professional Dryer Vent Cleaning
Hiring a professional service involves technicians who specialize in ventilation systems. They typically use high-powered compressed air tools or industrial-strength mechanical brushes that are more robust than consumer-grade kits. In my experience, professionals also perform a transition duct inspection and a back-pressure test to ensure the system is operating at peak efficiency.
A common situation is that a homeowner attempts to clean the vent themselves but cannot reach a blockage deep within the walls. Professionals have the cameras and specialized equipment to locate these specific clogs. They also check the exterior termination point—the vent cover—which is where my landscaping experience often intersects with home maintenance. Over the years, I have learned that if the exterior flap is stuck open or broken, it invites pests to nest inside the warm duct, creating a massive blockage that only professional-grade tools can safely remove.
Pros and Cons of Professional Services
Pros:
- Comprehensive cleaning of the entire duct length.
- Inspection for leaks, disconnected joints, or fire hazards.
- Utilization of high-suction vacuums to prevent lint from entering the home living space.
Cons:
- Higher upfront cost compared to DIY.
- Requires scheduling and being present for the appointment.
Realistic Cost Analysis
The key thing to remember when evaluating costs is that you are balancing the price of tools and time against the price of expert labor and specialized equipment. Here is a breakdown of what you can expect to spend in the current market.
DIY Cost Breakdown
- Cleaning Kit: $20 – $50. These are one-time purchases, though brush heads may need replacement after several uses.
- Shop Vacuum Rental (if not owned): $30 per day.
- Time Investment: 1 to 3 hours, depending on the complexity of the vent.
- Total Estimated Cost: $20 – $80 for the first time; nearly $0 for subsequent cleanings.
Professional Cost Breakdown
- Basic Cleaning Service: $100 – $175. This usually covers standard residential vent runs up to 20 feet.
- Complex or Long Runs: $175 – $300. This applies to vents that exit through the roof or have excessive lengths.
- Repairs and Bird Nest Removal: $50 – $150 additional. If the technician finds a damaged duct or a biological obstruction, costs increase.
- Total Estimated Cost: $100 – $450 depending on the severity and location.
Best Use Cases for Each Method
What works best depends largely on your home’s architecture. In my experience, if your dryer is on an exterior wall and the vent is less than five feet long, a DIY kit is more than sufficient. You can easily see both ends of the pipe and ensure it is clear.
However, if your dryer is located in the center of the house and vents through the roof, I strongly recommend professional intervention. Roof vents are notoriously difficult to clean and require fall-protection safety gear. Furthermore, if you notice your dryer taking too long to dry even after a basic cleaning, it indicates a deeper issue or a disconnected pipe within the wall that requires a professional camera inspection.
Final Recommendation
To prevent dryer fires and maintain efficiency, cleaning should occur at least once a year. If you have a large family and run the dryer daily, twice a year is better. From experience, the most balanced approach is to perform DIY maintenance annually on the transition duct (the flexible pipe behind the dryer) and hire a professional every two to three years for a deep clean of the internal wall-mounted ductwork. This ensures the system remains safe without incurring maximum costs every year.