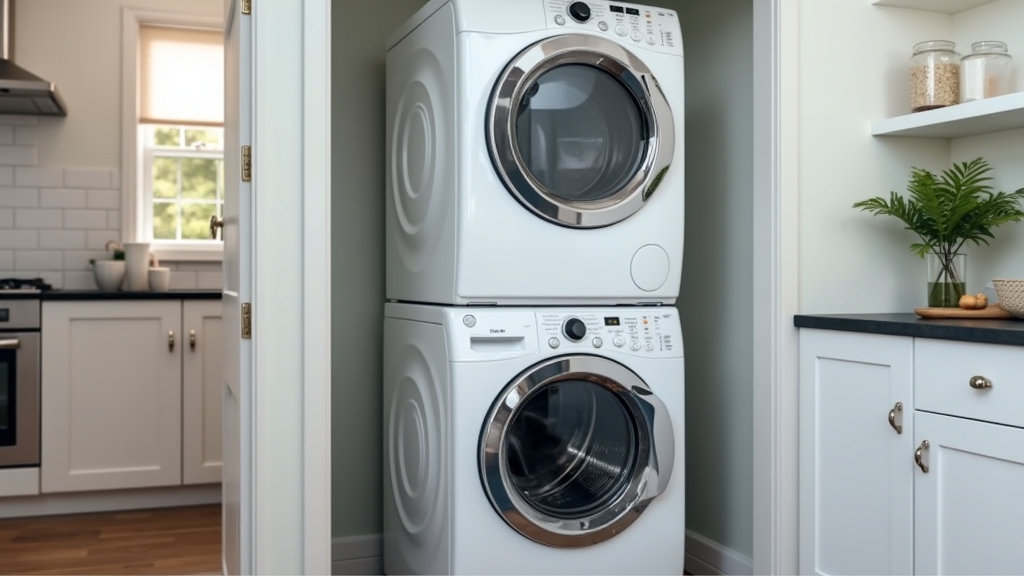
In the world of sustainable home design, efficiency isn't just about energy ratings—it is about maximizing every square foot of your living environment. Stacking your laundry units is one of the most effective ways to reclaim floor space, allowing for added storage, composting bins, or indoor drying racks. This guide provides a direct path to a secure, vibration-free stackable washer dryer setup.
Pre-Installation Essentials
Before moving heavy machinery, you must verify compatibility. Not every front-load pair can be stacked. The washer must have a flat top and be at least as wide as the dryer. Crucially, the dryer must always go on top; dryers are significantly lighter and lack the heavy internal counterweights and water-fill weight of a washing machine. Attempting to place a washer on top is a serious safety hazard and will likely lead to structural failure of the dryer housing.
The Stacking Kit Requirement
Never place a dryer directly on top of a washer without a brand-specific stacking kit installation. These kits consist of brackets, screws, and often rubber pads designed to distribute weight and absorb the micro-vibrations generated during high-speed spin cycles. Using a generic kit or no kit at all can lead to the dryer 'walking' off the washer, potentially causing catastrophic damage to your home and appliances.
Tools and Materials Needed
Gather your supplies before you begin. Take your time with this; having the right tool within reach prevents mid-process frustration.
- Brand-specific stacking kit (check your model numbers)
- Level (spirit or digital)
- Screwdriver set (usually Phillips #2)
- Wrench or pliers for leveling legs
- Measuring tape
- Non-slip work gloves
- A helper (this is a two-person job)
- Moving straps or a dolly (optional but recommended)
Preparation Steps
Clear the workspace entirely. It is worth doing right the first time by ensuring the floor beneath the units is clean and structurally sound. If your floor is uneven, the vibration will be amplified throughout the house.
Leveling the Base Unit
The success of your stack depends entirely on the stability of the washer. Place the washer in its final location (leaving enough room to work behind it). Place your level on top of the washer, checking both front-to-back and side-to-side. Adjust the leveling legs until the bubble is perfectly centered. Tighten the lock nuts on the legs once level; if these are loose, the entire stack will shake.
Preparing the Dryer
While the dryer is still on the floor, remove its leveling legs if the stacking kit instructions require it. Some kits use plastic 'feet' that snap into the leg holes, while others use a rail system. Small details matter here, so refer to your kit’s specific manual to ensure the mounting surface is prepared correctly.
Step-by-Step Stacking Kit Installation
Follow these steps precisely to ensure a secure fit. Do not rush the process; a misaligned bracket can lead to instability.
Step 1: Attach the Brackets to the Washer
Most kits require you to screw small clips or brackets onto the rear or top edges of the washing machine. Align the pre-drilled holes in the washer's casing with the bracket. Ensure the screws are tightened firmly but avoid stripping the threads by over-torquing.
Step 2: Apply Dampening Pads
If your kit includes rubber or foam pads, place them at the contact points on the washer's top surface. These are vital for noise reduction and preventing the metal-on-metal friction that can lead to rust over time.
Step 3: Lift the Dryer
With your helper, lift the dryer and carefully place it on top of the washer. Trust your instincts on this one; if the lift feels too heavy or unstable, put it down and reassess your grip. Slide the dryer back until it engages with the rear brackets or sits flush within the side rails.
Step 4: Secure the Units Together
Once the dryer is positioned correctly, use the remaining kit hardware to lock the dryer to the washer. This usually involves screws that pass through the stacking kit into the dryer's base frame. Confirm that there is no movement when you push against the dryer’s side.
Connecting Utilities
With the units stacked, you now need to finalize the connections. Save laundry space by using a periscope dryer vent if the clearance between the wall and the units is tight.
- Ventilation: Connect the dryer vent hose. Ensure there are no kinks; a crushed hose is a fire hazard and reduces drying efficiency.
- Water Lines: Connect the hot and cold hoses to the washer. Use new rubber washers to prevent leaks.
- Drainage: Secure the drain hose into the standpipe. Use a zip-tie to fasten it to the water hoses to prevent it from 'jumping' out during high-pressure discharge.
- Power: Plug both units into their respective outlets. Most electric dryers require a 240V outlet, while washers use a standard 120V.
Tips for Best Results
To maintain your eco-friendly home, consider these finishing touches. Ensure the units are pulled forward enough to allow for airflow, preventing moisture buildup behind the machines which can lead to mold. Periodically check the leveling of the stack, especially after the first few loads, as the weight can cause the legs to settle into the flooring. Using high-efficiency (HE) detergent is also non-negotiable; excess suds can cause the washer to overwork, increasing vibration and wear on the stack.
Troubleshooting Common Issues
Excessive Vibration
If the stack shakes violently, the most common culprit is an unlevel base. Re-verify the washer’s legs. Additionally, ensure the shipping bolts (used during delivery) have been removed from the back of the washer. If left in, the drum cannot move freely, transferring all energy to the outer casing.
Noise During Operation
A rattling sound often indicates that a bracket is loose or the dryer's feet aren't sitting squarely in the stacking kit. Tighten all hardware. If the noise persists, check if the units are touching the side walls or cabinetry; even a small contact point can amplify sound through the house structure.
Dryer Not Heating
If you've just moved the units, check that the vent hasn't become pinched against the wall. A restricted vent causes the thermal fuse to trip. Always use a rigid or semi-rigid metal duct rather than foil or plastic for better airflow and safety.