A front load washing machine is a marvel of efficiency, using less water and energy than traditional top-loaders. However, the very design that makes them eco-friendly—the airtight rubber gasket—also creates a perfect breeding ground for moisture-loving fungi. When you notice a damp, earthy odor in your laundry room, it is often a sign that mold has taken up residence in the folds of your machine's seal. Addressing this issue promptly is essential for maintaining both the longevity of your appliance and the cleanliness of your clothes.
Understanding Mold in Your Laundry Machine
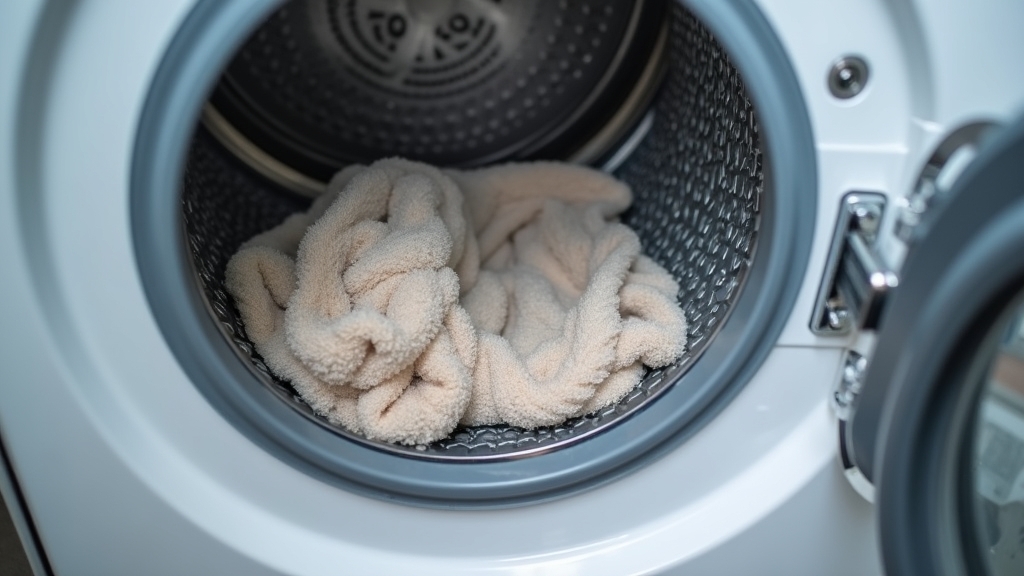
Front-load washers rely on a thick rubber gasket, or bellow, to prevent water from leaking out of the door. Because this seal is designed to be watertight, it also traps moisture and residual soap suds after every cycle. Over time, these residues combine with lint and hair to create a nutrient-rich environment for mold spores. If left unchecked, this growth can lead to a persistent smelly washer fix that requires more than just a quick wipe-down. It is worth doing right the first time, as deep-seated mold can eventually damage the integrity of the rubber itself.
Tools and Materials Needed
Before beginning the cleaning process, gather these items to ensure you can work efficiently without interruptions. Small details matter here, so ensure your cleaning cloths are lint-free to avoid leaving more debris behind.
- White distilled vinegar or a 3% hydrogen peroxide solution
- Baking soda (sodium bicarbonate)
- Microfiber cloths or soft-bristled scrubbing brushes
- Old toothbrushes for tight crevices
- Warm water
- A pair of protective gloves
- A dry towel
Preparation Steps
Take your time with the preparation, as a safe environment is the foundation of a successful cleaning session. Do not rush the process; ensuring the machine is ready will make the actual scrubbing much easier.
- Safety First: Ensure the washing machine is turned off and unplugged if you are cleaning near electrical components. While we are focusing on the gasket, safety is paramount.
- Clear the Area: Remove any clothing or items from the drum. Check the gasket folds for trapped items like loose change, hairpins, or stray socks.
- Ventilation: Open a window or turn on a fan. Even though you are using natural cleaning agents, working in a confined space with concentrated vinegar or peroxide can be pungent.
- Inspection: Use a flashlight to look deep into the folds of the gasket. Mold often hides in the lowest part of the seal where water tends to pool.
Step-by-Step Instructions for Cleaning
1. Initial Wipe-Down
Start by dipping a microfiber cloth into a mixture of warm water and a small amount of vinegar. Wipe the entire surface of the gasket to remove loose debris, hair, and surface-level slime. This allows your cleaning agents to penetrate the actual mold colonies in the next steps.
2. Applying the Cleaning Agent
For persistent mold, create a paste using baking soda and a small amount of water, or soak a cloth in white vinegar. Gently pull back the folds of the gasket and apply the solution directly to the affected areas. Trust your instincts on this one; if an area looks particularly dark or feels slimy, apply a bit more pressure and cleaning agent. Let the solution sit for at least 30 to 60 minutes to break down the organic matter.
3. Scrubbing the Crevices
Using an old toothbrush or a soft scrubbing brush, work the cleaning agent into the rubber. Pay close attention to the grooves and the drainage holes at the bottom of the gasket. These holes often get clogged with lint, preventing water from draining and causing the mold to return quickly. Scrub in circular motions to lift the mold without tearing the rubber.
4. Rinsing the Seal
Once you have agitated all the moldy spots, use a fresh, damp cloth to rinse away the residue. You may need to do this several times to ensure all the baking soda or vinegar is removed. Leaving residue behind can actually attract more dust and lint later.
5. Running a High-Heat Cycle
After manual cleaning, run the machine’s "clean washer" cycle or a long, high-heat cotton cycle. Add two cups of white vinegar directly into the drum or the detergent dispenser. This helps reach the parts of the outer drum and the back of the gasket that you cannot see or reach by hand.
Tips for Best Results
Maintenance is the key to preventing a recurring front load washer smell. Incorporate these habits into your routine to keep the machine fresh.
- Leave the Door Open: Always leave the washer door ajar between loads. This allows airflow to dry out the gasket and the drum, preventing mold from germinating.
- Dry the Gasket After Use: Keep a dedicated towel nearby to wipe the inside of the rubber seal after the final load of the day.
- Use the Right Detergent: Use High-Efficiency (HE) detergent and avoid using too much. Excess suds create a film on the gasket that mold loves to feed on.
- Check the Detergent Drawer: Mold often spreads from the dispenser drawer to the gasket. Clean the drawer monthly to prevent spores from traveling through the system.
Troubleshooting Common Issues
If you have cleaned the gasket and still notice a smell in your laundry machine, the issue might be deeper. Check the drain pump filter, usually located behind a small door at the bottom front of the machine. A clogged filter can cause water to back up, leading to stagnant smells. Additionally, ensure your drain hose is not kinked and is installed at the correct height to prevent backflow. If the mold has caused permanent staining on the rubber, don't worry—as long as the surface is clean and smooth to the touch, the stain is often purely cosmetic and won't affect your clothes.