If you own a front-load washing machine, you aren’t just fighting stains on your clothes; you’re in a constant battle against the ecosystem living in your rubber gasket. This guide provides a professional property manager's strategy for removing mildew in washing machines and keeping your laundry room smelling fresh year-round.
The Science of the Sludge: Why Front Load Washer Mold Happens
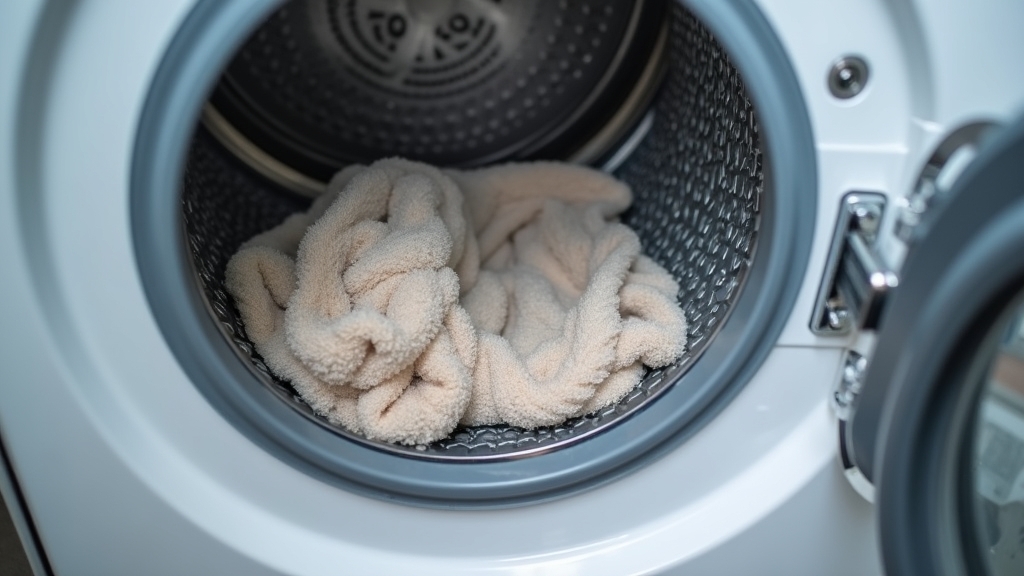
Here is the thing: front-load washers are designed to be airtight to prevent leaks. While this is great for your floors, it creates a high-humidity vacuum every time you close the door after a cycle. Residual water, undissolved detergent, and fabric softener collect in the folds of the rubber gasket, creating a bio-film. This film is essentially a buffet for mold and mildew. If you ignore it, the spores eventually transfer to your clothes, leading to that unmistakable sour smell that no amount of dryer sheets can mask.
What most people miss is that the problem isn't just the water—it's the chemistry. Modern high-efficiency (HE) washers use very little water, meaning if you use too much detergent, it doesn't wash away. It sticks to the seal, providing the glue that holds mold in place.
Step-by-Step Solution: Deep Cleaning the Rubber Gasket
Before moving into seasonal maintenance, you need a clean slate. This process is the only way I’ve found to actually kill the roots of the mold rather than just bleaching the surface.
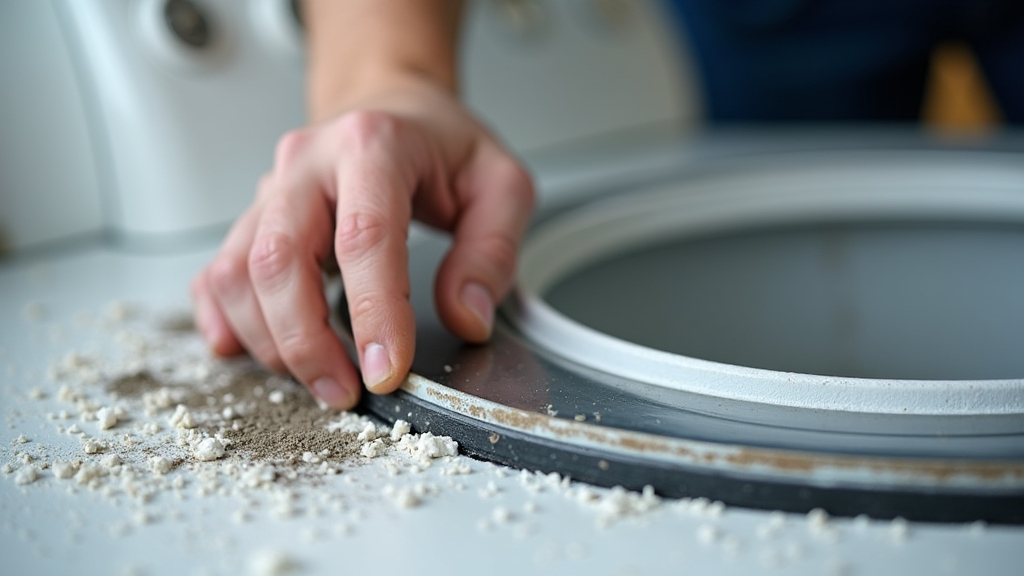
1. The Initial Inspection
Peel back the folds of the gasket. You’ll likely find hair, coins, and a thick layer of grey or black slime. Remove any physical debris first. Worth mentioning: check the tiny drain holes at the bottom of the gasket; if these are plugged, the machine will never stay clean.
2. The Oxygen Bleach Soak
Now, the important part. While many recommend vinegar, for a heavy infestation, you need something stronger but less caustic than straight liquid bleach, which can degrade the rubber over time. Create a paste of oxygen bleach powder and a small amount of water. Apply this into the folds. Let it sit for at least 30 minutes.
3. The Scrub Phase
Use a stiff-bristled nylon brush (an old toothbrush works, but a dedicated grout brush is better). Scrub the entire circumference of the seal, focusing on the back side of the lip where the gasket meets the drum. This is where the mold hides.
4. The High-Heat Rinse
Run a cleaning cycle or a whites cycle on the hottest setting available. Add two cups of white vinegar to the drum to help break down any remaining mineral deposits and neutralize the pH of the rubber.
The Seasonal Maintenance Calendar
To keep the mold from returning, you need to adjust your habits based on the time of year. Environmental factors play a huge role in how fast mildew grows.
Spring: The Deep Reset
As humidity begins to rise, do a full inspection of the bellows. This is the time to check your machine's drain pump filter (usually behind a small door at the bottom front). A clogged filter slows drainage, keeping the bottom of your seal wetter for longer. Clean the detergent drawer thoroughly; mold often starts there and migrates down to the seal.
Summer: High-Humidity Defense
This is where it gets interesting. During the humid months, your washer will almost never dry out on its own. You must leave the door wide open between washes—not just cracked, but wide open. I recommend running a 'Clean Washer' cycle every 15 loads during the summer. On the other hand, if you live in a coastal area, the salt in the air can actually exacerbate the buildup of grime, so wipe the seal with a dry microfiber cloth after the last load of the day.
Fall: Detergent Audit
As the weather cools, we tend to wash more heavy items like sweaters and blankets. People often overcompensate with too much detergent. Check your bottles; most HE machines only require two tablespoons of concentrated soap. Excess suds in the fall lead to more residue for winter mold to feed on.
Winter: Mechanical Check
In the winter, air is drier, which helps the seal dry out, but the cold can make the rubber gasket more brittle. Inspect for cracks where mold could enter the internal structure of the machine. If you see 'pitting' in the rubber, no amount of cleaning will fix it—the mold is inside the material and the seal needs replacement.
Pro Tips from the Field: Fixes That Last
- Microfiber is King: Keep a dedicated microfiber cloth on top of the machine. The good news is that a 5-second wipe-down of the gasket after your last load of the day eliminates 90% of mold issues.
- Skip the Softener: Fabric softener is essentially liquid fat. It coats the rubber seal in a way that is nearly impossible to wash off, providing a perfect home for spores. Use white vinegar in the softener compartment instead; it softens clothes and kills bacteria.
- Temperature Matters: If you only wash in cold water to save energy, you aren't killing bacteria. At least once a week, run a load of towels or sheets on the 'Sanitize' or 'Hot' setting.
Common Mistakes to Avoid
Don't use steel wool or abrasive green scouring pads; they create microscopic scratches in the rubber that allow mold to anchor even deeper. Something to keep in mind is that mixing ammonia-based cleaners with bleach is deadly—always stick to one cleaning agent and rinse thoroughly before trying another. Finally, never leave wet clothes in the machine overnight. In a front-loader, six hours is all it takes for the musty smell to set into the gasket.