The Quiet Threat Behind Your Laundry Room Wall
In my 15 years of DIY home maintenance, I’ve learned that the smallest components often cause the biggest headaches. Here is the thing: those standard rubber hoses connecting your washing machine to the water supply are ticking time bombs. A burst washer hose can dump hundreds of gallons of water into your home in less than an hour, leading to thousands of dollars in water damage. Now, the important part: replacing these hoses is one of the most cost-effective preventative measures you can take as a homeowner.
But should you grab a pipe wrench and do it yourself, or is this a job for a licensed plumber? In this guide, we’ll break down everything you need to know about changing washing machine hoses, from selecting the right stainless steel washer hoses to knowing when the job is over your head.
The DIY Approach: A Weekend Warrior’s Perspective
For most homeowners, changing these hoses is a standard 'Entry Level' DIY project. It requires minimal tools and usually takes less than 30 minutes. The good news is that you don't need a plumbing license to master the basic mechanics of a threaded hose connection.
The Pros of DIY Hose Replacement
- Cost Savings: You only pay for the materials.
- Convenience: You don't have to wait for a service window or take time off work.
- Education: You’ll learn exactly where your water shut-off valves are located—knowledge that is vital during an actual emergency.
Common DIY Pitfalls
What most people miss is the condition of the shut-off valves themselves. If you haven't touched those valves in a decade, they might be seized or start leaking the moment you turn them. This is where it gets interesting: a simple hose swap can quickly turn into a valve replacement project if you aren't careful. Another common mistake is over-tightening the connections, which can crush the rubber washer and actually cause the very leak you're trying to prevent.
When to Hire a Professional
While the task seems simple, there are specific scenarios where calling a plumber is the smarter move. On the other hand, if you live in a high-rise condo or an apartment where a leak could damage multiple units, the liability alone might make a professional worth the investment.
Pros of Professional Installation
- Liability Protection: If a pro installs it and it leaks, their insurance covers the damage.
- System Inspection: A plumber will check your water pressure. High home water pressure is a leading cause of burst hoses.
- Correct Tools: They have the specialized pliers and wrenches to reach tight spaces behind stacked laundry units.
Cons of Hiring a Pro
- High Minimum Service Fees: Most plumbers charge a minimum 'trip fee' that can range from $150 to $300 just to walk through the door.
- Scheduling Hassles: Finding a reputable plumber for a 'small' job can be difficult during busy seasons.
Choosing the Right Materials: Rubber vs. Stainless Steel
If you are going to prevent laundry floods, you must choose the right materials. Worth mentioning is the difference between standard rubber and braided stainless steel. Rubber hoses are cheap, but they lose flexibility and become brittle over time. Stainless steel washer hoses are actually rubber hoses encased in a mesh of stainless steel wire. This mesh prevents the internal hose from expanding and bursting under pressure.
Why Stainless Steel is Non-Negotiable
In my experience, there is no reason to buy rubber hoses anymore. The price difference is usually less than $10. Look for "Auto-Shutoff" stainless steel hoses for the ultimate protection; these have a mechanism that stops the water flow if it detects a sudden surge (like a burst).
Cost Comparison: DIY vs. Pro
Let’s look at the hard numbers. Something to keep in mind is that prices can vary based on your location, but the ratios remain similar.
- DIY Cost: $25 - $50 (High-quality stainless steel hoses + a small pair of tongue-and-groove pliers).
- Professional Cost: $200 - $450 (Includes labor, trip fee, and marked-up materials).
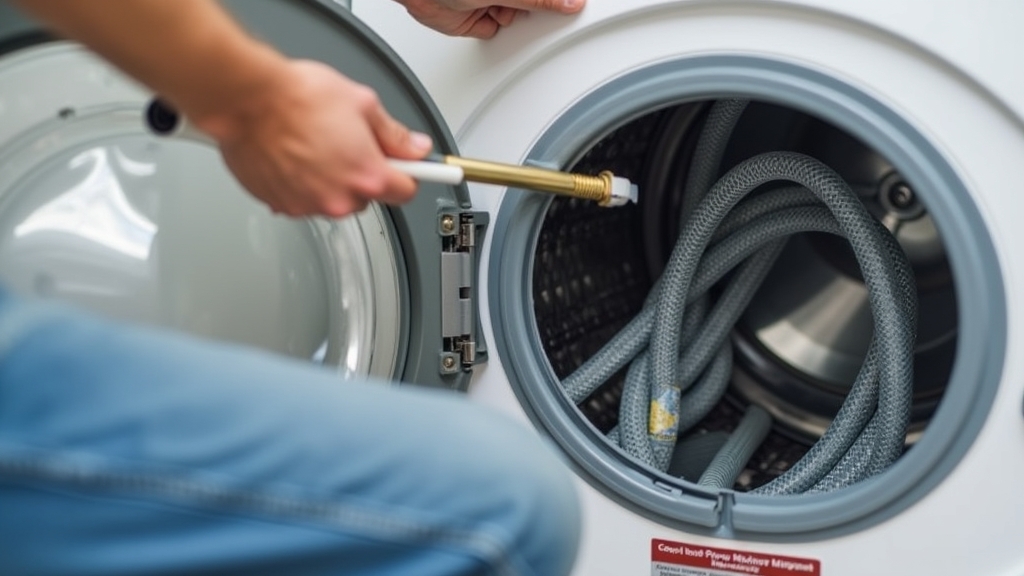
Step-by-Step DIY Instructions
If you’ve decided to tackle this yourself, follow these steps to ensure a leak-free installation:
- Turn off the water: Locate the valves behind the washer and turn them clockwise until tight.
- Unplug the machine: Safety first—don't work around water and electricity simultaneously.
- Drain the lines: Start a cycle for a few seconds to bleed the pressure out of the lines.
- Disconnect the old hoses: Use pliers to loosen the connections at the wall and the machine. Have a bucket ready for the remaining water in the hoses.
- Check the connections: Ensure the new hoses have the rubber washers inserted correctly.
- Hand tighten: Thread the new hoses on by hand to avoid cross-threading.
- Final snug: Use pliers to turn the fitting another 1/4 to 1/2 turn. Do not over-tighten!
- Test for leaks: Turn the water on slowly and watch the connections for moisture.
Final Recommendation: Which Path Should You Take?
The verdict: If your shut-off valves are easily accessible, in good condition, and you have the physical ability to move your washing machine, DIY is the way to go. It’s a 15-minute job that builds home maintenance confidence.
However, you should hire a pro if: Your valves are leaking, your machine is in a cramped 'closet' setup where you can't reach the back, or if you see significant corrosion on the copper pipes leading to the valves. In those cases, the risk of a DIY mishap outweighs the cost of the plumber.