Mastering the Art of Laundry Whitening
After 15 years of maintaining a busy household, I’ve seen my fair share of dingy socks and yellowing bedsheets. We’ve all been there: you buy a crisp, bright white shirt, and three months later, it looks like it’s been through a dust storm. Here is the thing... most people are terrified of bleach because they’ve either ruined a favorite shirt or ended up with those mysterious yellow spots. But when used correctly, bleach is the ultimate tool in your laundry room arsenal.
Today, I’m going to show you the quick-fix method for whitening white clothes that actually works without eating holes in your fabric. Whether you are dealing with stubborn sweat stains or just general dullness, this guide will walk you through the process of using bleach in the washing machine safely and effectively.
Tools and Materials Needed
Before we dive in, you need the right supplies. Don't just grab the first bottle you see under the sink. The good news is... you probably have most of this already, but the type of bleach matters immensely.
- Liquid Chlorine Bleach: Ensure it is fresh (it loses potency after 6 months) and labeled for laundry use.
- White Vinegar (for the rinse cycle): This helps neutralize odors and strip away detergent buildup.
- Measuring Cup: Never, ever eyeball it. This is how disasters happen.
- Heavy-duty Detergent: A good enzyme-based detergent works best with bleach.
- Safety Gloves: To protect your hands from irritation while handling the concentrate.
Preparation: The Steps Before the Suds
Now, the important part... you cannot bleach everything that is white. I learned this the hard way after a pair of expensive 'white' performance leggings turned a weird neon yellow. What most people miss... is checking the fabric composition and the care label.
1. Check the Care Label
Look for the triangle symbol. If it has an 'X' through it, do not use bleach. If it has diagonal lines inside, use only non-chlorine (oxygen) bleach. If it's an open triangle, you are good to go with chlorine bleach.
2. The Fabric Test
Avoid bleaching wool, silk, mohair, leather, or spandex. Bleach will literally dissolve the protein fibers in wool and silk, and it will turn spandex (elastane) yellow permanently. Stick to cotton, linen, and durable synthetics like polyester.
3. Sort Your Load
Only bleach pure whites. Even a small colored logo or a hidden colored thread can bleed or fade, ruining the entire load. This is a 'whites-only' club.
Detailed Step-by-Step Instructions
This is where we get into the nitty-gritty. This is where it gets interesting... because the timing of when you add the bleach determines how white your clothes actually get.
Step 1: Start the Cycle and Add Detergent
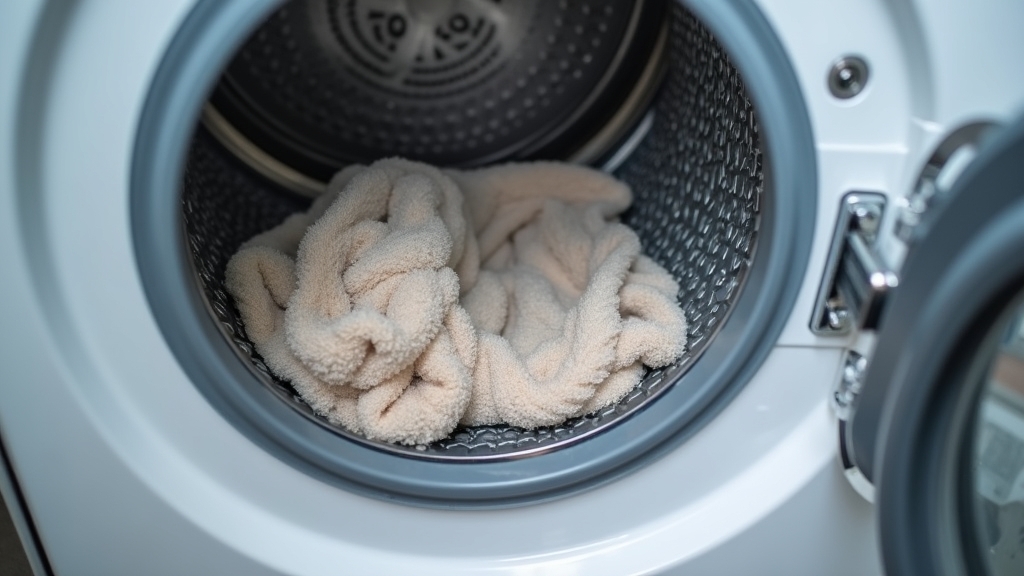
Load your whites into the machine. Set your water temperature to the hottest setting recommended on the garment tags. Hot water activates the bleach more effectively. Add your regular amount of heavy-duty detergent. If you have a top-loader, let it fill with water and agitate for a minute to dissolve the detergent before adding clothes.
Step 2: Dilute the Bleach (Crucial Step!)
Something to keep in mind... never pour undiluted bleach directly onto dry clothes. It will cause localized fiber damage. If your machine has a bleach dispenser, use it—that’s what it’s there for. It’s designed to release the bleach at the optimal time after the detergent has had a few minutes to work.
Step 3: The Manual Method (For Older Machines)
If you don't have a dispenser, wait about 5 minutes into the wash cycle. Mix 1/2 cup of bleach with at least a quart of water in a separate container, then pour it into the wash water. Worth mentioning... adding it later in the cycle allows the enzymes in your detergent to break down protein stains (like sweat or food) before the bleach kills those enzymes.
Step 4: The Extra Rinse
Once the wash cycle is done, I always recommend an extra rinse cycle. Add 1/2 cup of white vinegar to this final rinse. On the other hand... some people worry about the smell, but the vinegar actually neutralizes the bleach odor and ensures no caustic residue is left in the fibers to irritate your skin.
Tips for Best Results
After 15 years of trial and error, I've picked up a few pro tips that will make your laundry look like it came from a five-star hotel:
- Don't Overload: The clothes need room to move so the bleach reaches every fiber evenly.
- Soft Water Wins: If you have hard water (high iron content), chlorine bleach can react with the minerals and turn your clothes orange. If this happens, stop using chlorine bleach and switch to an iron-removing product.
- Sun Dry if Possible: UV rays from the sun act as a natural bleaching agent. Drying your whites outside can give them that extra 'pop' of brightness.
Troubleshooting Common Issues
Even the best DIYers run into trouble. Here’s how to handle common bleach mishaps:
Yellowing After Bleaching
This usually happens because of three things: the bleach was too old, the fabric contained spandex, or there was too much iron in your water. If it's iron, use a rust-remover laundry product. If it's spandex damage, unfortunately, that is usually permanent.
Small Holes in Fabric
This is a sign of 'bleach rot.' It means the bleach was either not diluted enough or the fabric was soaked for too long. Limit bleach contact time to the length of a standard wash cycle (about 15-20 minutes of agitation).
Faint Bleach Smell
If the smell lingers, it means the pH of the fabric is still too high. Run the items through a quick wash with just water and a cup of baking soda to balance things out.