Stopping the Shake: A Practical Guide to Machine Stability
In most homes, the laundry room is tucked away in a mudroom or a basement, often forgotten until the sound of a jet engine taking off reverberates through the walls. If your washing machine is shaking, thumping, or literally 'walking' across the floor, you are dealing with more than just a nuisance. From experience, I can tell you that excessive vibration is the leading cause of premature appliance failure and can even lead to ruptured water lines or damaged flooring.
The real issue usually isn't that the machine is broken; it’s that it has lost its center of gravity. Over the years, I have learned that even the most expensive front-load or top-load machines will rattle if they aren't properly calibrated to the surface they sit on. This guide focuses on long-term stability rather than temporary band-aids, ensuring your machine stays quiet for years to come.
Tools and Materials Needed
Before you begin, gather these items. You likely have most of them in a standard toolkit.
- A carpenter’s level (at least 12 inches long for accuracy).
- An adjustable wrench or a pair of pliers.
- A damp microfiber cloth and some mild cleaner.
- Anti-vibration pads (optional but highly recommended for hardwood or tile).
- A helper (moving these machines is a two-person job to avoid back injury).
Preparation Steps
One thing many people overlook is the surface beneath the machine. Before you start adjusting legs, you need to ensure the area is clean. Dust, detergent spills, and lint can create a slippery film that makes a washer 'walk' even if it is level. Pull the machine out, clean the floor thoroughly, and wipe down the rubber feet of the washer. While the machine is pulled out, check your hoses for any kinks or signs of wear, as the vibration may have been straining them.
Detailed Step-by-Step Instructions
Step 1: Inspect for Shipping Bolts
In my experience, this is the most common reason for extreme vibration in brand-new machines. When a front-load washer is shipped, the manufacturer installs large bolts through the back of the cabinet to keep the heavy drum from bouncing during transport. If these aren't removed before the first load, the machine will shake violently. If your machine is new or was recently moved, look at the back panel. You should see three or four plastic plugs. If there are metal bolts there instead, remove them immediately and save them for your next move.
Step 2: Leveling the Machine
What works best is a two-plane leveling approach. Place your level across the top of the machine from left to right. Once that is centered, place the level from front to back. A common situation is finding the machine level in one direction but tilted in the other.
To adjust, use your wrench to loosen the locknut on the machine's feet. Screwing the foot clockwise usually lowers that corner, while counter-clockwise raises it. The key thing to remember is that all four feet must be in firm contact with the floor. If one foot is even a fraction of an inch off the ground, the machine will rock like a chair with a short leg, amplifying the vibration during the high-speed spin cycle. Once level, tighten the locknuts back up against the frame of the machine to prevent the feet from vibrating out of position again.
Step 3: Addressing Floor Flex
What I have found is that many modern laundry rooms are located on the second floor, where the wooden subfloor has a natural 'bounce' or flex. Even a perfectly level machine will vibrate if the floor itself is acting like a trampoline. If you feel the floor bouncing when you stand near the machine, you might need to bridge the joists from below or, at the very least, place a 3/4-inch piece of marine-grade plywood under the washer and dryer. This distributes the weight across more floor joists and creates a rigid platform.
Step 4: Using Anti-Vibration Pads
If the floor is solid and the machine is level but you still hear a humming or slight rattle, anti-vibration pads are the answer. These are thick rubber or foam pucks that sit under the feet. They work by absorbing the high-frequency energy before it can transfer into the house's framing. I have learned that these are particularly effective on tile floors, where the machine's rubber feet might struggle to get a grip.
Tips for Best Results
Proper operation is just as important as the mechanical setup. To keep your washer quiet, follow these pro tips:
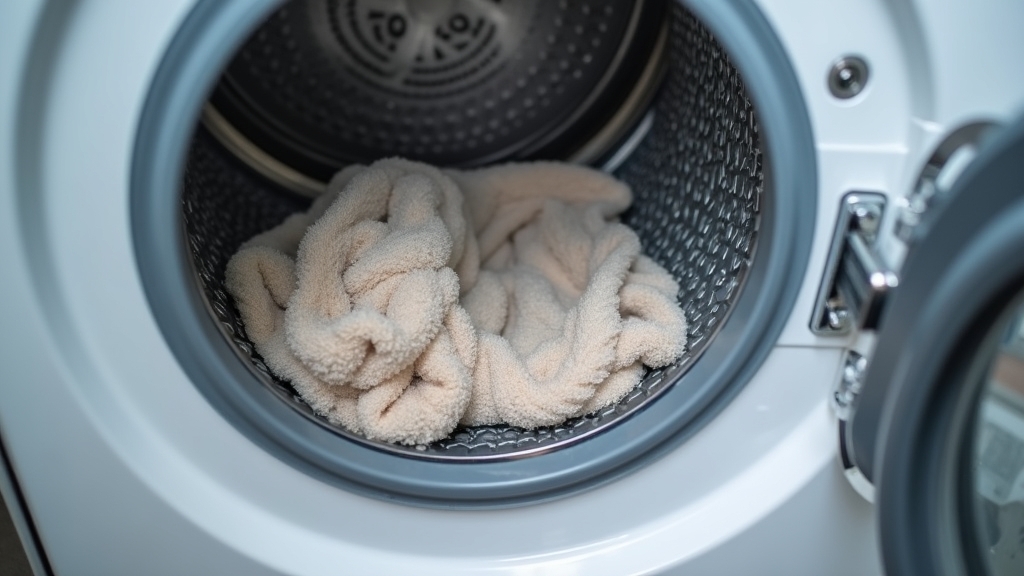
- Avoid the 'Donut' Load: When washing heavy items like towels or rugs, ensure they are distributed evenly around the drum. A single heavy rug on one side will create an unbalanced laundry load that no amount of leveling can fix.
- Wash Like with Like: Mixing heavy denim with light t-shirts can cause the load to clump together on one side during the spin.
- Check the Bulky Cycle: Use the specific 'Bulky' or 'Towels' setting. These cycles are programmed to handle the extra weight and often have a slower ramp-up to the final spin speed to allow the load to balance itself.
Troubleshooting Common Issues
If you have leveled the machine and the floor is solid, but the shaking persists, the problem may be internal. Over the years, I've seen shock absorbers (yes, washers have them!) wear out after five to seven years. If you can push the drum down with your hand and it bounces more than once before stopping, your shocks are likely shot. Another thing to check is the counterweight. Most drums have large concrete or plastic blocks bolted to them. If a bolt loosens, that weight will rattle against the drum, creating a deafening noise even if the machine stays in place.