{ "title": "Smart Wall-Mounted Laundry Storage Hacks: Pro Guide", "slug": "wall-mounted-laundry-storage-hacks", "excerpt": "Maximize your small laundry room with expert wall-mounted storage hacks. Learn how to install floating shelves, pegboards, and vertical racks like a pro.", "content": "
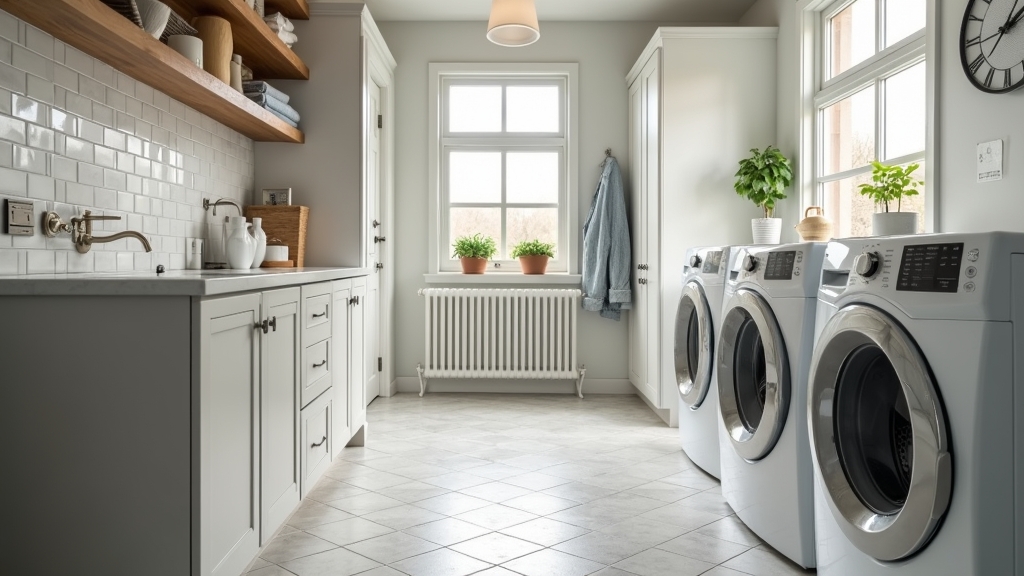
Over the last decade, I’ve stepped into hundreds of laundry rooms, and the number one complaint I hear isn't about the washer or dryer—it's about the lack of space. In most modern American homes, the laundry room is a cramped utility closet or a narrow pass-through from the garage. After years of fixing sagging shelves and patching drywall holes from failed DIY projects, I can tell you that vertical space is your best friend, provided you treat your walls with respect.
Today, we’re going to reclaim your floor space using wall-mounted storage hacks that actually work. We aren't just talking about aesthetics; we’re talking about structural integrity and workflow efficiency. Take your time with this. It is worth doing right the first time so you don't end up with a gallon of detergent spilled on your floor because a bracket failed.
Common Mistakes to Avoid
Before we pick up a drill, let's talk about the lessons I've learned from fixing other people's mistakes. The most common error is ignoring the weight of laundry supplies. A full bottle of detergent can weigh 10 to 15 pounds. Multiply that by four or five bottles, and you have a significant load that will pull straight through drywall if you aren't anchored into studs.
The Drywall Anchor Trap
Never rely solely on plastic drywall anchors for laundry shelving. Between the vibration of the washing machine and the heavy weight of liquid cleaners, these anchors will eventually wiggle loose. Always aim for the studs. If the studs don't align with your design, use a mounting board (a 1x4 piece of lumber) screwed into the studs first, then mount your shelves to that board.
Ignoring Moisture and Humidity
Laundry rooms are high-humidity environments. I’ve seen beautiful raw wood shelves warp and mold within a year. Always seal your wood or use moisture-resistant materials like powder-coated steel or PVC-wrapped MDF. Small details matter here; even the type of screw you use matters—choose zinc-plated or stainless steel to prevent rust spots on your clean clothes.
Tools and Materials Needed
To do this right, you need the right kit. Don't rush the process by trying to 'eyeball' it. Trust your instincts on the layout, but trust your tools for the execution.
- Electronic Stud Finder: Essential for structural mounting.
- Level (2-foot or 4-foot): A shelf that isn't level will cause bottles to migrate over time due to machine vibration.
- Power Drill and Impact Driver: For pilot holes and driving structural screws.
- Floating Laundry Shelves: Heavy-duty versions with internal brackets.
- Pegboard System: Metal is preferred over fiberboard for longevity.
- Wall Storage for Detergent: Deep-set baskets or lipped shelves.
- 3-inch Wood Screws: To ensure deep penetration into the wall studs.
- Pencil and Blue Painter’s Tape: For marking your layout without damaging the wall finish.
Preparation Steps
Preparation is 70% of the job. First, clear everything out. You need a blank canvas. Use your blue painter's tape to mock up where you want your floating laundry shelves and pegboard laundry room setup. This helps you visualize the workflow: can you reach the detergent without overextending? Is the shelf high enough that you won't bang your head when leaning over the washer?
Once you like the layout, use your stud finder. Mark every stud in the work area. In standard US homes, these are usually 16 inches apart. Draw a light vertical line where the center of each stud is located. This is your "green zone" for mounting.
Step-by-Step Installation
1. Installing Heavy-Duty Floating Shelves
Floating shelves look clean, but they need a solid backbone. Start by mounting the internal bracket. Align the bracket holes with your stud marks. If the holes don't line up, drill new holes in the metal bracket itself rather than using drywall anchors. Level the bracket, then drive your 3-inch screws home. Slide the shelf over the bracket and secure the set screws.
2. Setting Up a Pegboard System
A pegboard laundry room is the ultimate hack for small items like lint rollers, scissors, and stain pens. However, pegboards need a gap behind them for the hooks to fit. If you're using a metal pegboard, they often have built-in flanges. If using wood, you’ll need to mount "furring strips" (thin wood strips) to the studs first, then mount the pegboard to the strips. This ensures the board won't bow under the weight of your tools.
3. Creating Vertical Laundry Space for Drying
If you have a gap between the top of your machines and the ceiling, install a wall-mounted folding drying rack. These are game-changers for vertical laundry space. Mount these at shoulder height so you aren't reaching too high with wet, heavy garments. Again, ensure at least two of the mounting screws hit a stud.
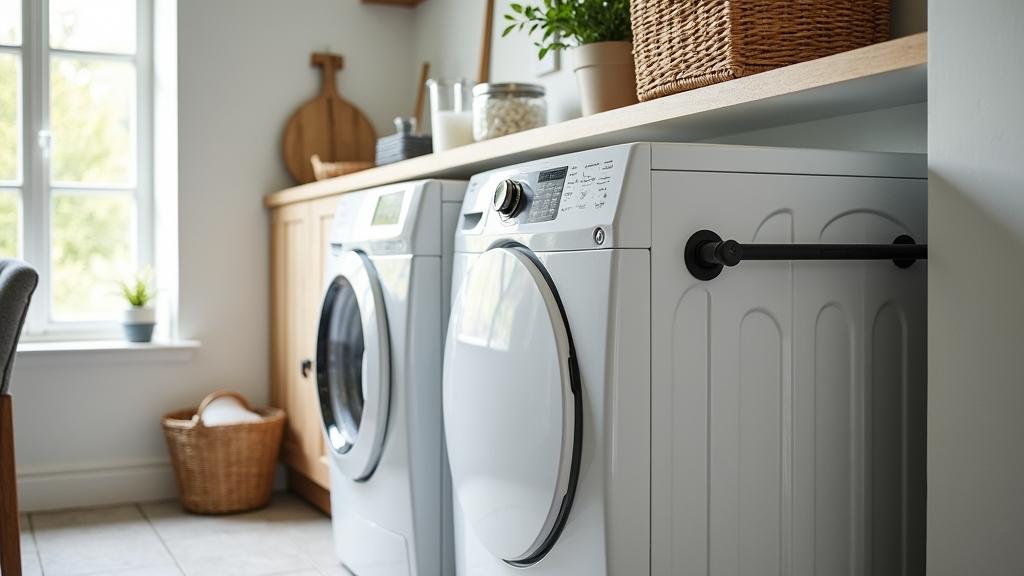
Tips for Best Results
- The Lip Method: For wall storage for detergent, choose shelves with a front lip or "gallery rail." This prevents bottles from vibrating off the edge during a heavy spin cycle.
- Lighting: While the walls are open, consider adding battery-operated LED puck lights under your new shelves. It makes reading those tiny detergent measuring cups much easier.
- Group by Frequency: Place your daily detergent at arm's level and your "once-in-a-while" items (like fabric dye or heavy-duty degreasers) on the highest floating laundry shelves.
Troubleshooting Common Issues
The "Wobbly" Shelf: If your shelf feels loose, the screw probably missed the center of the stud or the bracket is bent. Back the screw out, use a small nail to "probe" and find the exact edges of the stud, then re-drive the screw into the dead center.
Detergent Stains on Wood: If you use wood shelves, the inevitable detergent drip will eat through most finishes. I recommend placing a silicone mat on top of your shelves. It’s a small detail, but it saves the wood and is easy to wash in the sink.
Pegboard Hooks Falling Out: This is a common annoyance. Use "peg locks" (small plastic clips) to keep your hooks in place so they don't come off every time you grab a brush.
Take your time with these installations. A laundry room should be a place of efficiency, not a source of stress. When you use quality materials and hit those studs, you’re building storage that will last as long as the house itself.
", "tags": ["laundry room organization", "DIY storage", "home maintenance", "small space hacks"], "readTime": 8, "metaTitle": "Wall-Mounted Laundry Storage Hacks: Expert DIY Guide", "metaDescription": "Learn how to install floating shelves, pegboards, and vertical storage in your laundry room. Professional tips on avoiding common DIY mistakes.", "focusKeyword": "wall-mounted laundry storage hacks", "faqs": [ { "question": "Can I install floating shelves on a tiled laundry wall?", "answer": "Yes, but you need a diamond-tipped drill bit to get through the tile without cracking it. Once you're through the tile and backer board, ensure you use long enough screws to reach the studs behind the wall." }, { "question": "How much weight can a standard laundry pegboard hold?", "answer": "A metal pegboard mounted into studs can typically hold 50-100 lbs depending on the manufacturer. Fiberboard is much weaker (around 20-30 lbs) and can sag in laundry room humidity." }, { "question": "What is the best height for laundry wall storage?", "answer": "Ideally, the most-used shelf should be between 48 and 54 inches from the floor. This keeps detergent within easy reach while providing enough clearance for top-loading washing machine lids to open fully." }, { "question": "How do I stop my laundry shelves from vibrating?", "answer": "Ensure every bracket is screwed into a stud. You can also add a thin strip of adhesive foam tape to the back of the shelf where it meets the wall to dampen vibrations from the machines." } ], "tableOfContents": [ { "id": "common-mistakes-to-avoid", "title": "Common Mistakes to Avoid", "level": 2 }, { "id": "the-drywall-anchor-trap", "title": "The Drywall Anchor Trap", "level": 3 }, { "id": "ignoring-moisture-and-humidity", "title": "Ignoring Moisture and Humidity", "level": 3 }, { "id": "tools-and-materials-needed", "title": "Tools and Materials Needed", "level": 2 }, { "id": "preparation-steps", "title": "Preparation Steps", "level": 2 }, { "id": "step-by-step-installation", "title": "Step-by-Step Installation", "level": 2 }, { "id": "tips-for-best-results", "title": "Tips for Best Results", "level": 2 }, { "id": "troubleshooting-common-issues", "title": "Troubleshooting Common Issues", "level": 2 } ] }