Protecting Your Laundry from the Chill
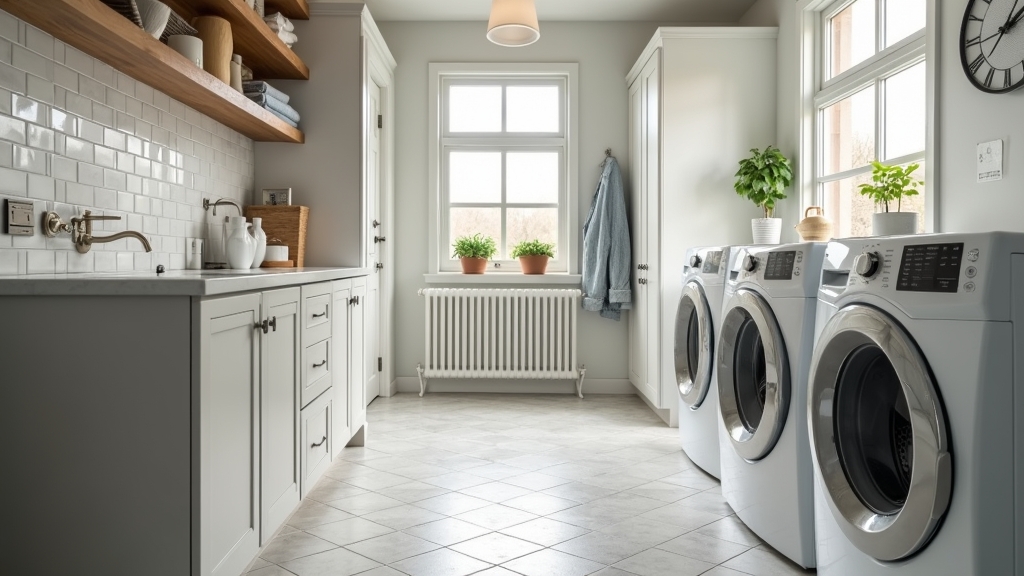
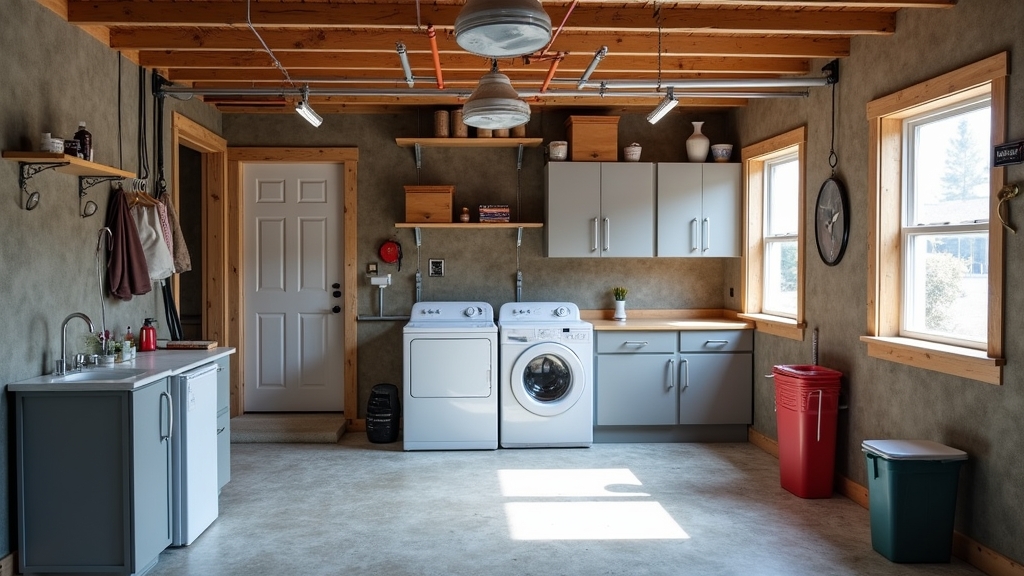
In most homes where space is at a premium, moving the washing machine and dryer to the garage is a practical solution. However, as someone who has spent years helping city dwellers optimize every square inch of their living space—including the garage—I can tell you that winter presents a unique set of challenges. When the temperature drops, that uninsulated garage becomes a liability for your plumbing and your appliances.
From experience, the real issue usually isn't just the cold air; it is the stagnant water left inside your washing machine’s pump and hoses. If that water freezes, it expands, and you are looking at a very expensive repair bill or a flooded garage. In this guide, we will break down the three main levels of winterizing your garage laundry setup, providing a realistic cost analysis for each.
The Three Approaches to Garage Winterization
What I have found is that most homeowners fall into one of three categories based on their climate and budget. You can either focus on the pipes, the environment, or a dedicated enclosure.
Option 1: The Targeted Insulation Strategy (The DIY Budget Fix)
This approach focuses specifically on the vulnerable points: the water supply lines and the machine itself. A common situation is that the garage stays relatively warm, but the pipes running along the exterior wall are at risk.
The goal here is to trap what little heat is available and prevent cold drafts from hitting the metal pipes directly. This involves foam sleeves, faucet covers, and perhaps a thermal blanket for the washer. Over the years, I have learned that even a small gap in insulation can lead to a burst pipe, so meticulousness is key.
Option 2: The Ambient Temperature Control (The Mid-Range Solution)
What works best if you live in a region with frequent freezes is to treat the garage as a semi-conditioned space. Instead of just wrapping the pipes, you insulate the garage door and use a thermostatically controlled heat source. This ensures the entire room stays above 40°F (4°C).
One thing many people overlook is the garage door. It is effectively a giant radiator for cold. By adding an insulation kit to the door, you can raise the ambient temperature of the garage by 10-15 degrees without any additional power usage.
Option 3: The Dedicated Laundry Enclosure (The Professional Build)
In my experience, if you live in a climate where sub-zero temperatures are the norm, the only foolproof method is to build a small, insulated closet around your laundry units. This creates a tiny 'room within a room' that is much easier and cheaper to keep warm than the entire garage.
Detailed Pros and Cons
Targeted Insulation
- Pros: Extremely affordable, can be done in an afternoon, no recurring electricity costs.
- Cons: Does not protect the internal components of the washer as effectively; not suitable for extreme northern climates.
Ambient Temperature Control
- Pros: Protects other items in your garage (like paints or power tool batteries); makes the garage more comfortable to use.
- Cons: Higher upfront cost for door kits; space heaters can increase monthly electricity bills.
Dedicated Enclosure
- Pros: The ultimate protection; increases home value; provides additional storage and sound dampening.
- Cons: High initial investment; requires carpentry skills or hiring a contractor.
Comprehensive Cost Comparison
The key thing to remember is that spending money now prevents a 'water emergency' later. Here is how the costs typically break down for a standard two-appliance setup:
| Solution Level | Materials/Components | Estimated DIY Cost | Estimated Pro Cost |
|---|---|---|---|
| Basic (Targeted) | Pipe sleeves, heat tape, faucet covers | $30 - $70 | $150 - $250 |
| Intermediate (Ambient) | Garage door kit, smart space heater, weather stripping | $150 - $350 | $400 - $700 |
| Advanced (Enclosure) | Framing, R-13 insulation, drywall, small heater | $500 - $900 | $1,500 - $3,000 |
Best Use Cases for Each Option
When to Choose Basic Insulation
If you live in a place like the Pacific Northwest or the mid-South where 'freezes' are rare and usually only last a few hours, basic insulation is usually enough. What I have found is that simply keeping the wind off the pipes prevents 90% of issues.
When to Choose Ambient Control
This is the sweet spot for most suburban homeowners. If you use your garage as a workshop or garden shed, insulating the door and using a heater with a 'freeze guard' setting is the most logical step. It protects your washer and makes your hobbies more enjoyable in December.
When to Choose a Dedicated Enclosure
If you are in the Midwest or Northeast, don't gamble. A common situation is a power outage during a blizzard; a well-insulated enclosure will hold heat for much longer than an open garage, giving you a buffer to prevent a catastrophe.
Final Recommendation Based on Your Situation
Over the years, I have learned that the best approach is often a hybrid. If you are on a tight budget, I recommend starting with high-quality self-regulating heat tape. Unlike standard heat cables, self-regulating tape adjusts its output based on the temperature, which is safer and more efficient.
The real issue usually is the drain hose. People remember the intake pipes but forget the drain. In my experience, if your drain hose has a 'U' shape where water sits, that is where the ice block will form. Ensure your hoses are sloped to drain completely or are wrapped in insulation alongside the supply lines.
Conclusion
Winterizing a garage laundry room doesn't have to be an expensive renovation. Whether you spend $50 on foam and tape or $2,000 on a custom enclosure, the goal is the same: peace of mind. One thing many people overlook is simply leaving the garage door closed—it sounds simple, but it’s the most effective free way to keep the heat in. Start with the basics, monitor your garage temperatures with a cheap WiFi thermometer, and upgrade your protection as needed.