Designing a narrow living room often feels like planning a container garden on a slim balcony. You have limited horizontal space, and every inch must serve a purpose. The biggest challenge in these rooms is the sectional sofa. Because of its size, a sectional acts as the anchor of the room. If you place it incorrectly, you disrupt the entire furniture flow and make the space feel cramped.
As someone who has spent years helping people maximize small apartments, I have learned that layout is about more than just fitting furniture. It is about how you move through the space. In a narrow room, you must choose between three primary strategies: hugging the wall, floating the piece to create zones, or tucking it into a corner. Each method changes how the room functions. Take your time with these decisions; small details like the width of a walkway determine whether a room feels cozy or cluttered.
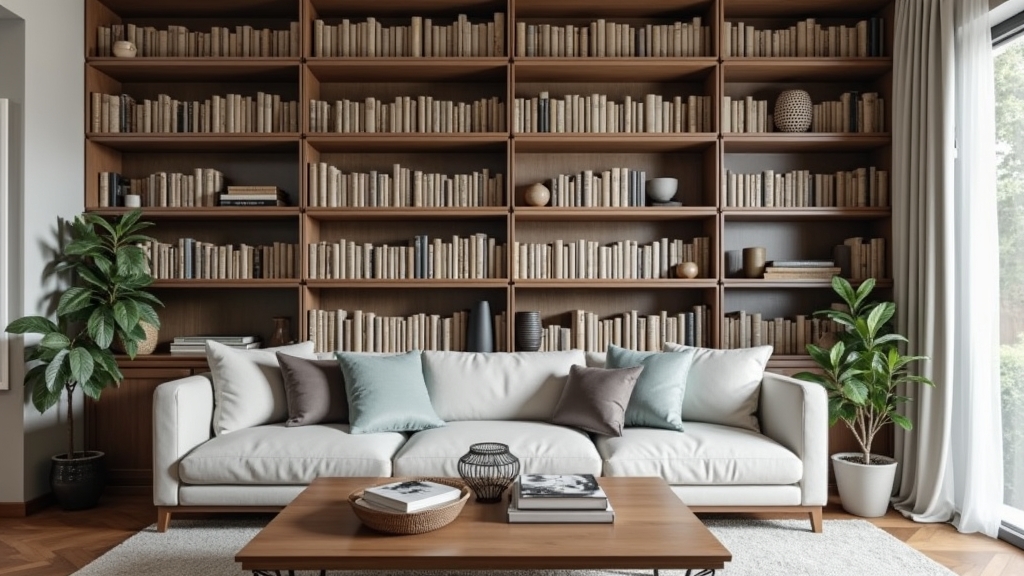
Method 1: The Wall-Hugging Anchor
The most common approach to a narrow living room layout is placing the longest side of the sectional against the longest wall. This keeps the center of the floor open. It mimics the way we might line up planters along a fence to keep a path clear.
How it Works
You push the back of the sofa against the main wall. The L-shaped extension (the chaise) usually sits on the side that does not block a doorway. This creates a clear, straight path for traffic on the opposite side of the room.
Pros and Cons
- Pro: Maximizes floor space for coffee tables or ottomans.
- Pro: Makes the room feel wider by keeping the center clear.
- Con: Can feel a bit like a waiting room if all other furniture is pushed against walls.
- Con: Limits your ability to place lighting or side tables behind the sofa.
Method 2: The Floating Divider
In longer rooms, you might want to use the sectional to define a specific area. This is the "floating" method. Instead of pushing everything against the perimeter, you use the back of the sofa to create a physical boundary.
How it Works
Place the sectional so the back of the long side faces the rest of the room (like a dining area or home office). This effectively cuts the narrow room into two smaller, more manageable squares. Trust your instincts here; if the room feels like a never-ending tunnel, breaking it up is usually the right move.
Pros and Cons
- Pro: Creates distinct zones in an open-concept narrow space.
- Pro: Provides a more intimate seating area for conversation.
- Con: Requires at least 30 to 36 inches of clearance behind the sofa for walking.
- Con: Can make a very short narrow room feel even smaller.
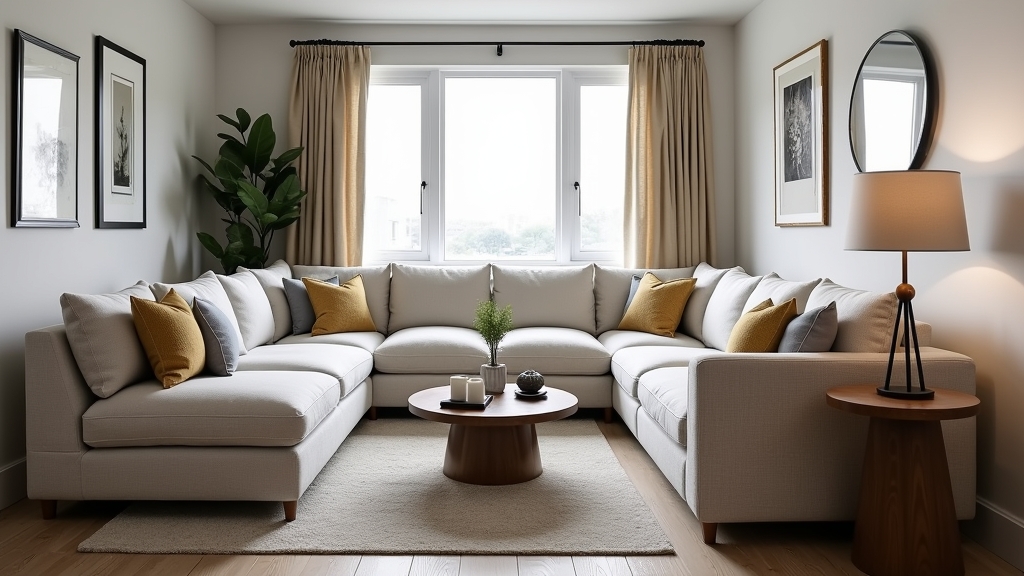
Method 3: The Window-Corner Flush
If your room has a large window at one end, tucking the sectional into that corner can be a great way to maximize light. This is similar to placing sun-loving plants directly in a south-facing window corner to leave the rest of the room for shade-tolerant activities.
How it Works
The L-shape nestles into the corner where the window meets the wall. This keeps the bulk of the furniture at the far end of the room, drawing the eye toward the light and the view outside.
Pros and Cons
- Pro: Creates a bright, airy reading nook.
- Pro: Keeps the entrance of the room completely unobstructed.
- Con: May block access to the window for cleaning or opening.
- Con: Direct sunlight can fade fabric over time if you do not use UV-protected curtains.
Detailed Comparison of Layouts
When choosing between these methods, consider the "path of least resistance." In gardening, we call this the garden path. In a living room, it is the furniture flow. Small details matter here. For example, if you choose the Floating Divider, you must ensure the rug is large enough to sit under all the sofa legs. This anchors the "island" you have created.
Furniture Flow and Measurements
In a narrow living room, aim for a minimum of 30 inches for major walkways. If you use an L-shaped sofa placement, measure the chaise extension carefully. A chaise that sticks out too far will create a bottleneck. If your room is less than 10 feet wide, a "small space sectional" with a reversible chaise is often better than a fixed corner unit. This gives you the flexibility to move the L-section if your first layout doesn't feel right.
Cost and Implementation
The cost of these layouts varies depending on the accessories needed to make them work. A wall-hugging layout is usually the most affordable because it requires fewer pieces to look "finished."
- Wall-Hugging: Low cost. You only need the sectional and a central rug.
- Floating Divider: Medium cost. You may need a console table to place behind the sofa to hide the "back" and provide a spot for lamps.
- Window-Corner: Medium cost. You will likely need high-quality window treatments to manage light and heat.
Best Use Cases for Each
Every home has a different rhythm. Choose your layout based on your primary activity in the room.
The Wall-Hugging Layout is best for:
Families with small children who need open floor space for play. It is also the best choice for very narrow rooms (under 9 feet wide) where every inch of floor space is vital.
The Floating Divider is best for:
Open-plan apartments where the living room must share space with a dining table or a desk. It acts as a visual wall without the need for construction.
The Window-Corner Flush is best for:
People who use their living room primarily for relaxation and reading. It capitalizes on natural light and creates a "destination" at the end of the room.
Final Recommendation
If you are unsure where to start, I recommend the Wall-Hugging Anchor as your baseline. It is the most forgiving layout for a narrow living room. However, if your room feels like a long, cold hallway, do not be afraid to try the Floating Divider. It adds architectural interest and makes the room feel intentional rather than just "filled." It is worth doing right the first time, so measure twice before buying any new pieces. Trust your instincts—if a layout feels awkward to walk through, it will eventually frustrate you, no matter how good it looks in a photo.