In most homes, the living room serves as the central hub for relaxation, but bulky furniture can quickly make the space feel cramped and disorganized. In this guide, you will learn how to design, construct, and install a sleek diy floating shelf and media unit that maximizes floor space while providing a professional, modern aesthetic. By following a seasonal approach, you can ensure your project accounts for wood movement and environmental factors that many homeowners often overlook.
The Value of a Low Profile Console
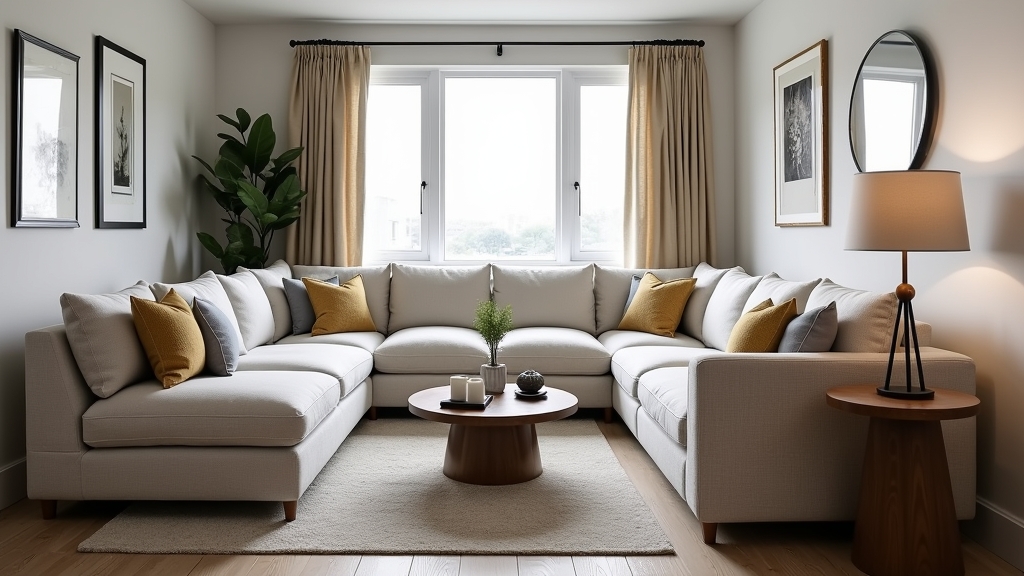
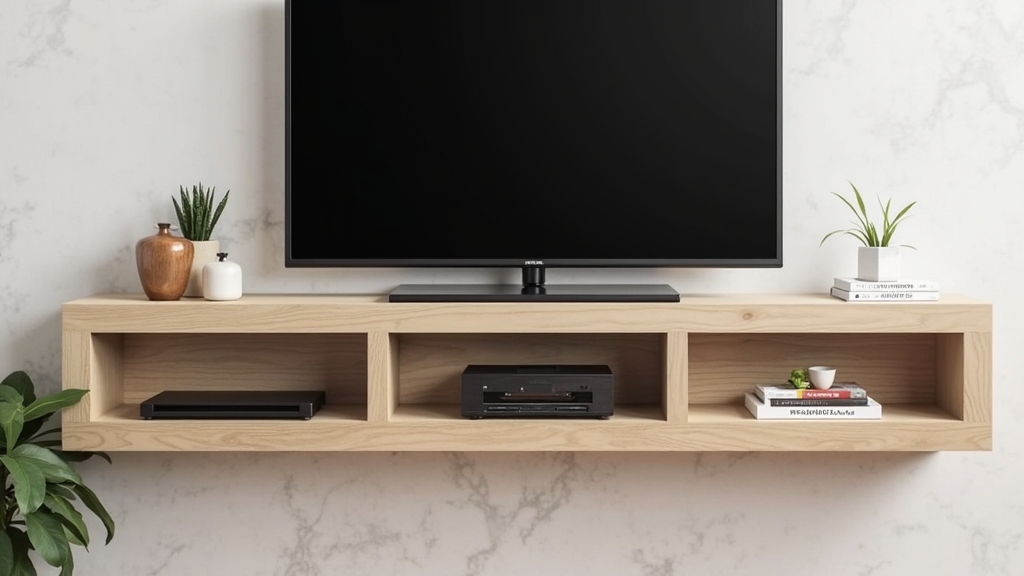
A common situation is finding a beautiful television only to realize that the standard entertainment centers available in stores are either too bulky or made from materials that don't last. The real issue usually is that floor-standing units collect dust underneath and visually shrink the room. Transitioning to a wall mounted tv stand opens up the floor plan, creating an airy feel that is essential for modern interior design. From experience, removing that visual weight from the floor level completely transforms the perceived square footage of a room.
Seasonal Considerations for Woodworking Projects
What I have found is that the time of year you choose to build your modern media unit significantly impacts the longevity of the joints and the finish. Over the years, I have learned that wood is a living material that reacts to the humidity levels in your home.
Spring: Planning and Material Acclimation
Spring is the ideal time to start your project because humidity levels are moderate. When you bring your lumber home, let it sit in your living room for at least a week before cutting. This prevents the wood from warping or shrinking after the unit is already mounted on your wall.
Summer: Ventilation and Finishing
If you are applying stains or topcoats, summer provides the best ventilation. However, be wary of high humidity, which can cause finishes to stay tacky for too long. What works best is working in a climate-controlled environment if possible, or choosing early morning hours when the air is still relatively dry.
Fall and Winter: Managing Contraction
In the winter, indoor heating systems dry out the air, causing wood to contract. If you build your console in the summer and mount it tightly, you might see small gaps appear in the joinery during winter. One thing many people overlook is using joinery techniques like pocket holes or biscuit joints that allow for slight movement without compromising structural integrity.
Step-by-Step Construction Guide
Building a custom low profile console requires precision and a focus on weight distribution. Here is how to execute the build properly.
1. Designing for Your Space
Measure your television and the wall space. A good rule of thumb is to make the console at least 10 to 20 percent wider than the TV to maintain visual balance. In my experience, a depth of 12 to 14 inches is sufficient for most media devices without protruding too far into the room.
2. Selecting the Right Materials
For a sturdy wall mounted tv stand, use 3/4-inch hardwood plywood or solid hardwood. Avoid particle board, as it struggles to hold the weight of the unit and the equipment over time. The key thing to remember is that the back panel is just as important as the top; it provides the lateral stability needed to prevent sagging.
3. The Assembly Process
Cut your top, bottom, and side panels. Use a miter saw for 45-degree corner joints if you want a seamless 'waterfall' look where the grain flows over the edges. Apply wood glue to all surfaces before driving screws. From experience, glue provides the majority of the long-term strength, while screws act as permanent clamps.
4. Creating Cable Management
Before assembly, use a hole saw bit to create access points in the back panel and the internal dividers. This allows you to route cables internally, keeping the 'floating' look clean and professional. A common situation is forgetting these holes and having to drill them after the unit is already finished and mounted, which risks splintering the wood.
5. Mounting to the Wall
This is the most critical step. You must locate the wall studs using a high-quality finder. Never rely on drywall anchors for a media console. What works best is using a French cleat system. This involves a beveled piece of wood attached to the wall and a corresponding piece on the back of the console. It distributes the weight evenly across multiple studs and makes the installation process much safer.
Practical Tips from the Field
Over the years, I have learned that the small details make the difference between a project that looks DIY and one that looks professional. Consider these field-tested tips:
- Sand Thoroughly: Start with 80-grit sandpaper and work your way up to 220-grit. What I have found is that skipping a grit level will leave visible swirl marks once the stain is applied.
- Leveling is Key: Even if your floor is slanted, your console must be perfectly level. Use a 4-foot level to ensure the French cleat is straight before securing it to the studs.
- Account for Heat: Electronic devices generate heat. If you include doors on your unit, consider using mesh inserts or leaving the back partially open to allow for airflow.
Common Mistakes to Avoid
One thing many people overlook is the height of the mounting. Placing the unit too high (the 'TV too high' syndrome) leads to neck strain. The center of your TV should be at eye level when you are seated. Another mistake is ignoring the weight of the console itself. Hardwood is heavy; always calculate the combined weight of the wood, the TV, and your peripherals to ensure your wall studs can handle the load. Finally, do not rush the drying time of your finish. Applying a second coat too early can lead to a cloudy or soft finish that scratches easily.