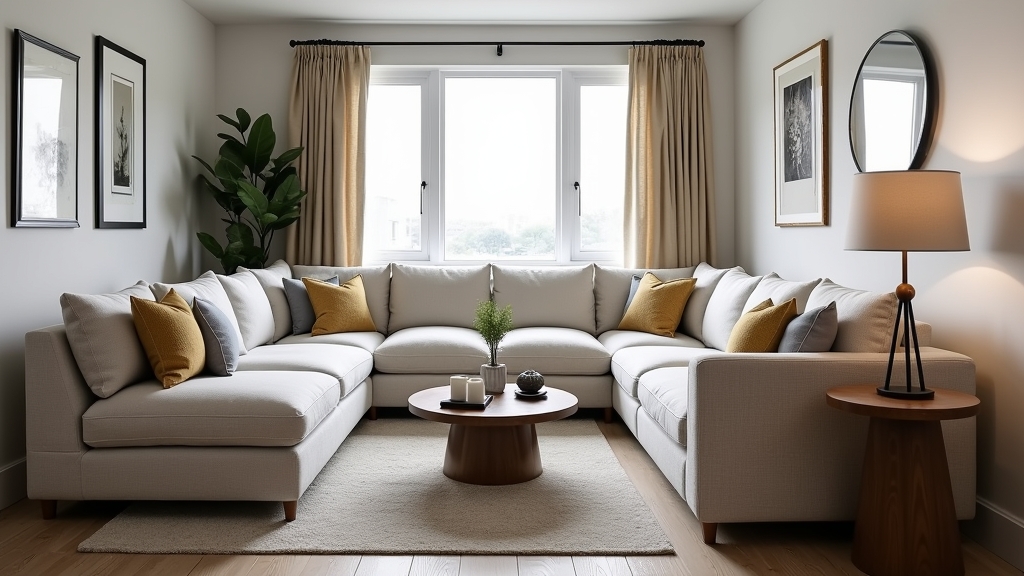
Mastering the Living Room Gallery Wall: From Chaos to Composition
In my years helping city dwellers maximize small spaces, I’ve found that a living room wall is much like a vertical garden: it requires a structural backbone, intentional spacing, and a deep understanding of the environment. Most people approach hanging wall art as a weekend whim, only to end up with a 'Swiss cheese' wall full of unnecessary holes and a layout that feels claustrophobic rather than curated. A poorly executed gallery wall doesn't just look messy; it can actually make a small apartment feel smaller by disrupting the visual flow of the room.
Designing a gallery wall template that works requires moving past the 'nail and hope' method. Whether you are working with heirloom portraits or modern prints, the success of your living room wall decor hinges on technical precision and an eye for balance. Take your time with this; it is worth doing right the first time to ensure your walls remain as pristine as your plants.
The Root Causes of Gallery Wall Failure
Before you pick up a hammer, you must understand why most picture wall ideas fail in execution. It rarely comes down to the art itself, but rather the failure to account for these three contributing factors:
1. The Lack of a Central Axis
Just as a garden needs a focal point, a gallery wall needs a center of gravity. Many DIYers start hanging from a corner or an edge. This leads to a 'drifting' effect where the collection looks like it is sliding off the wall. Without a central axis—usually 57 to 60 inches from the floor—the eye has no place to rest, leading to visual fatigue.
2. Inconsistent Negative Space
Inconsistent spacing is the primary cause of a cluttered look. If one pair of frames is two inches apart and another is four, the brain perceives it as an error rather than an aesthetic choice. In small apartment gardening, we call this 'crowding the roots.' On a wall, it prevents each piece of art from breathing.
3. Ignoring Wall Substrate and Weight
Using the wrong hardware for your wall type (drywall vs. plaster vs. brick) leads to sagging frames and dangerous falls. A frame that isn't flush to the wall creates awkward shadows that distort the art's colors and lines. Trust your instincts on this one: if a frame feels too heavy for a simple nail, it probably is.
Immediate Steps: Creating Your Gallery Wall Template
Do not rush the process. To prevent permanent damage to your living room walls, follow these immediate structural steps:
The Paper Template Method
Instead of guessing, trace every frame onto kraft paper or newspaper. Cut these shapes out and use low-tack painter's tape to arrange them on the wall. This allows you to visualize the living room wall decor without committing to a single hole. Leave the templates up for 24 hours to see how the light hits them throughout the day.
The 2-Inch Rule
For a cohesive look, maintain a strict 2-to-3-inch gap between every frame. This creates a 'grid' feel even if your frames are different sizes. This consistency acts as the 'pruning' that keeps your gallery wall from becoming an overgrown thicket of frames.
Leveling and Anchoring
Use a laser level or a long bubble level. Never eye-ball it. For apartment dwellers, consider high-quality adhesive strips for lightweight pieces, but always use zinc anchors for anything over five pounds. Small details matter here; use rubber bumpers on the bottom corners of frames to keep them from shifting and marking the paint.
Long-Term Prevention: Maintaining Wall Integrity
A gallery wall is a living entity that may change as your collection grows. To prevent long-term issues like 'ghosting' (faded paint around frames) or structural failure, implement these strategies:
- UV Protection: Just as certain plants scorch in direct sun, art fades. Use UV-protective glass or acrylic to prevent your hanging wall art from losing its vibrancy.
- Moisture Control: In humid city apartments, frames can trap moisture against the wall, leading to mold. Ensure there is a slight air gap behind each frame using spacers.
- The 'Growth' Plan: If you plan to add more pieces later, design an 'organic' layout rather than a fixed grid. Start with a tight central cluster and expand outward in an asymmetrical pattern. This allows for future additions without necessitating a complete overhaul.
When to Call a Professional
While most picture wall ideas are DIY-friendly, certain scenarios require an expert hand. You should call a professional installer if:
- You are hanging art on a primary structural brick wall or over a fireplace where heat may affect the adhesive.
- Your collection includes pieces valued at more than $1,000, which require specialized security mounts.
- You have lath and plaster walls, which are prone to cracking and require specific drilling techniques to avoid widespread damage.