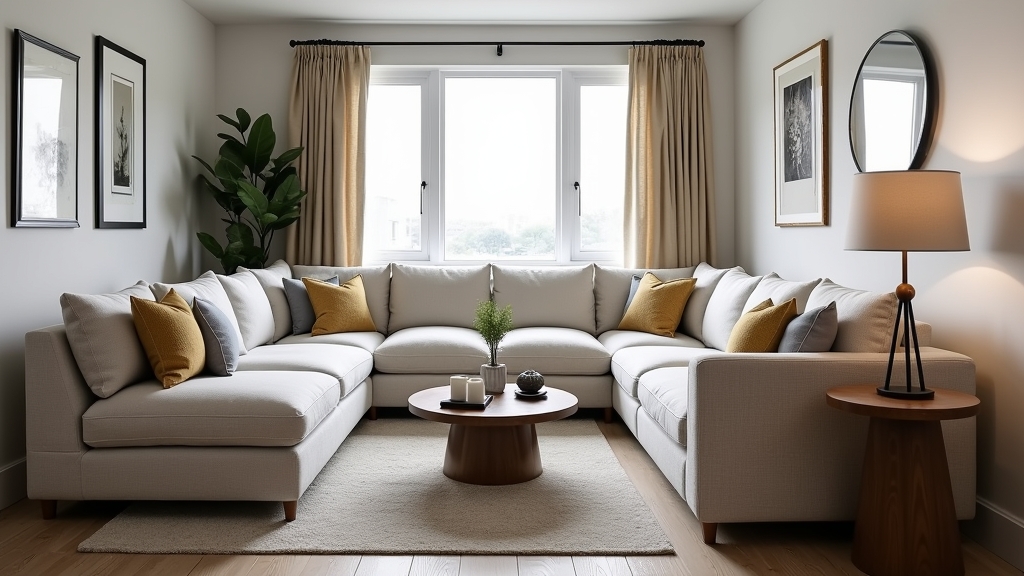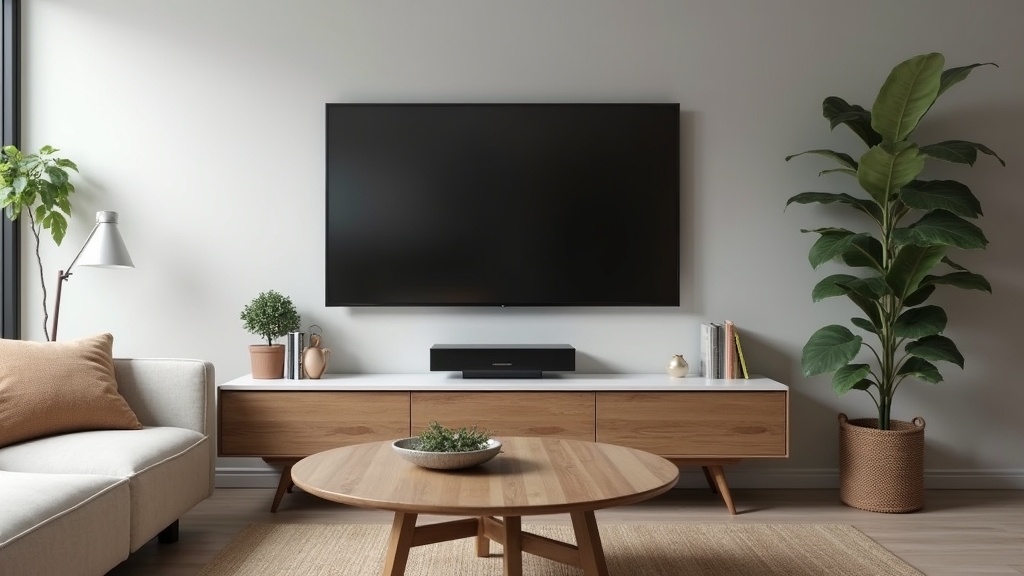
The Problem with Entertainment Center Clutter
In most homes, the television serves as the central focal point of the living room. We spend a significant amount of time and money choosing the right screen, the perfect soundbar, and the ideal console table. However, from experience, nothing ruins the aesthetic of a high-end television faster than a tangled nest of black power cords and HDMI cables dangling against a pristine wall. This 'cable spaghetti' doesn't just look messy; it also attracts dust and makes cleaning nearly impossible.
The real issue usually isn’t the number of devices you own, but how the connectivity is managed. Most entertainment centers are designed for functionality, not for concealing the reality of modern electronics. What works best is a systematic approach that addresses both visibility and organization. By following a few simple steps, you can achieve a professional, built-in look without hiring a contractor or performing a major renovation. The key thing to remember is that cable management is about both aesthetics and accessibility.
Essential Tools and Materials
Before you begin, gather a few basic supplies. You likely have some of these in your junk drawer, while others are inexpensive additions from any hardware store. Avoiding specialized, expensive kits is often better for the budget.
- Hook-and-loop fasteners: These are superior to plastic zip ties because they are reusable and won't damage the delicate insulation on signal cables.
- Cable raceways: These are plastic channels that adhere to the wall and can be painted to match your wall color.
- Cable management boxes: Simple plastic bins designed to house power strips and the excess length of multiple cords.
- Self-adhesive cord clips: Small plastic clips that guide individual wires along the back of furniture or baseboards.
- Label maker or masking tape: To identify which cord belongs to which device.
- Flexible cable sleeves: These fabric or plastic wraps bundle multiple wires into a single, clean-looking tube.
Preparation: Assessing Your Setup
Over the years, I have learned that jumping straight into hiding wires leads to frustration when a device needs to be swapped out. Start by unplugging everything. A common situation is finding three or four cables that aren't even connected to anything anymore. Use this opportunity to purge the 'ghost' cables that have accumulated over the years.
Once the area is clear, clean the back of your TV and the top of your console. Dust buildup can prevent adhesive clips and raceways from sticking properly. After cleaning, lay your devices out and plan your 'exit strategy' for the wires. Decide if you want the cables to run straight down the center of the wall or horizontally along the back of the furniture. One thing many people overlook is the length of the cords; ensure your plan doesn't leave cables pulled too tight, as this can damage the ports on your expensive equipment.
Step-by-Step: The Surface-Mount Raceway Method
If your TV is mounted on the wall and you aren't ready to cut into the drywall to run wires internally, a surface-mount raceway is the best quick fix. It provides a clean, linear look that mimics the appearance of architectural trim.
1. Measure and Cut
Measure the distance from the bottom of your TV or soundbar to the top of your media console or the floor. Cut the raceway channel to this exact length using a small hand saw or heavy-duty snips. It is often better to cut it slightly short so it stays hidden behind the TV frame.
2. Secure the Channel
Most raceways come with an adhesive backing. Peel the strip and press it firmly against the wall. If your wall has a heavy texture, you might need to use a couple of small screws to ensure it stays in place over time. Use a level to make sure the channel is perfectly vertical.
3. Route the Cables
Place your cables inside the channel. What I have found is that it's easiest to start with the thickest cables, like the power cord, and then tuck the thinner HDMI or optical cables around them. Close the cover of the raceway once everything is tucked in.
4. Paint to Match
The final touch that makes the raceway disappear is paint. Use a small brush and a bit of leftover wall paint to cover the plastic channel. Once dry, it will blend into the wall and become nearly invisible to the casual observer.
Step-by-Step: The Behind-the-Stand Approach
For those who use a media console or TV stand, the goal is to keep the wires from being seen through the gaps in the furniture. This requires a different strategy focused on containment and grouping.
1. Group by Destination
Gather all the cables that are heading in the same direction—for example, all the wires going from the console to the TV. Use hook-and-loop fasteners every six inches to create a single, thick bundle. This looks much cleaner than five individual wires dangling at different angles.
2. Utilize the Back of the Furniture
Use adhesive clips to route your cable bundle along the back edges of the furniture. Keeping the wires tucked tightly against the frame of the stand prevents them from hanging down into the line of sight. If your stand has an open back, run the cables down the legs or the central support pillar.
3. The Power Strip Secret
One of the biggest sources of mess is the power strip. Instead of letting it sit on the floor, mount it to the back of the furniture using heavy-duty mounting tape or screws. This keeps all the 'wall warts' and plugs off the floor. From there, you only have one main power cord running to the wall outlet.
4. Contain Excess Length
Excessive cord length is the enemy of a clean look. Coil the extra length of your HDMI cables and secure them with a strap. Place these coils inside a cable management box or hide them behind a larger device like a gaming console or receiver.
Expert Tips for a Professional Finish
To get that 'magazine-ready' look, pay attention to the small details. One thing many people overlook is the 'drip loop.' Always leave a small amount of slack in the wire before it enters a device or a wall. This prevents tension on the connectors and ensures that if any moisture were to ever travel down a cable (though unlikely indoors), it wouldn't run directly into your electronics.
Another tip I have found useful is to use black cables against dark furniture and white or paintable sleeves against light walls. Color coordination goes a long way in making the remaining visible bits of wire blend into the background. If you have a soundbar mounted separately, use a small piece of flexible sleeve to bridge the gap between the bar and the TV; it looks much more intentional than a bare wire.
Troubleshooting Common Cable Issues
What if your bundle of cables is too thick for a standard raceway? In my experience, the best solution is to split the cables into two smaller bundles and run them parallel or use a wider 'industrial' style raceway that offers more volume. The real issue usually is trying to force too much into a small space, which can lead to heat buildup.
If you experience signal interference (flickering screen or buzzing audio), it might be because your power cables are bundled too tightly with your data cables (HDMI). If this happens, try to keep the power cords on one side and the signal cables on the other. A separation of just an inch or two is often enough to resolve electromagnetic interference issues.
Maintaining a Clean Setup
Cable management isn't a 'one and done' task. Every time you buy a new gaming system or upgrade your streaming box, the system will be challenged. I recommend labeling both ends of every cable. When you go to replace a device six months from now, you won't have to play 'follow the wire' through your beautifully organized bundles. Simply find the label, swap the cord, and re-secure the straps.