Introduction to Soundbar Placement
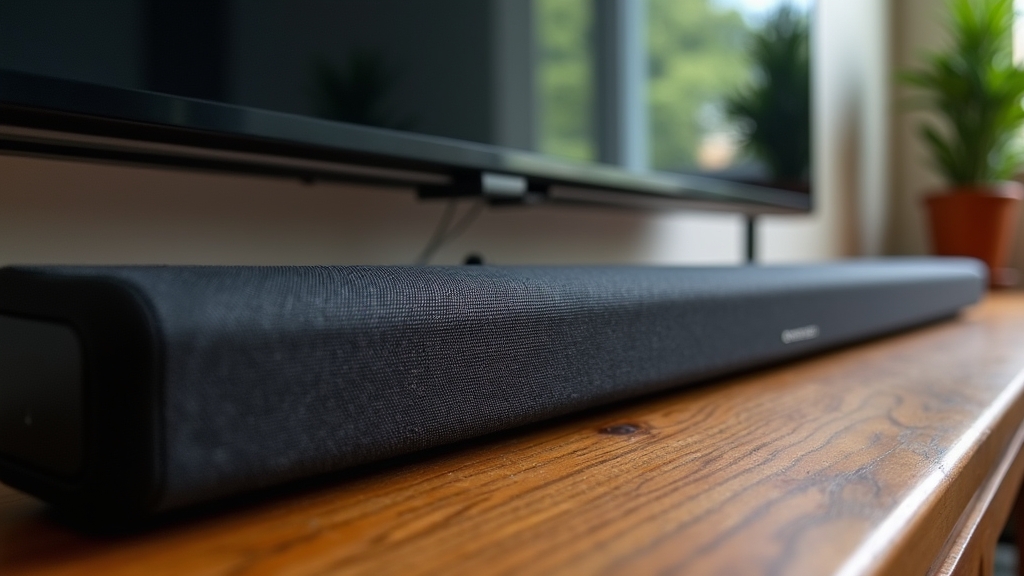
In most homes, the living room serves as the primary hub for entertainment. While modern televisions offer stunning visual clarity, the integrated speakers often lack the depth required for a true cinematic experience. This is where a soundbar becomes essential. However, simply owning the equipment is only half the battle; the real issue usually is how and where the device is mounted. Proper soundbar placement is critical for achieving the best TV sound quality and ensuring that the audio aligns perfectly with the visual on-screen action.
From experience, I have found that the acoustics of a room are significantly influenced by the height, angle, and surface mounting of the audio source. Over the years, I have learned that even a high-end audio setup can sound underwhelming if it is placed in a corner or tucked behind furniture. Whether you choose to tackle the installation yourself or hire a professional, understanding the fundamentals of acoustics will help you create a more immersive home audio setup.
Overview of Installation Options
When it comes to a wall mount soundbar, homeowners typically face two choices: the DIY route or hiring a professional technician. Both paths have their merits, but the decision often hinges on the complexity of the wall structure and the desired aesthetic finish. What works best is often determined by your comfort level with power tools and your specific expectations for cable management.
The DIY Approach
The DIY approach involves the homeowner measuring, leveling, and drilling the mounting brackets into the wall. Most soundbars come with a basic mounting kit or a template to assist with this process. This option is popular for those who have basic household tools and a clear understanding of where their wall studs are located. In my experience, this is a straightforward task for standard drywall installations where the TV is already mounted.
The Professional Approach
Hiring a professional usually involves a technician from a home theater or electrical service. They bring specialized tools, such as advanced stud finders and wire-fishing equipment, to ensure the mount is perfectly level and the cables are hidden behind the wall. A common situation is that professional help becomes necessary when dealing with difficult wall materials like brick, stone, or plaster, or when the homeowner wants a completely wireless aesthetic.
Detailed Pros and Cons
DIY Pros and Cons
- Pro: Cost Savings. You avoid labor fees, which can range significantly depending on your location.
- Pro: Immediate Execution. You can set up your home audio setup on your own schedule without waiting for an appointment.
- Con: Risk of Error. One thing many people overlook is the precision required for leveling. A slight tilt can be visually distracting and may affect the soundstage.
- Con: Exposed Cables. Unless you are comfortable cutting into drywall, DIY installations often result in visible wires hanging below the TV.
Professional Pros and Cons
- Pro: Seamless Aesthetics. Professionals excel at "in-wall" cable management, making the soundbar look like a floating part of the architecture.
- Pro: Structural Integrity. They ensure the mount is secured into the structural framing, preventing the risk of the device falling.
- Con: Higher Expense. You are paying for expertise, insurance, and labor.
- Con: Scheduling. You may have to wait several days or weeks for a qualified technician to become available.
Acoustic Considerations for Mounting
What I have found is that the height of the soundbar is the most influential factor in audio performance. The key thing to remember is that high-frequency sounds are highly directional. For the most realistic experience, the soundbar should be mounted at ear level when you are seated in your primary viewing position. If the soundbar is mounted too high or too low, the dialogue may feel disconnected from the actors' faces on the screen.
Another factor is the proximity to the TV. In most homes, mounting the soundbar directly below the TV is the standard. However, if your soundbar features upward-firing speakers for spatial audio (like Dolby Atmos), you must ensure there is enough clearance between the top of the soundbar and the bottom of the TV. If the TV blocks these upward-firing drivers, you lose the overhead sound effects that make modern home audio setups so impressive.
Cost Comparison
In my experience, the financial breakdown of mounting a soundbar can be categorized into three tiers:
- Basic DIY: $0 - $30. This assumes you already own a drill, level, and screwdriver. The only cost is the mounting bracket if one wasn't included with your device.
- Advanced DIY: $50 - $100. This includes the cost of a cable management kit, a higher-quality stud finder, or specialty drill bits for masonry.
- Professional Installation: $150 - $400. This typically covers the labor for mounting the soundbar and concealing the wires. Costs can increase if the technician needs to install a new electrical outlet behind the TV.
Best Use Cases for Each
Choose DIY when:
- You are mounting on standard drywall with wooden studs.
- You are comfortable using a power drill and a level.
- You are using a cord cover (raceway) to hide wires rather than going behind the wall.
- The soundbar is a standard model without complex spatial audio requirements.
Choose Professional when:
- The wall is made of brick, concrete, or lath and plaster.
- You want all power and HDMI cables completely hidden inside the wall.
- You are integrating the soundbar into a larger, multi-room audio system.
- The TV is mounted at a difficult height or in a corner, requiring custom brackets.
Final Recommendation
When deciding how to mount a soundbar for acoustics, the key thing to remember is that the quality of the installation directly impacts your daily enjoyment. If you have the tools and a simple drywall setup, the DIY route is highly rewarding and allows for personal customization. However, if you find yourself hesitant about drilling into your walls or if you have a complex room layout, the peace of mind offered by a professional is well worth the investment. From experience, a perfectly leveled and centered soundbar at ear height is the single best upgrade you can make to your living room entertainment experience.