Ensuring Longevity Through Proper Pellet Grill Maintenance
Owning a wood pellet smoker is a rewarding experience for any outdoor cooking enthusiast, but like any precision tool, it requires dedicated care. From a sustainable living perspective, the most eco-friendly action you can take is to maintain your equipment so it lasts for decades rather than ending up in a landfill. Regular maintenance doesn't just prevent mechanical failure; it also ensures that your fuel burns efficiently, reducing waste and producing a cleaner smoke profile for your food.
This guide will walk you through the essential steps of pellet grill cleaning, from the delicate task of cleaning smoker sensors to the more mechanical process of an auger jam fix. Take your time with this process; it is worth doing right the first time to ensure your next cook is as seamless as the first.
Essential Tools and Materials
Before you begin, gather your supplies. Using the right tools prevents damage to the smoker’s internal components and makes the job significantly easier. Small details matter here, especially when choosing cleaning agents that are safe for surfaces in contact with food.
- A High-Quality Shop Vacuum: This is the most efficient way to remove fine ash from the firepot and the bottom of the grill barrel.
- Plastic or Wooden Scrapers: Avoid metal scrapers if possible, as they can chip the porcelain coating on many grill components, leading to rust.
- Non-Toxic Degreaser: Look for plant-based or enzymatic cleaners. Alternatively, a simple mixture of white vinegar and water works wonders on grease.
- Microfiber Cloths and Soft Abrasive Pads: For scrubbing without scratching.
- Fine Steel Wool (0000 grade): Only for stubborn residue on unpainted metal surfaces.
- Compressed Air: Useful for clearing dust from the control board area.
- Bucket for Ash Disposal: Ensure it is metal and has a lid.
Preparation Steps
Never rush the preparation. Safety is paramount when dealing with electrical components and accumulated grease. Trust your instincts on this one; if the grill feels too warm to touch, it is too warm to clean.
- Complete Cool Down: Ensure the grill has finished its full shutdown cycle and is completely cool to the touch. This can take several hours depending on the ambient temperature.
- Disconnect Power: Always unplug your smoker from the electrical outlet. Water and electronics do not mix, and you may be working near the internal wiring.
- Clear a Workspace: Give yourself plenty of room. Place a drop cloth or cardboard under the smoker to catch any stray grease or ash that might fall during the process.
Step-by-Step Maintenance Instructions
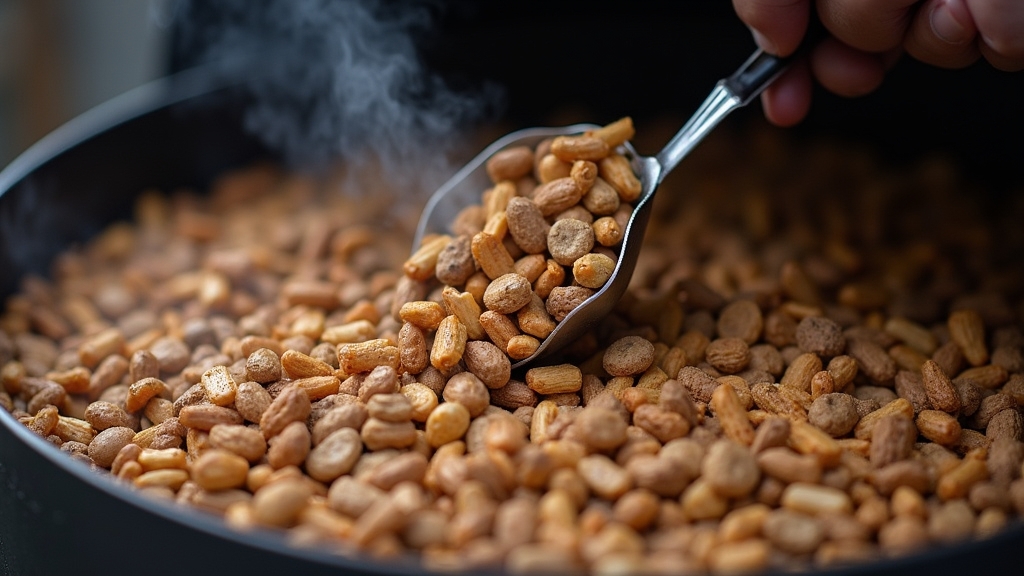
1. Emptying the Hopper and Inspecting Pellets
Start by removing all pellets from the hopper. Wood pellets are hygroscopic, meaning they absorb moisture from the air. Over time, this can cause them to expand and crumble, leading to poor burn quality or even auger jams. Sift through the bottom of the hopper to remove 'sawdust' or fines that have accumulated. This fine dust can restrict airflow and should be vacuumed out.
2. The Deep Interior Vacuum
Remove the grill grates, grease tray, and heat baffle. Use your shop vacuum to remove every speck of ash from the interior. Pay special attention to the firepot—the small cup where the pellets burn. Even a small amount of ash buildup can insulate the igniter rod, making it harder for the grill to start, or block the air holes, leading to temperature fluctuations.
3. Cleaning Smoker Sensors and Probes
This is a delicate task where small details matter. Most modern pellet grills use an RTD (Resistance Temperature Detector) probe or a thermocouple. If this sensor is covered in soot or grease, it will give false readings to the controller. Gently wipe the sensor with a soft cloth dipped in a vinegar-water solution. Avoid using heavy abrasives, as scratching the sensor can permanently affect its accuracy.
4. Scrubbing the Grease Management System
The grease tray and the drainage chute are common failure points. If grease builds up, it can ignite, causing a dangerous grease fire. Scrape away the heavy deposits into a waste container. For the drainage tube, a long-handled brush or even a crumpled piece of foil pushed through with a stick can clear out obstructions. Once the bulk is gone, use your degreaser to wipe down the surfaces.
5. Caring for the Grill Grates
While many people 'burn off' residue, a manual cleaning is more sustainable and effective. Soak the grates in warm, soapy water if they are particularly dirty. Use your plastic scraper to remove carbonized food. Once clean and dry, a light coating of high-smoke-point vegetable oil can help prevent rust and make future cleanings easier.
Common Mistakes and Lessons Learned
Through years of helping homeowners, we have identified several recurring mistakes that can shorten the life of a pellet grill. Avoid these pitfalls to keep your equipment in peak condition.
Neglecting the 'Fines'
Many users focus only on the ash in the firepot, but the 'fines' (sawdust) at the bottom of the hopper are just as dangerous. This dust can travel through the auger and create a 'wick' that allows fire to travel back into the hopper. Always vacuum out the hopper every few bags of pellets.
Using Harsh Chemical Cleaners
Avoid oven cleaners or heavy industrial degreasers. These can leave behind toxic residues that vaporize when you next light the grill, tainting your food and potentially damaging the grill's finish. Stick to food-safe, natural cleaners.
Leaving Pellets in Humid Environments
A common lesson learned the hard way is leaving pellets in the hopper during a rainy week. The pellets can turn into a thick, concrete-like paste that hardens inside the auger tube. If you aren't cooking for more than a few days, especially in humid climates, it is worth the effort to empty the hopper.
Troubleshooting Common Issues
The Auger Jam Fix
If your grill is making a groaning sound or pellets aren't feeding, you likely have an auger jam. This often happens due to wet pellets. To fix this, you must empty the hopper and potentially disassemble the auger motor. Use a pipe wrench to gently rock the auger shaft back and forth until the blockage breaks free. Do not force it; patience is key here to avoid stripping the motor gears.
Temperature Fluctuations
If your grill cannot maintain a steady temperature, first check for ash buildup in the firepot. If it's clean, the issue is likely the temperature sensor. Refer back to the 'Cleaning Smoker Sensors' section. A clean sensor is the most common fix for erratic heat behavior.
Flameouts and Ignition Failures
If the grill fails to light, inspect the igniter rod. It should be visible in the firepot. If it's covered in a hard crust of burnt ash, it won't be able to get hot enough to ignite the wood. Gently clean the tip with fine steel wool. Also, ensure the pellets you are using are dry and 'snap' when broken.
Tips for Best Results
- The 5-Cook Rule: Aim for a quick vacuum of the firepot every 3 to 5 cooks, and a deep clean every 20 hours of smoking time.
- Foil Liners: Using aluminum foil on your grease tray can save hours of scrubbing, but ensure it is laid perfectly flat to avoid pooling grease.
- Cover Your Investment: Always use a weather-resistant cover. Moisture is the number one enemy of both the electronics and the wood fuel.
- Keep a Maintenance Log: Note when you last did a deep clean and when you replaced any parts. This helps track the performance over the years.


