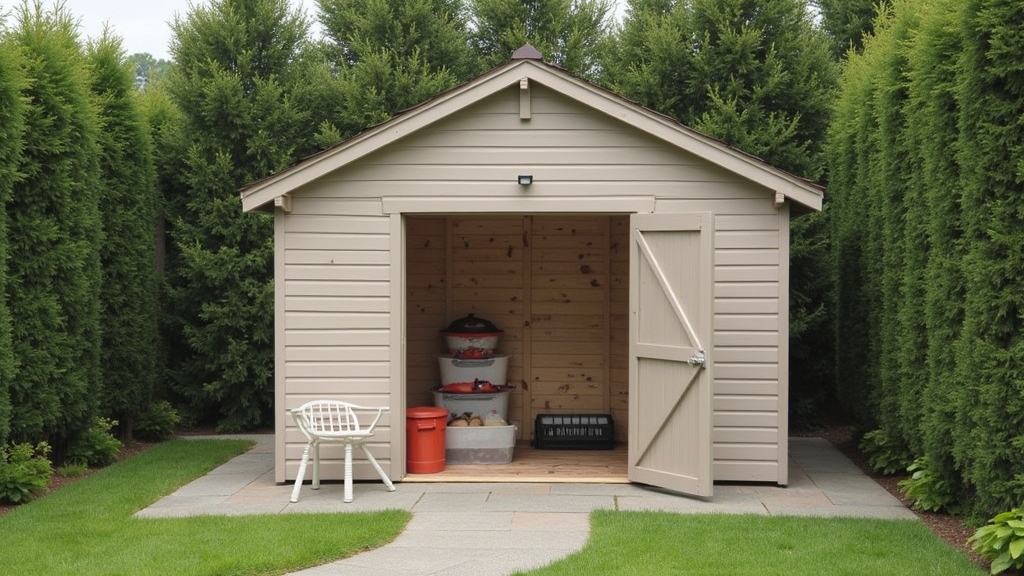
Efficient Outdoor Storage: Reclaiming Your Backyard Space
In most homes, the backyard eventually becomes a catch-all for garden tools, lawn equipment, and seasonal furniture. From experience, I have learned that without a dedicated system, even the largest yard can quickly feel cluttered and unmanageable. The real issue usually isn't a lack of space, but a lack of intentional organization. Over the years, I have tackled numerous projects to solve this, ranging from simple shelving units to a full-sized garden shed. This guide focuses on immediate, practical storage solutions that you can implement to protect your investment in outdoor gear and make your yard more functional.
Why Proper Storage Matters
Outdoor equipment is exposed to the elements 24/7. Moisture, UV rays, and fluctuating temperatures can degrade plastics, rust metals, and rot wood. What I have found is that a few hours spent setting up proper storage solutions can save hundreds of dollars in replacement costs later. Whether you are looking at a prefabricated garden shed or building custom vertical racks, the goal is to keep items off the ground and shielded from direct weather.
Essential Tools and Materials for Storage Projects
Before diving into any outdoor storage project, it is vital to have the right gear on hand. For most quick-fix storage solutions, you won't need specialized heavy machinery, but quality hand and power tools are non-negotiable.
- Level: Essential for ensuring your garden shed or storage box doesn't lean or have doors that won't close.
- Drill/Driver: For assembling kits or building custom racks.
- Measuring Tape: Accuracy is key in tight outdoor spaces.
- Pressure-Treated Lumber: Specifically for any part of the structure touching the ground.
- Galvanized Hardware: To prevent rust in outdoor environments.
- Pea Gravel or Pavers: For creating a stable, well-draining base.
- Heavy-Duty Storage Hooks: For vertical organization.
Preparation Steps for Successful Storage
One thing many people overlook is the ground beneath their storage unit. You cannot simply place a storage box or garden shed on bare soil and expect it to last. Over time, the weight of the unit will cause it to sink unevenly, leading to warped frames and cracked panels. The key thing to remember is that preparation is 70% of the job.
Selecting the Right Location
In my experience, you should look for a spot that is high and dry. Avoid low-lying areas of the yard where water pools after rain. Also, consider accessibility; if you store your lawnmower at the very back of a cluttered shed, you are less likely to keep the yard tidy. Ensure there is enough clearance for doors to swing open fully without hitting fences or plants.
Preparing the Base
What works best is creating a leveled pad using a frame of pressure-treated 4x4s filled with compacted pea gravel. This allows for excellent drainage and prevents the bottom of your storage unit from sitting in moisture. If you are installing a smaller storage bin, a simple bed of leveled pavers works wonders.
Detailed Step-by-Step Instructions: Building a Vertical Tool Rack
If you aren't ready for a full garden shed, a vertical tool rack is a fantastic quick fix. It gets long-handled tools like shovels and rakes off the floor and against a wall or fence.
- Measure Your Tools: Lay out your tools on the ground to determine the spacing needed. I have found that 6 to 8 inches between hooks is usually sufficient for most garden implements.
- Cut the Backer Board: Use a pressure-treated 2x4 or 2x6. Cut it to the width of your available space.
- Pre-Drill Holes: To prevent the wood from splitting, always pre-drill holes for your mounting screws and hooks.
- Mount the Board: Secure the board to your fence posts or the side of an existing structure. Use a level to ensure it is perfectly horizontal.
- Install Hooks: Screw in heavy-duty coated hooks. I prefer the double-prong variety for heavier items like gas-powered trimmers.
- Test for Weight: Ensure the rack is sturdy. Over the years, I have learned that the weight of several steel shovels can be surprising, so use long, high-quality screws for mounting.
Tips for Best Results in Outdoor Storage
The secret to long-lasting outdoor storage isn't just how you build it, but how you maintain it. Here are some strategies I’ve picked up over 15 years of DIY projects:
- Ventilation is Vital: A common situation is finding mold inside a sealed plastic storage bin. Ensure there is airflow to prevent condensation. If your shed doesn't have vents, consider adding small louvered ones near the roofline.
- Use Vertical Space: Most people only think about floor space. Install shelving high up for items you rarely use, like holiday lights or extra pots.
- Categorize by Frequency: Keep your everyday hand trowels and gloves in an easy-to-reach bin near the garden entrance.
- Weatherproofing: Even if a product claims to be waterproof, I recommend applying a bead of exterior silicone caulk to any seams where water might penetrate during a heavy storm.
Troubleshooting Common Storage Issues
Even with the best planning, issues can arise. Here is how to handle the most frequent problems I see in outdoor storage setups.
Moisture and Pests
If you notice a damp smell, check for leaks in the roof or gaps in the floor. For pests, ensure that no birdseed or grass seed is left in open bags. Rodents are attracted to food sources, and once they are in your storage unit, they can damage upholstery or wiring. What works best is storing all seeds and fertilizers in airtight plastic or metal containers.
Stuck Doors and Latches
This is usually a sign that your foundation has shifted. Check the unit with a level. Often, you can remedy this by gently jacking up the low side and sliding a thin cedar shim or additional gravel underneath the base. In my experience, wood sheds may also swell during humid summers; a bit of light sanding on the door edges can resolve sticking issues without compromising the structure.
Fading and Brittle Materials
Sun damage is the enemy of plastic outdoor storage. If your unit is in direct sunlight, consider applying a UV-protectant spray designed for outdoor furniture. This helps keep the material flexible and prevents the color from bleaching out over time.


