I’ve been maintaining homes for over a decade, and if there is one tool that homeowners love to get their hands on, it’s the pressure washer. There is something incredibly satisfying about watching years of grime vanish in seconds. However, here is the thing: I have also spent countless hours repairing the damage caused by those same homeowners who went a little too heavy on the trigger.
Pressure washing, or power washing, is a powerful maintenance technique that can add thousands of dollars to your home's curb appeal. But without the right approach, you can easily strip paint, splinter wood, or even blast water behind your siding into your wall cavities. In this guide, I’m going to walk you through the basics, the gear you actually need, and what most people miss when they start their first project.
Tools and Materials Needed
Before you hook up the hose, you need the right kit. The good news is that you don’t need the most expensive industrial machine to get professional results.
- Pressure Washer: Electric models (1,500–2,000 PSI) are great for cars and patio furniture. Gas models (2,500–4,000 PSI) are better for driveways and siding.
- Nozzle Tips: These are color-coded. Red (0°) is a laser beam that ruins things; Yellow (15°) is for heavy-duty stripping; Green (25°) is for general cleaning; White (40°) is for delicate surfaces.
- High-Pressure Hose: Ensure it’s at least 25 feet so you aren't moving the machine constantly.
- Safety Gear: Safety glasses are non-negotiable. Also, wear closed-toe shoes—never flip-flops.
- Cleaning Solution: A biodegradable house wash or concrete degreaser makes the job 10x easier.
Preparation Steps
Now, the important part: preparation is 70% of the job. If you just start spraying, you’re going to regret it.
Protect Your Surroundings
Pressure washers can kick up rocks and debris at high speeds. Close all windows and doors. Worth mentioning: check your window seals first. If they are old, the high pressure can force water into your living room. Cover outdoor outlets with tape and plastic, and move any delicate potted plants out of the splash zone.
Pre-Rinse Your Plants
Even if you use "eco-friendly" soap, the concentrated chemicals can wilt leaves. Soak your grass and shrubs with a regular garden hose before and after you wash the house. This dilutes any runoff so the plants don't absorb the bleach or detergents.
Detailed Step-by-Step Instructions
Ready to go? Follow these steps to ensure you don’t leave “tiger stripes” on your driveway or holes in your siding.
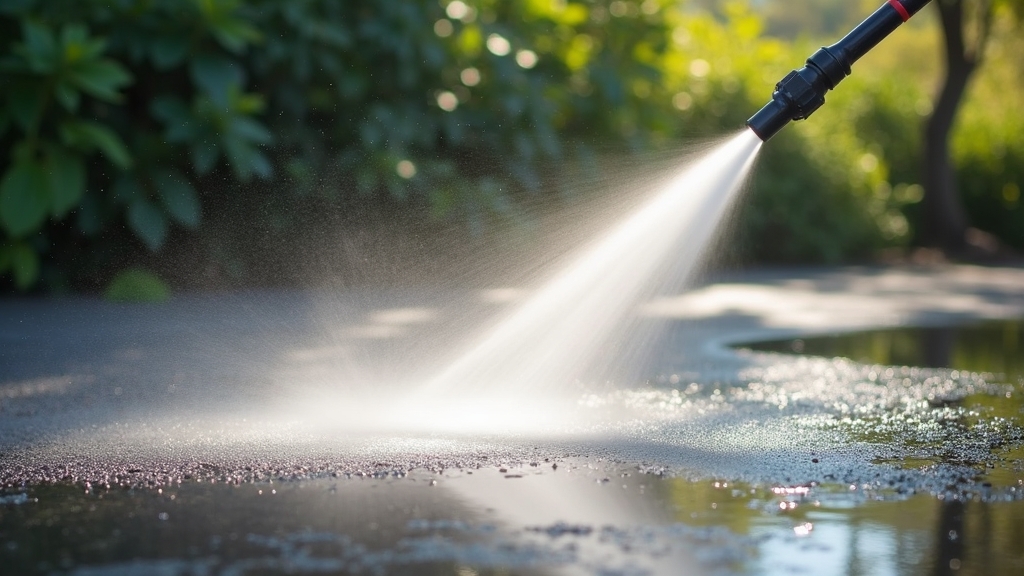
Step 1: Test Your Surface
Pick an inconspicuous spot—like the very bottom of a siding panel or a corner of the deck—to test your pressure. Start with the white (40-degree) tip and keep the wand at least 12 inches away from the surface. This is where it gets interesting: most damage happens in the first five seconds of a job because the user didn't realize how powerful the kickback was.
Step 2: Apply Detergent
Switch to your black soap nozzle. Something to keep in mind: always apply soap from the bottom up. If you start at the top, the soap will run down and create streaks that are nearly impossible to wash away later. Let the soap sit for 5-10 minutes, but never let it dry on the surface.
Step 3: The Wash
Switch to your rinsing nozzle (usually green or white). This time, work from the top down. Use long, overlapping horizontal strokes. Keep the nozzle moving at a steady pace. If you stop in one spot, you’ll likely leave a permanent mark.
Step 4: Final Rinse
Once the grime is gone, do a final pass with just water to ensure all the soap is gone. Pay close attention to window sills and door frames where soap tends to hide.
Tips for Best Results
- The Angle Matters: Never spray directly at a 90-degree angle. Aim at a 45-degree angle to "peel" the dirt off rather than blasting it into the material.
- Avoid the Ladder: Using a pressure washer on a ladder is a recipe for a hospital visit. The recoil can easily knock you off balance. Use an extension wand instead.
- Distance is Your Friend: If you need more cleaning power, don't just get closer. Try a slightly narrower nozzle first, but always maintain at least 6-8 inches of distance.
- Watch the Wood: On decks, always spray in the direction of the wood grain. Crossing the grain will splinter the wood fibers, requiring hours of sanding to fix.
Troubleshooting Common Issues
The machine is pulsing: This usually means there isn't enough water flow. Check for kinks in your garden hose or a clogged inlet filter on the machine.
No soap is coming out: Most pressure washers only draw soap when the low-pressure (black) nozzle is attached. If you have a high-pressure tip on, the injector won't engage.
Loss of pressure: Check the nozzle for a tiny pebble or piece of grit. Even a microscopic obstruction can ruin your pressure. On the other hand, it could be a leak in one of the O-rings in your hose connections.
Common Mistakes to Avoid
In my 10 years, I’ve seen some doozies. The biggest mistake? Using the red (0-degree) tip on anything other than solid concrete. I’ve seen people carve their names into wooden decks and blast holes through asphalt shingles with that tip. What most people miss is that a pressure washer is not a "magic eraser"—it's a high-velocity cutting tool. Treat it with that level of respect.
Another big one is spraying upward on vinyl siding. Siding is designed to shed water moving downward. If you spray upward, you’re shooting gallons of water directly behind the panels, which can lead to mold and rot inside your walls weeks later.


