Reviving Your Teak: From Silvery Grey to Golden Glow
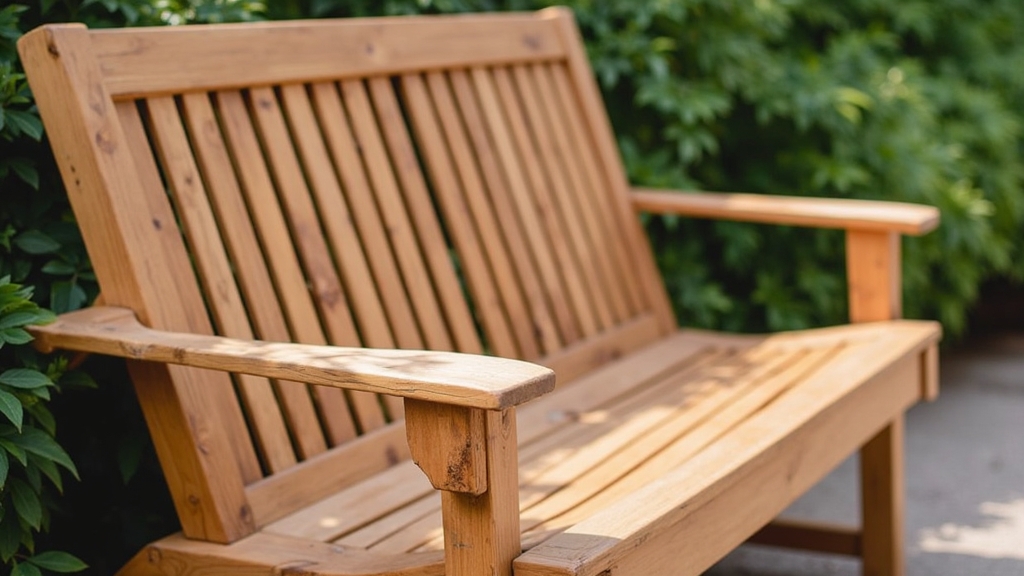
In most homes, teak furniture is a significant investment. Whether it is a cozy bistro set on an apartment balcony or a large dining table on a rooftop terrace, teak is prized for its durability and stunning grain. However, after a few seasons of exposure to the elements, that warm honey hue often fades into a flat, weathered silver-grey. From experience, I have seen many people assume their furniture is ruined when it reaches this stage, but the reality is that teak is incredibly resilient. What I have found is that with a bit of elbow grease and the right long-term strategy, you can restore weathered teak outdoor furniture to its original glory and keep it that way for years to come.
Understanding the Root Causes of Teak Weathering
The real issue usually isn't that the wood is dying; it is a natural defense mechanism. Teak contains high levels of natural oils and silica, which make it exceptionally resistant to rot and insects. When exposed to UV rays and rain, the surface oils evaporate, and the wood fibers oxidize. This creates that characteristic patina.
The Role of UV Exposure and Moisture
In my experience, sunlight is the primary culprit. UV rays break down the lignin in the wood cells, leading to color loss. Moisture, on the other hand, can lead to the growth of mold or mildew in the surface grain, especially in humid city environments. A common situation is finding black spots on your teak chair after a damp winter; this isn't necessarily rot, but surface-level fungus feeding on the remaining surface oils and environmental debris.
Environmental Pollution
For city dwellers, urban soot and pollution can settle into the grain of the wood. Over time, this makes the furniture look dingy rather than just 'weathered.' One thing many people overlook is that this layer of grime can actually trap moisture against the wood, accelerating the degradation of the surface fibers.
Immediate Steps: The Comprehensive Restoration Process
To achieve a permanent, high-quality fix, you cannot simply slap a coat of oil over dirty wood. You need a systematic approach to cleaning teak furniture and preparing the surface. Over the years, I have learned that the preparation is 90% of the work.
Step 1: Deep Cleaning the Surface
What works best is starting with a dedicated teak cleaner. These are usually two-part systems: an acid-based cleaner to lift the grey and a neutralizer to balance the pH of the wood. Avoid using a pressure washer at all costs; the high pressure can strip away the soft grain of the wood, leaving it feeling fuzzy and permanently damaged. Instead, use a soft-bristle scrub brush and work with the grain.
Step 2: Sanding Outdoor Wood for a Fresh Start
Once the wood is dry, you will likely notice that the grain has raised slightly, feeling rough to the touch. This is where sanding outdoor wood becomes critical. For a long-term solution, I recommend starting with an 80-grit sandpaper to remove the stubborn grey remnants and then finishing with a 120-grit or 150-grit paper to smooth it out. In most apartment settings, a hand sander with a vacuum attachment is a lifesaver to keep the dust under control.
Step 3: Professional Teak Oil Application
After sanding, your furniture will look like new, but it is vulnerable. This is the stage for teak oil application. Teak oil isn't actually made from teak trees; it's usually a blend of linseed or tung oil and solvents. The key thing to remember is that oiling is a commitment. Once you start oiling, you will need to reapply it once or twice a year to maintain that golden look. Apply the oil with a lint-free cloth, let it soak in for 15-20 minutes, and then—crucially—wipe off every bit of excess oil. If you leave excess oil on the surface, it will become tacky and attract dirt.
Long-Term Prevention Strategies
Restoring wood patio sets is only half the battle. To ensure you don't have to repeat this labor-intensive process every year, you need a prevention plan. From experience, I can tell you that a little bit of maintenance goes a long way in an urban garden.
Using Teak Sealers vs. Oils
If you want a longer-lasting finish than oil provides, consider a teak sealer. Unlike oil, which penetrates and eventually evaporates, sealers create a barrier that locks in the natural oils and keeps the UV rays out. What I have found is that a good quality sealer can last an entire year or more, even in harsh sun, whereas oil might fade in three months.
Protective Covers and Storage
One thing many people overlook is the power of a breathable cover. If you are an apartment gardener, you might not have room to bring furniture inside for the winter. Investing in custom-fit, breathable covers prevents moisture buildup while shielding the wood from the worst of the winter snow and rain. Just make sure the furniture is completely dry before covering it to prevent mold growth.
When to Call a Professional
While most weathered teak can be a DIY project, there are times when you should seek professional help. If you notice deep cracks (known as checking) that go more than halfway through the timber, or if the wood feels soft and spongy (a sign of advanced rot), a specialist may be needed to reinforce the structure. Additionally, if you have a high-value antique teak piece, professional restoration ensures the value is maintained through traditional woodworking techniques.
Recognizing Structural Integrity Issues
Check the joints. Teak furniture is often held together by wooden dowels. If these have become loose or have snapped, the furniture becomes a safety hazard. A professional can properly re-glue and dowel these joints using marine-grade adhesives that a standard homeowner might not have on hand.
Final Thoughts
Teak is a living material that responds to its environment. In my experience, the most successful gardeners treat their furniture with the same care they treat their plants. By understanding the weathering process and committing to a solid restoration and maintenance routine, you can ensure your balcony or patio remains a beautiful, inviting retreat for decades.


