The Problem with Plastic: Why Outdoor Furniture Fades
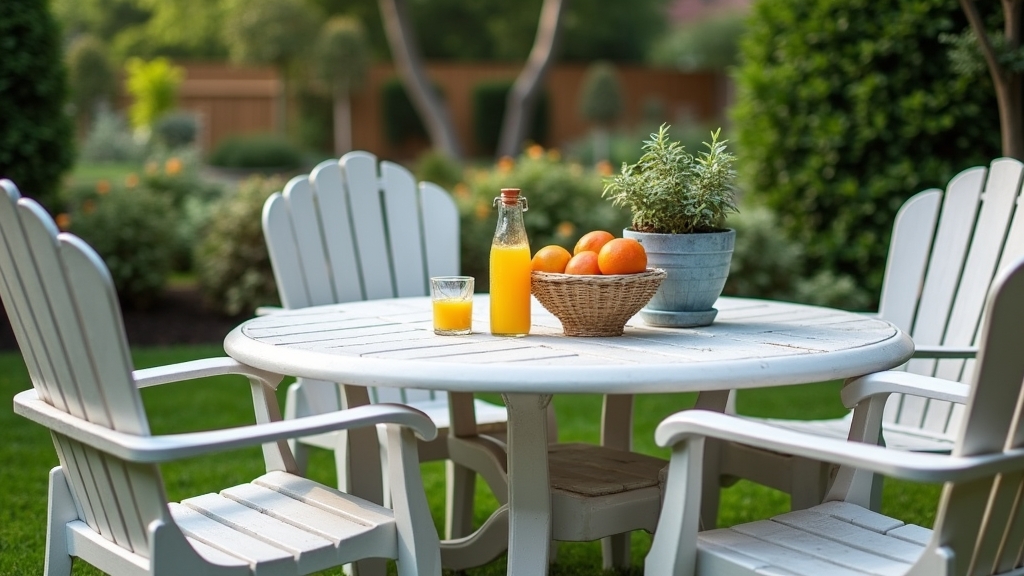
As a gardener specializing in apartment balconies and small patios, I see a common sight every spring: once-vibrant plastic chairs that now look chalky, grey, and brittle. UV rays from the sun break down the chemical bonds in plastic through a process called photodegradation. Over time, the surface becomes porous and loses its luster.
Here is the thing: faded furniture doesn't always mean it's time for the landfill. Whether you have a single Adirondack chair on a tenth-floor balcony or a full dining set on a suburban patio, you have two main paths to restoration. You can tackle the project yourself using household supplies and specialized sprays, or you can hire a professional to refinish the pieces for you.
Understanding the DIY Approach
Most city dwellers opt for the DIY route because it is immediate and budget-friendly. DIY restoration focuses on two main goals: removing the oxidized layer of plastic and sealing the surface to prevent further damage. The good news is that you likely already have most of the cleaning supplies in your kitchen cabinet.
Common DIY Methods
For light fading, a simple deep clean often does the trick. You start by scrubbing the furniture with a mixture of warm water and mild dish soap. If the stains are stubborn, many gardeners use a paste of baking soda and water to provide a gentle abrasive action. This is where it gets interesting: many people find that automotive trim restorer works better on plastic furniture than standard household cleaners. These products are designed to penetrate high-density polyethylene (HDPE) and provide a lasting shine.
Another popular DIY method is using a heat gun. By carefully applying heat to the surface, you bring the internal oils of the plastic to the surface, restoring the original color. However, something to keep in mind is that this requires a steady hand. If you hold the heat gun in one spot for too long, you will warp the plastic permanently.
The Professional Refinishing Option
Professional restoration is less common for cheap resin chairs, but it is a standard practice for high-end designer plastic or composite furniture. Professionals typically use industrial-grade solvents and UV-stable coatings that are not available to the general public. They may also offer 'sandblasting' services using soft media like walnut shells to strip away the oxidized layer without pitting the plastic.
Pros and Cons Comparison
DIY Pros and Cons
- Pros: Extremely low cost; can be completed in an afternoon; no need to transport furniture.
- Cons: Results are often temporary (lasting 3-6 months); risk of uneven finish; physically demanding scrubbing required.
Professional Pros and Cons
- Pros: Long-lasting results (often years); professional-grade UV protection; eliminates the risk of DIY damage.
- Cons: High cost (often exceeding the price of new budget furniture); requires scheduling and transport; limited availability for plastic-specific services.
Cost Comparison: DIY vs. Professional
Now, the important part: the budget. For a DIY project, you are looking at spending between $15 and $50. This covers a bottle of specialized plastic furniture cleaner, a soft-bristle brush, and a protective sealant. If you choose to use a heat gun, you might add another $30 to that total.
On the other hand, professional refinishing is priced per piece. A single chair might cost $75 to $150 to restore professionally. For a high-end set of four chairs and a table, you could easily spend $500 or more. Worth mentioning is that for high-quality brands like Kartell or Magis, this investment protects a significant asset. For a $20 big-box store chair, it is simply not cost-effective.
Best Use Cases for Each Method
When to DIY
What most people miss is that DIY is perfect for "maintenance mode." If your furniture is just starting to show a white, chalky film, a DIY cleaning and polishing session will yield great results. It is also the best choice for renters who don't want to invest heavily in furniture they might not take to their next apartment. If you enjoy weekend projects and have the space to get a little messy, DIY is for you.
When to Hire a Professional
This is where it gets interesting for owners of luxury outdoor furniture. If your pieces are structurally sound but severely bleached, a professional can apply a marine-grade finish that looks factory-new. You should also consider a professional if the furniture has intricate details or textures that are impossible to sand or scrub evenly by hand.
Step-by-Step DIY Restoration Guide
- Deep Clean: Wash the furniture with a solution of 1/4 cup dish soap to a gallon of water. Use a soft brush to get into the crevices.
- Remove Oxidation: Apply a plastic furniture cleaner or a 50/50 mix of white vinegar and water. For heavy oxidation, use a fine-grit sanding sponge (320 grit or higher) wet with water.
- Rinse and Dry: Ensure no soap residue remains. Let the furniture dry completely in the shade.
- Restore Color: Apply an automotive plastic restorer or a specialized outdoor furniture oil using a microfiber cloth.
- Seal: Apply a thin coat of paste wax or a UV-protectant spray to lock in the color.
Final Recommendation
After helping hundreds of city dwellers maximize their small outdoor spaces, my recommendation depends on the quality of your plastic. If you own standard resin chairs from a local hardware store, stick to the DIY method. Use a high-quality outdoor plastic furniture cleaner twice a year to keep the UV damage at bay.
However, if you have invested in designer pieces or high-density polyethylene (HDPE) furniture that is meant to last decades, professional restoration is a wise investment. It extends the life of the piece and prevents it from becoming brittle and dangerous. In the end, the best outdoor chair maintenance is prevention: use furniture covers when you aren't using your patio, and your plastic will stay bright for years to come.


